
 Pin it
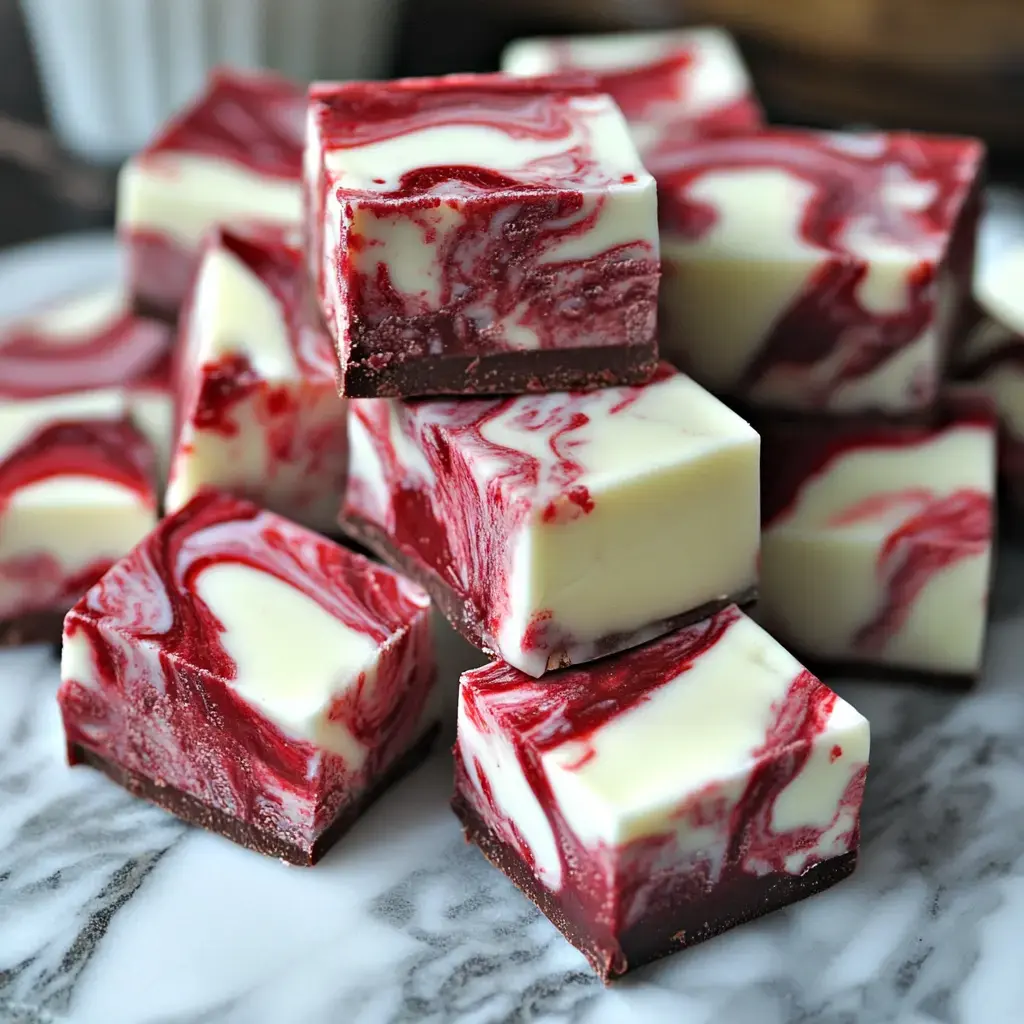
Whip up this fun swirl treat at home! You’ll blend smooth white chocolate, soft marshmallow, and bold red streaks to make something that’s not only eye-catching but super tasty too. It’s a winner for special days or just because. Simple moves and pantry stuff make you look like a pro.
Irresistible Fudge You’ll Crave
You’re in for a bold bite! Red velvet vibes meet creamy fudge in this showstopper loaded with deep red swirls. It’s got that wow factor but is surprisingly no big deal to make. Whether you’re still learning or already a whiz in the kitchen, you just need regular gear and a bit of patience—nothing fancy.
What’s Inside the Red Velvet Swirl
- Base Layer:
- 7-ounce jar of marshmallow crème
- 2 teaspoons of vanilla extract
- 2 cups white chocolate chips
- 2/3 cup half-and-half cream
- 3 cups granulated sugar
- 3/4 cup unsalted butter, softened
- Swirl Stuff:
- 3 tablespoons red food coloring
- 1 cup semi-sweet chocolate chips
- What You’ll Need:
- Microwave-safe bowl
- Sharp knife
- Large saucepan
- Parchment paper
- 9x9-inch baking pan
Stepwise Game Plan
- Cooling Time
- Let your tray sit out for half an hour, then pop it in the fridge for two hours so it sets up nice and firm.
- Swirl the Mix
- Dump the white fudge into the pan, spoon the red chocolate all over it here and there, then run a knife through it to get that cool marble look.
- Get the Red Going
- Toss the semi-sweet chips in the microwave for 20 seconds at a time till melted, then mix in red coloring so it’s even all over.
- Smooth Out the Base
- Take the pan off the heat, dump in your white chocolate chips, vanilla, and marshmallow crème, and stir till it’s nice and creamy.
- Melt and Mix Base Bits
- Stir your sugar, butter, and half-and-half together in a big saucepan over medium heat. Keep mixing while it bubbles gently for four to five minutes.
- Ready Your Pan
- Grab a 9x9 pan and line it with parchment, letting the paper hang over the sides so you can yank your fudge out later.
Handy Tricks for Awesome Results
Pick good white chocolate so it melts perfectly. Get everything measured out before you start for an easy time. Move fast when you add the chocolate and swirl—this stuff firms up quick! For bold color, use gel food dye. Rinse your spatula between each swirl so your patterns stay sharp.
 Pin it
Fun Ways to Serve
Slice into little inch-sized blocks for easy snacking. Lay everything on a fancy tray to make your spread pop. If you’re wrapping gifts, tuck pieces in a box lined with wax paper. Try drizzling more white chocolate on top for an extra flair. Pop some alongside cookies or other sweets at your next get-together.
Saving and Planning Ahead
Keep your fudge sealed up tight at room temp for a week. Slip wax paper between layers so chunks don’t stick. Freezing? Wrap pieces in plastic and foil—good for three months. Thaw overnight in the fridge and let them warm up to room temp so they’re soft and tasty.
Frequently Asked Questions
- → Why use marshmallow creme?
Marshmallow creme gives the fudge a softer bite and stops it from getting rough or grainy.
- → How should I store this fudge?
Pop it in a container with a tight lid. Leave it at room temp for up to two weeks, or toss in the fridge to keep it longer. Stick some wax paper between layers so it doesn’t stick.
- → Can I use milk chocolate instead of semi-sweet?
Sure thing! Just know semi-sweet makes the flavors pop a bit more and keeps it from being too sugary.
- → Why line the pan with parchment?
Parchment paper lets you pull the fudge out in one go for easy slicing, plus it keeps the fudge from sticking and making a mess.
- → How do I get the best swirl pattern?
Move fast while the fudge is warm. Use a butter knife to swirl—don’t overdo it or your colors will blend too much.
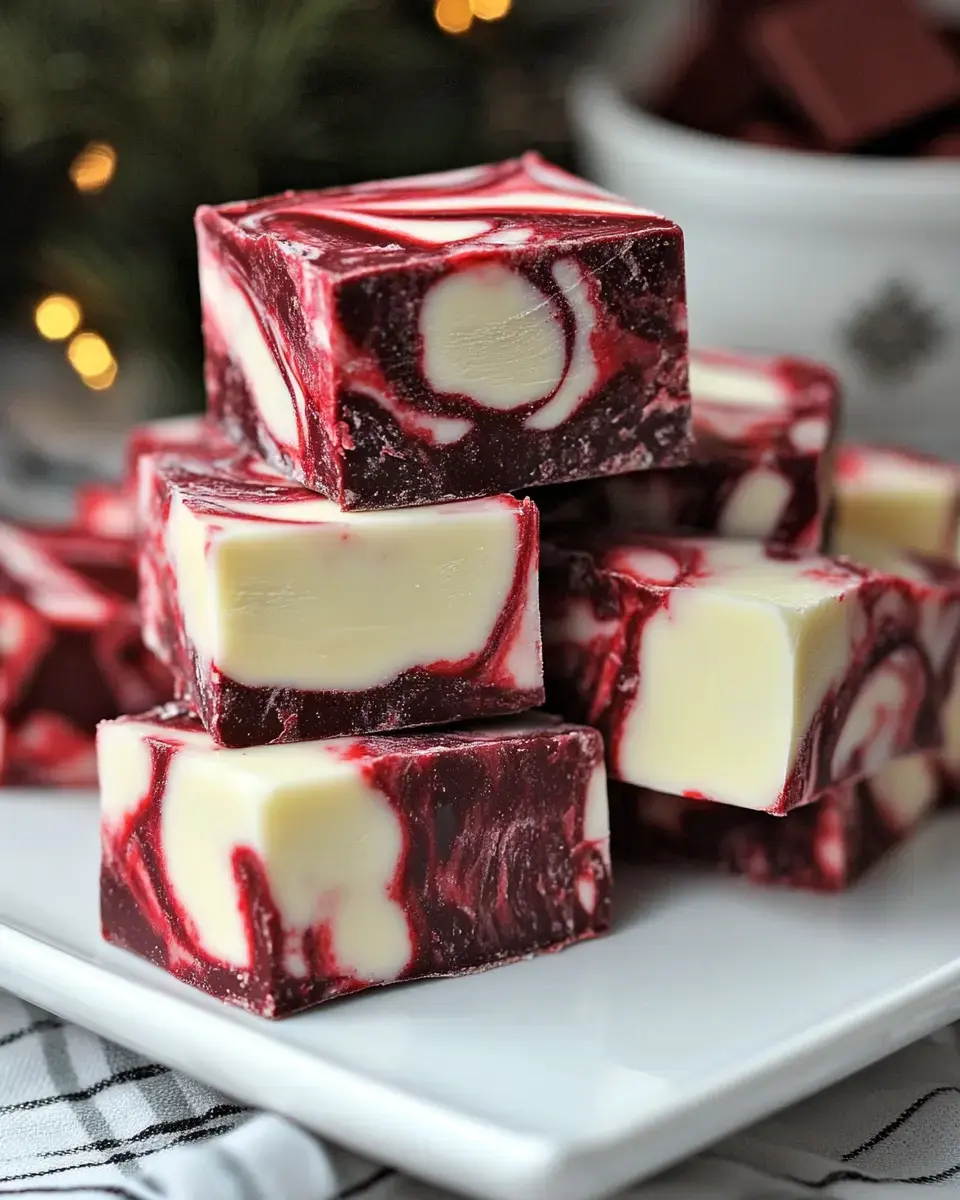
Conclusion
This bold fudge mixes white chocolate and red-tinted chocolate for a super pretty look. The marshmallow creme makes every bite smooth and soft—lovely for gifts or whenever you want something special.