
 Pin it
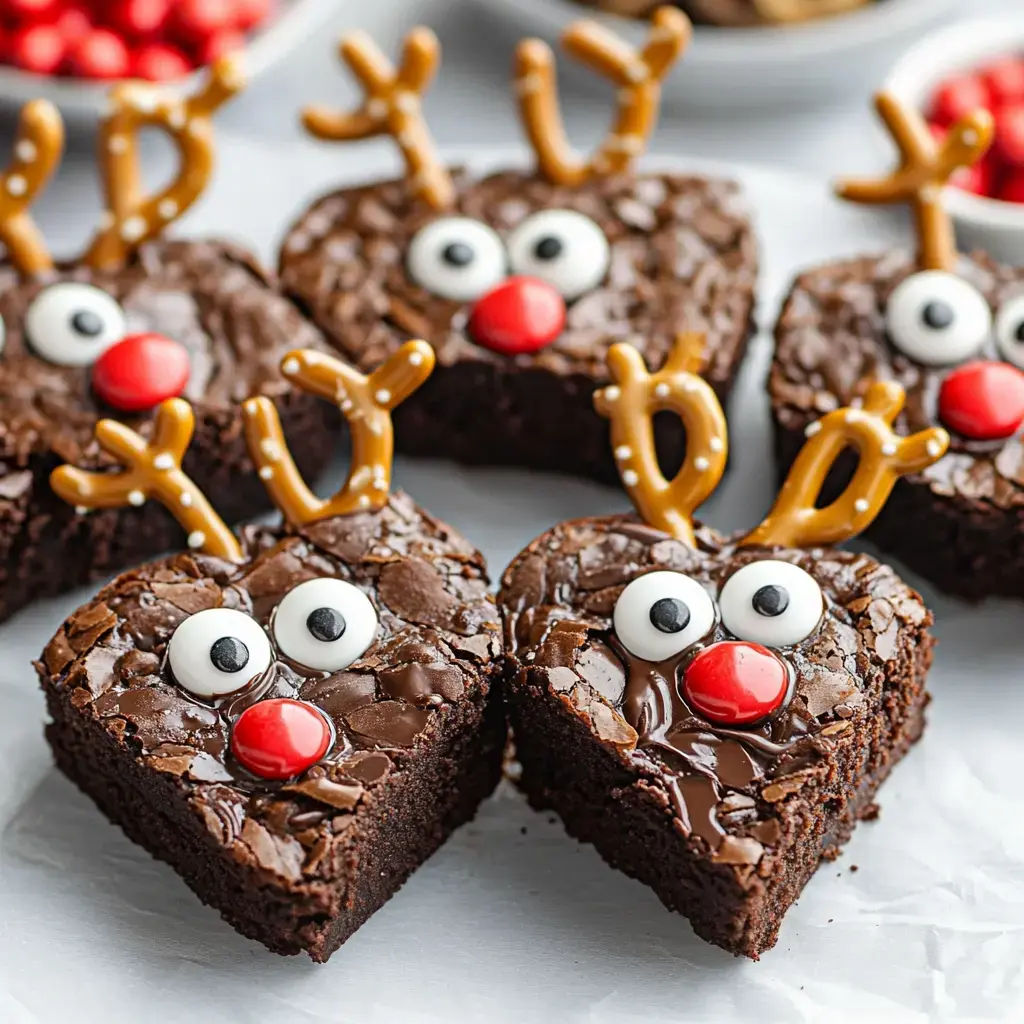
This festive brownie project transforms ordinary chocolate squares into adorable reindeer faces that capture the magic of Christmas. The simple decoration technique using pretzel antlers, candy eyes, and red M&M noses creates whimsical treats that bring holiday cheer to any dessert table.
Last Christmas, my kitchen turned into a festive workshop as my nieces helped decorate these brownies. Their giggles as they positioned each pretzel antler and carefully placed each candy eye made the experience even more magical than the treats themselves.
- Brownie Base: Whether using a box mix or homemade recipe ensure they're not too fudgy for easier decorating
- Mini Pretzels: Choose fresh unbroken pretzels for perfect antlers. I always buy extra as some inevitably break
- Holiday M&Ms: The mint variety offers the perfect color combination. Pick out the white ones for eyes and red for noses
- Melting Chocolate: High quality chocolate melts smoothly and sets well. Dark or milk chocolate both work beautifully
- Optional Frosting: A chocolate frosting can serve as an alternative glue for decorations
- Step 1: Brownie Preparation
- Start with completely cooled brownies patience is key here. Cut them into evenly sized rectangles making sure each piece is large enough to accommodate the decorations. I find that 2x3 inch rectangles work perfectly for creating Rudolph's face.
- Step 2: Chocolate Melting
- Carefully melt your chocolate in 30 second intervals in the microwave stirring between each session. The chocolate should be smooth but not too hot. Transfer some into a small piping bag or zip top bag with a tiny corner snipped off for precise application.
- Step 3: Face Assembly
- Working one brownie at a time attach the pretzel antlers by dipping the ends in melted chocolate and pressing them gently into position. Hold for a few seconds to ensure they stick. Create eyes by adding tiny dots of melted chocolate to white M&Ms then attach them once set. Finally secure the red M&M nose in the center.
When I first started making these, I learned that letting kids help with decorating creates the most memorable moments. Yes, some faces might end up a bit wonky, but those imperfect brownies often become the most cherished ones.
Holiday Baking Memories
These brownies have become our family's holiday tradition. Each year, we gather around the kitchen counter, armed with pretzels and candies, transforming simple brownies into a herd of sweet Rudolphs. It's amazing how a simple dessert can create such lasting memories.
Storage Solutions
These decorated brownies keep well in an airtight container at room temperature for up to 3 days. Layer them carefully with parchment paper to protect the decorations. If you need to store them longer, they can be refrigerated for up to 5 days, though the pretzels may soften slightly over time.
Making Ahead Tips
Planning is crucial during the busy holiday season. I've found that you can bake the brownies up to two days in advance and store them undecorated in an airtight container. When you're ready to decorate, bring them to room temperature for about an hour. This makes the whole process much more manageable, especially when hosting holiday gatherings.
Packaging and Gifting
These adorable Rudolph brownies make wonderful holiday gifts. Place them in holiday themed boxes lined with parchment paper for best results. For transport, refrigerate them for about 30 minutes before packaging to help everything stay in place. Add a festive ribbon and gift tag for a homemade present that's sure to delight friends and neighbors alike.
Alternative Decorating Ideas
While the classic Rudolph design is charming, you can get creative with variations. Try using different colored M&Ms for a whole team of reindeer with unique personalities. Some of my young guests enjoy adding coconut snow around the edges or sprinkles for a festive touch. You could even create female reindeer by adding tiny bow decorations made from fondant or ribbon candy.
Frequently Asked Questions
- → Can I use homemade brownies?
Absolutely, any brownie will do the trick.
- → Why use parchment paper?
It helps brownies come out cleanly.
- → How far ahead can I make these?
They'll stay good 4-5 days if kept at room temp.
- → Why heart shapes?
When turned upside down they look like reindeer faces.
- → Can I freeze these?
Sure thing, but decorations might not stay put.