
 Pin it
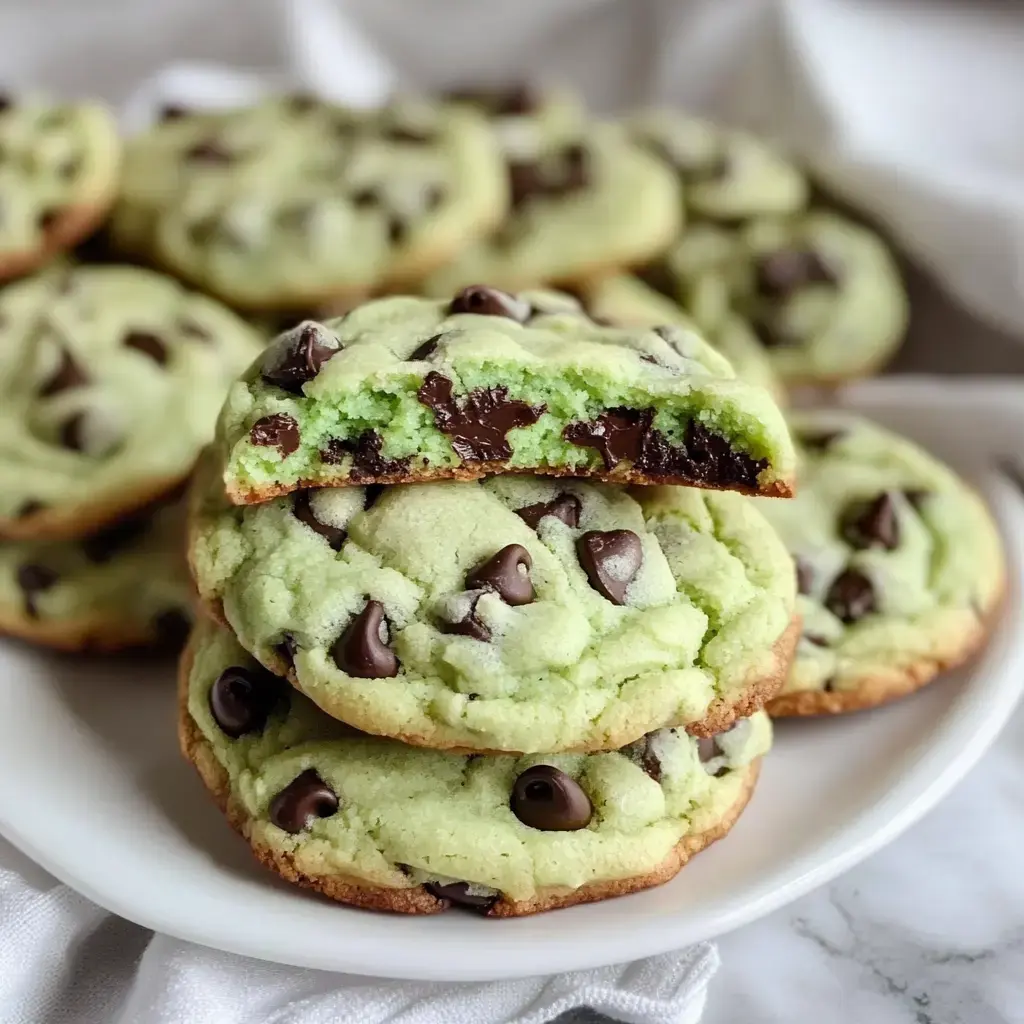
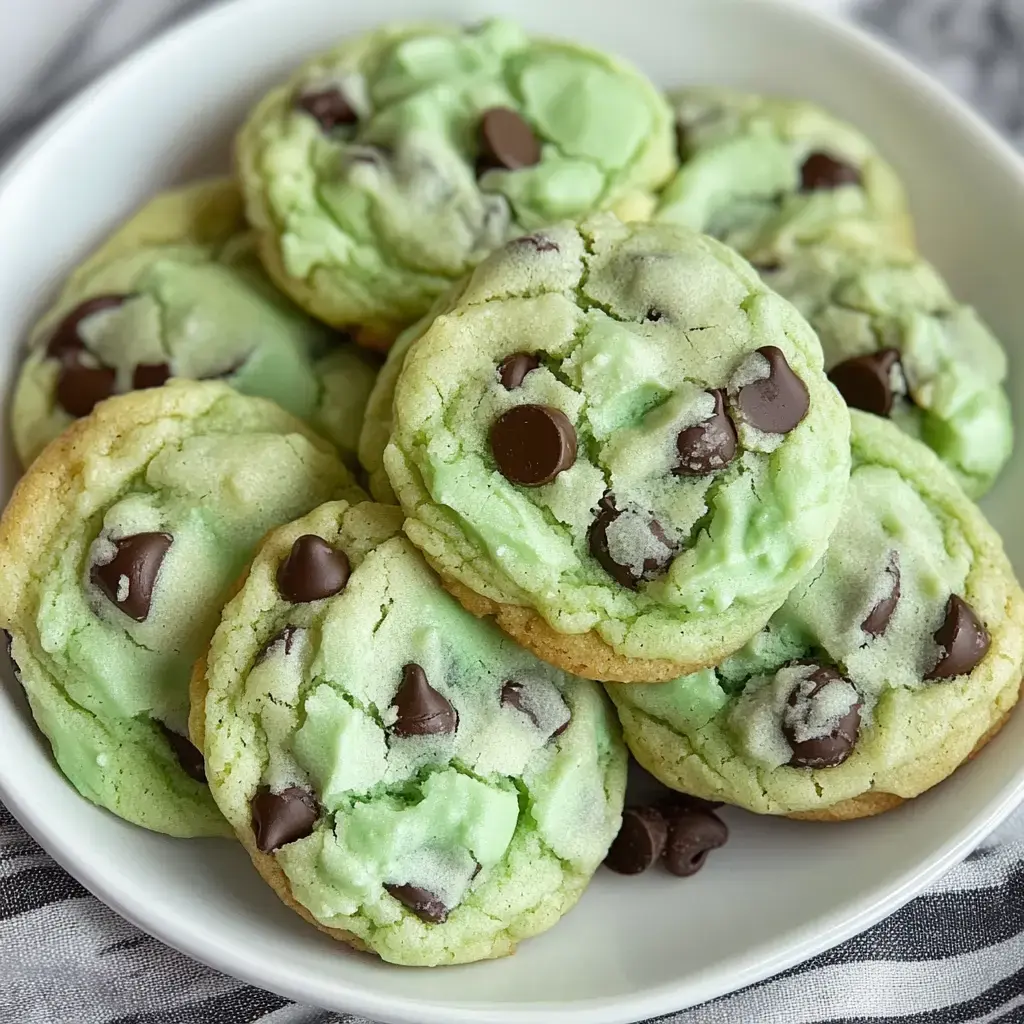
Whip up these cookies that remind you of mint chocolate chip ice cream. They blend real mint with chunks of chocolate for a snack everyone will beg for the recipe. They're just like that favorite scoop from the ice cream parlor, but in cookie form.
Benefits of These Cookies
You'll have these treats ready in under thirty minutes. They come out chewy in the middle with slightly crisp edges. The mint flavor isn't overwhelming, and they're packed with melty chocolate bits. Bake them for gatherings or just because - they'll disappear fast.
Ingredients List
- Salt: Just a tiny bit
- Flour: Whatever type you have
- Baking Powder: Creates fluffiness
- Baking Soda: Helps them puff up
- Green Food Coloring: Optional for minty look
- Mint Extract: Gives the cool flavor
- Egg: Only need one
- Sugar: Plain granulated
- Butter: Make sure it's room temperature
- Chocolate Chips: Semi-sweet works best
Step-by-Step Instructions
- Let Them Cool:
- After removing from oven, rest for 5 minutes. Then transfer to cooling rack until completely cooled.
- Bake Them:
- Pop in oven for 8-10 minutes until edges turn slightly golden.
- Make Cookies:
- Form small balls from the dough. Place on baking sheets with room between each.
- Put it All Together:
- Gradually add dry mixture to butter mixture. Mix just enough to combine. Fold in chocolate chips at the end.
- Mix the Dry Stuff:
- Combine flour, baking soda, baking powder and salt in a separate bowl.
- Mix the Soft Stuff:
- Cream softened butter and sugar until light and fluffy. Beat in egg thoroughly. Add mint extract and green color if using.
- Heat Your Oven:
- Preheat to 375°F. Line your cookie sheets with parchment paper.
Refreshing Summer Treat
These treats capture summertime vibes. Think about licking mint chocolate chip ice cream cones during those hot summer afternoons. These cookies bring that same feeling, but you can enjoy them anywhere. They're ideal for outdoor gatherings or everyday snacking. The cool mint flavor makes them perfect when temperatures climb.
Simple Preparation
You'll have cookies ready in half an hour from start to finish. They're ideal when you're craving something sweet without waiting or when visitors show up unexpectedly. No fancy equipment or special ingredients needed. Just combine, bake, and enjoy.
Long-Lasting Chocolate Goodness
You know what's awesome? The chocolate chunks stay soft even after cooling. Every bite delivers gooey chocolate mixed with cool minty flavor. That's the magic of these cookies - they taste freshly baked for hours after coming out of the oven.
Perfectly Balanced Mint Flavor
We've carefully balanced the mint. Many mint cookies end up tasting like dental products - not ours. There's enough mint to taste refreshing without becoming overwhelming. The chocolate and mint create a winning combo that isn't too intense.
Customizable Appearance
Feel like having green cookies? Throw in some food coloring. Prefer them natural? Skip it - they'll taste identical. Some folks enjoy the green color because it reminds them of ice cream. Others prefer the natural look. Make them however you want.
 Pin it
Storage Tips
Store them in an airtight container and they'll stay fresh for five days. Want to save them longer? Bundle them up and stick them in the freezer. Whenever you crave one, pull it out and let it sit. They'll taste good as new after about half an hour.
Frequently Asked Questions
- → Got flour allergies?
Go for gluten-free blends labeled "cup for cup" on the package. Throw in a tablespoon of cornstarch for softness. Rest your dough about 10 minutes before they go in the oven. Rice flour's an option too but needs different measurements. Many people create their own flour mixes. Keep an eye on them - they might finish cooking earlier.
- → Don't want green coloring?
Just don't add it - the taste stays the same. Natural plant-based dyes work too. Some mint flavorings already include color. Plain white cookies look great with dark chocolate bits. Smashed candy canes give nice color touches.
- → No stand mixer around?
A handheld mixer does the job. Or just use your muscles! Make sure butter's really soft first. Beat wet ingredients thoroughly. Don't rush when adding flour. Mix the chips in using a spoon. You might need extra arm work to get everything smooth.
- → Looking for chip alternatives?
White chocolate chips look amazing. Milk chocolate makes everything sweeter. Dark chocolate gives less sweetness. Chopped mint chocolate bars work great. Try mixing several types. Some bakers prefer those special mint baking pieces.
- → How long will they keep fresh?
They'll last a week in an airtight container. Pop in a slice of bread to maintain softness. Freeze dough balls for later baking. Finished cookies freeze well for about 3 months. Let them come to room temp before serving.
- → Cookies turning out too flat?
Give the dough some fridge time - at least an hour. Cooler butter works better. Try a bit more flour. Skip greasing your cookie sheet. Check if your oven runs hot - that makes cookies spread.
- → Need more mint kick?
Add extract gradually, tasting as you go. Watch out - too much feels like brushing your teeth! Mint chips boost the flavor. Fresh mint leaves don't work well here. Remember some extracts pack more punch than others.
- → Taking cookies on the road?
Layer them with parchment between. Use sturdy containers to prevent damage. Bake them slightly longer for travel. Maybe cook extra for snacking during the trip.
- → Want super soft results?
Pull them from the oven early - they'll finish while cooling. Add a spoonful of cream cheese to your mix. Don't leave out the brown sugar. A little pudding mix can help too.
- → Chocolate bits dropping to bottom?
Roll your chips in flour before mixing in. Don't overload with too many. Smaller chips distribute better. Stick some on top before they bake. Your dough might be on the runny side.
- → Cookies burning?
Raise your oven rack position. Use foil as a shield toward the end. Check doneness earlier. Light-colored pans give more even results. You can lower your temperature a bit.
- → In a hurry?
Drop smaller cookies - they cook faster. Don't bother chilling if you're okay with spreading. Use melted butter to speed up mixing. Skip the fancy mixer - just melt and stir.
Conclusion
Love mint flavors? Check out our mint-infused brownies. Or try making some mint chocolate ice cream. Even a simple mint mug cake will do the trick.