
 Pin it
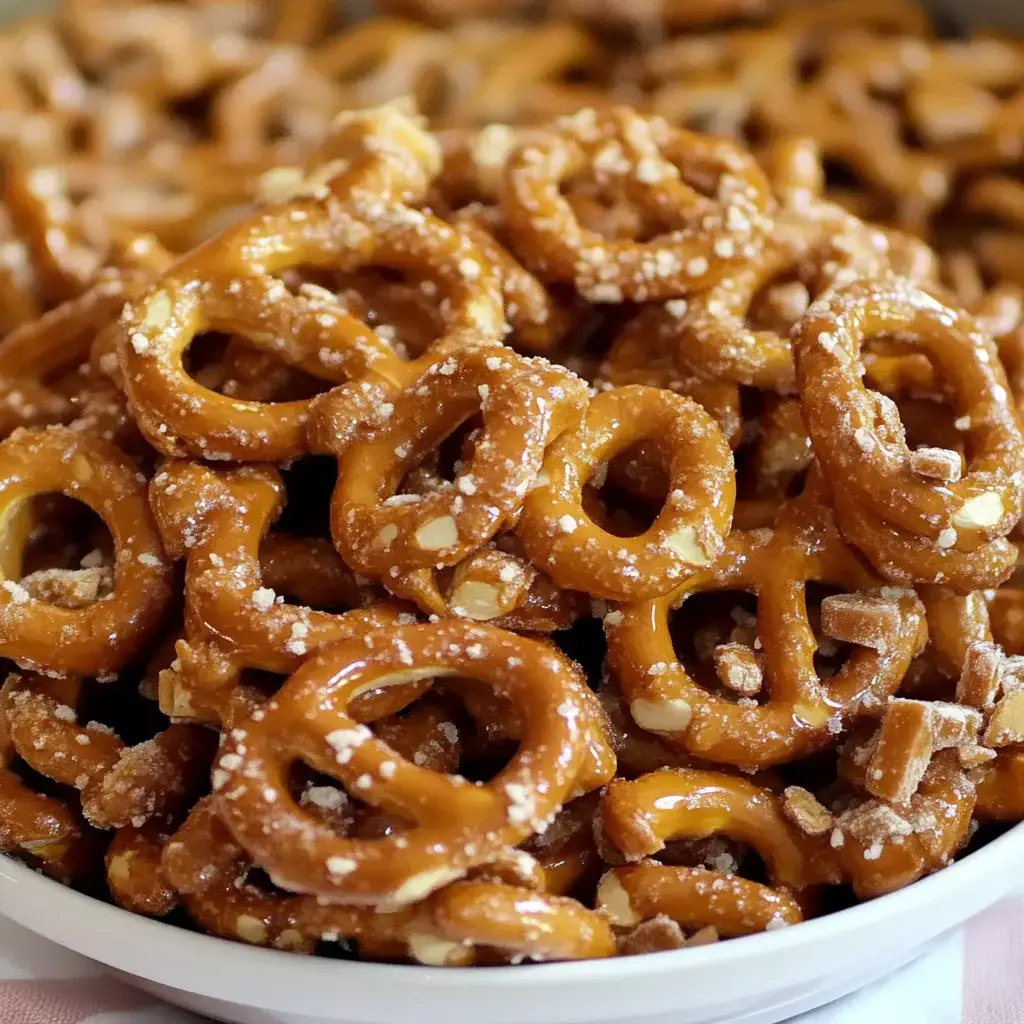
These Butter Toffee Pretzels mix sweet and crunchy in one addictive snack. The buttery candy layer wrapped around crisp pretzels creates a munchable treat you'll keep reaching for. You won't be able to put them down once you've tasted this perfect combo of flavors.
Benefits Worth Noting
These treats are perfect for anyone craving that sweet-salty combo. They're way tastier than anything from a store since they come straight from your kitchen. Whip them up for gatherings or movie nights - everyone will beg you for your secret. They're simple to create but impossible to stop munching on.
Required Ingredients
- Small Pretzels: Twisted varieties work perfectly
- Brown Sugar: Adds sweetness
- Butter: Unsalted works best
- Corn Syrup: Gives a glossy finish
- Vanilla: Just a tiny amount
- Baking Soda: Creates airiness
- Toffee Bits: Purchased or smashed Heath candy bars
Cooking Instructions
- Prepare Oven:
- Set to 200°F. Give a large baking sheet a quick spray to prevent sticking.
- Arrange Pretzels:
- Lay pretzels flat on the tray without overlapping.
- Create Topping:
- Combine brown sugar, butter pieces, and corn syrup in a saucepan. Warm until bubbling. Continue mixing for 5 minutes.
- Mix In Extras:
- Remove from heat. Add vanilla and baking soda. Don't worry when it bubbles up - that's normal.
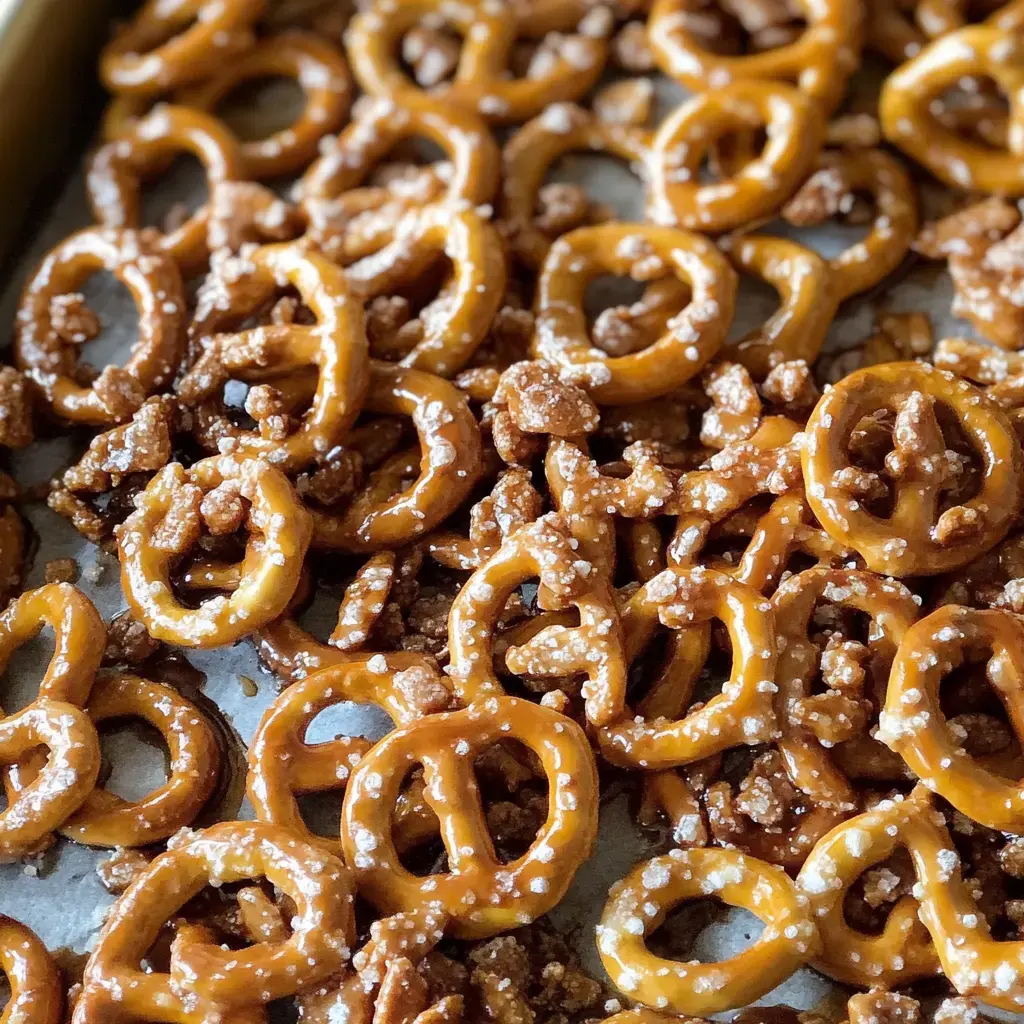
- Coat Mixture:
- Drizzle the mixture over pretzels. Scatter half the toffee pieces across the top.
- Combine Everything:
- Gently toss to coat pretzels evenly.
- Cook:
- Place in oven for 60 minutes. Stir every quarter hour to ensure even cooking.
- Finishing Touch:
- Transfer to wax paper. Sprinkle remaining toffee bits while still warm.
- Rest:
- Allow to sit for 60 minutes until completely firm. Break into smaller pieces before serving.
Discovered By Chance
I stumbled upon these at a buddy's place. They bought them pre-made, but the homemade version tastes so much better. Now I don't need to shop for them - I just whip up a batch whenever cravings hit.
Perks of Homemade
You could grab a bag from the store, but making them at home is so much better. You control all the ingredients, they're super fresh, and your kitchen smells fantastic during cooking. And you can tweak the recipe to suit your taste - add more sweetness or saltiness as you prefer.
Perfecting The Glaze
You've gotta be patient with the sugar mixture. Keep stirring until everything melts together and bubbles nicely. When you throw in the baking soda, it'll expand - that's what gives you that airy, crisp texture. Don't leave out those toffee bits - they really take the flavor up a notch.
 Pin it
Cooking Advice
Take your time with the cooking process. That full hour in the oven is crucial for perfect results. Make sure to stir four times during baking or they might burn on the bottom. If they aren't crunchy enough after an hour, let them go another fifteen minutes. They're ready when the coating looks completely dry.
Cluster Formation
It's totally fine when the pretzels stick together in groups - that's exactly what should happen. These little bunches are actually the tastiest part. Each chunk gives you that ideal balance of sweet coating with salty pretzel. They're perfect for grabbing and snacking by the handful.
Frequently Asked Questions
- → Can't eat wheat pretzels?
Go for wheat-free options instead. Rice pretzels turn out great too. Look at labels carefully - some claim wheat-free but aren't really. Test one first - certain types break too easily when coated. Corn varieties stand up well. You can try this with crackers too.
- → How long they stay good?
They'll last seven days in an airtight container. Even longer if kept completely dry. Add paper towel at container bottom. No need for refrigeration. They might soften if exposed to air. Gently shake container occasionally to prevent sticking.
- → Want darker sweet taste?
Try dark brown sugar instead. A touch of honey works nicely. Cook sugar a bit more for deeper color. But watch carefully to avoid burning. Some people like adding a splash of maple.
- → Need to make stuff early?
Prepare dry ingredients beforehand. Set pretzels up in your pan. Only make the hot mixture when you're ready. It hardens too quickly if prepared ahead. But you can measure everything out in advance.
- → Scared of burning the sweet?
Keep mixing constantly. Use low heat. Remove it when you notice color changing. The butter helps prevent burning. A candy thermometer comes in handy.
- → Taking them places?
Use firm containers to prevent breakage. Put paper between layers. Keep away from heat during travel. Don't pile them too high. Maybe bring extra since they'll disappear quickly.
- → Want em extra crunchy?
Cook them longer. Let them cool completely. Start with thicker pretzels. Try coating them twice. But mind your oven temperature.
- → Too sticky or hard?
You might need extra butter. Or reduce cooking time. Allow longer cooling. Spread them out more widely. Humidity affects the outcome too.
- → Need more flavor pop?
Try sprinkling salt on top. A bit of vanilla tastes great. Cinnamon works wonderfully. Some folks add crushed nuts. Even coffee powder adds nice flavor.
- → Making big batch?
Just double all ingredients. Use two separate pans. Switch positions in oven. Make additional coating. Keep some uncoated as backup.
- → Want em fancy?
Add melted chocolate on top. Dust with colorful sugar. Try different pretzel shapes. Arrange them nicely. Pack in transparent bags with ribbons.
Conclusion
Enjoyed these? Give candy popcorn a shot. Or create crunchy toffee with nuts. They'll satisfy your crunchy sweet tooth just the same.