
 Pin it
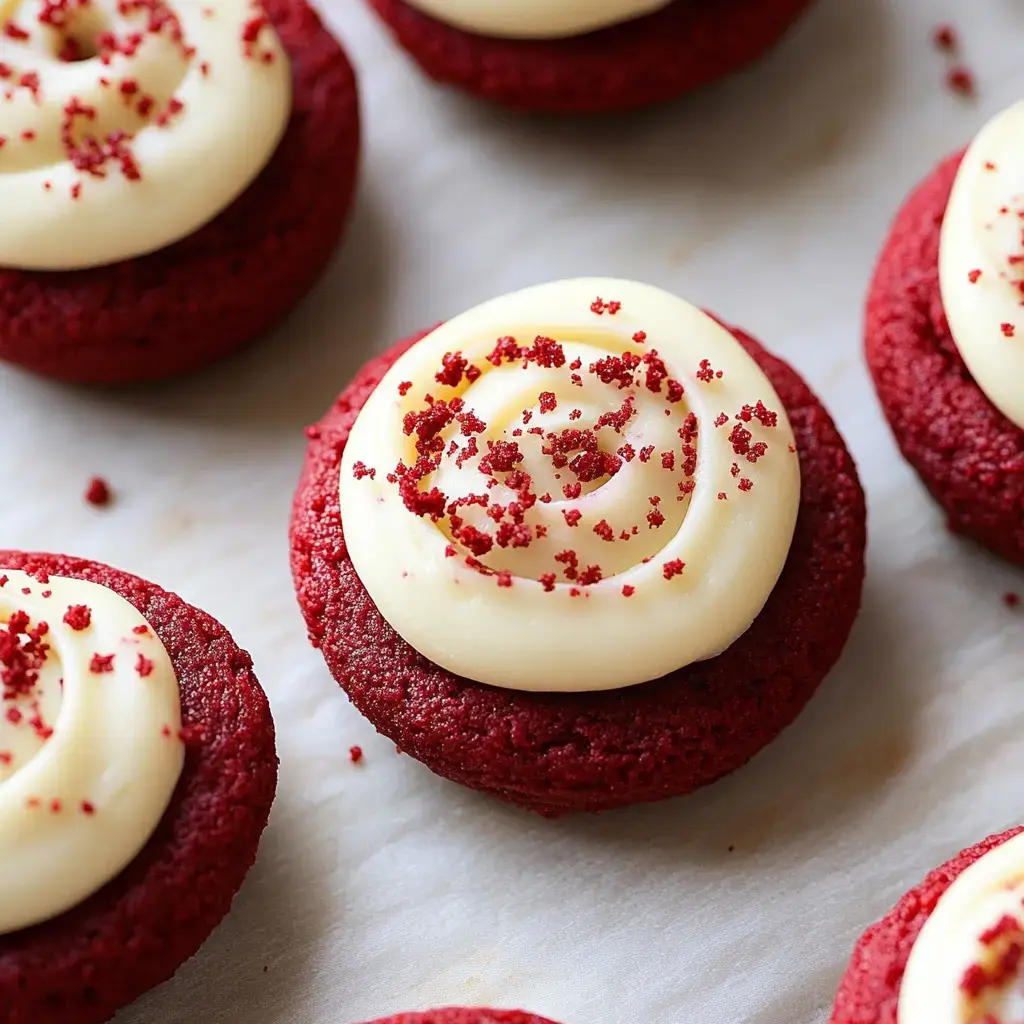
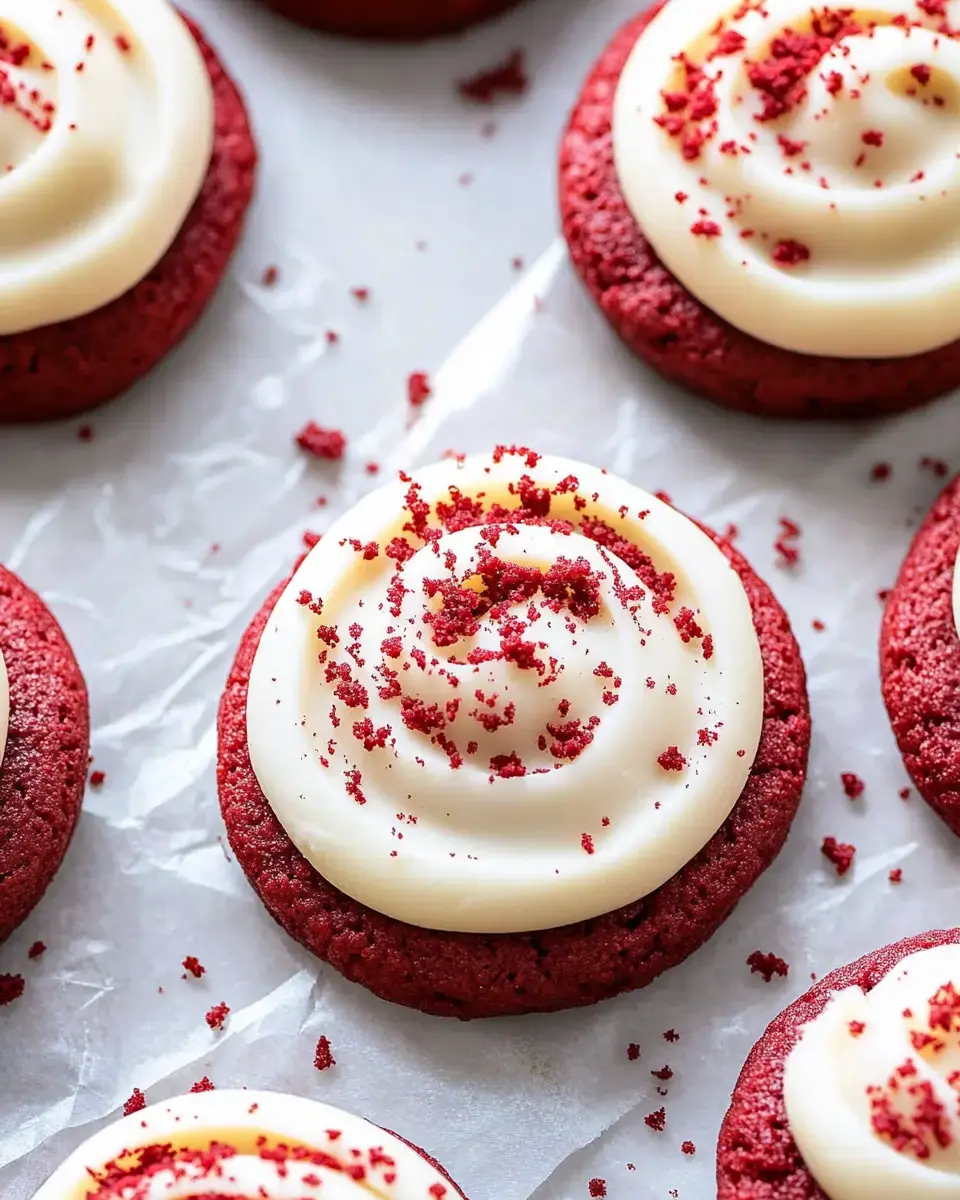
I discovered these Red Velvet Cookie Cups by accident when I couldn't choose between baking cookies or cupcakes and boy was it a happy mix-up! They've got this incredible bite that's somehow crisp yet soft, finished with the silkiest cream cheese topping you'll ever try. The vibrant hue also catches everyone's eye—making any regular day feel extra fancy.
What Makes These So Good
These treats give you cookie crunchiness and cupcake softness all at once. You'll enjoy that satisfying bite but with a pillowy middle that's downright addictive. They're quick to whip up but look totally professional. And that cream cheese topping? It's what dreams are made of.
Key Ingredients List
- Flour: Standard all-purpose keeps everything held together while staying soft.
- Sugar: A mix of brown and white creates depth and the right texture.
- Oil and Butter: Oil keeps them moist while butter adds rich taste.
- Milk Powder: This hidden helper creates that cake-like softness we're after.
- Baking Soda + Baking Powder: The team that helps create those beautiful rounded tops.
- Egg and Vinegar: They bind everything and create the perfect chemistry.
- Vanilla Extract: Brings warmth to both the cookie base and topping.
- Red Food Coloring: Creates that eye-catching color everyone loves.
- Cream Cheese: The star of the most delicious topping you'll ever make.
Easy Cooking Method
- Create Your Base
- Combine the dry stuff in one container. In another, whip butter, oil and sugars until light. Drop in the egg, vanilla, vinegar and red coloring, stir well, then slowly add your dry mix until you end up with a nice sticky mixture.
- Baking Process
- Drop spoonfuls onto your parchment-lined tray, keeping them apart as they'll grow while cooking. Bake at 350°F for around 10-12 minutes, then let them sit on the tray for 5 minutes before cooling completely.
- Create Your Topping
- Mix butter and cream cheese until completely smooth, add in powdered sugar and vanilla, then keep beating until it's fluffy and airy.
- Finishing Touches
- After your cookies are fully cooled, top with big dollops of your cream cheese mixture. Add some crumbled bits on top for that extra special look.
Tricks For Success
Don't go heavy on the flour or they'll turn out too firm. Get all your stuff to room temp before starting. Keep an eye on them while they bake since we want them soft in the middle. And don't rush the cooling before adding topping or you'll have a melty mess on your hands.
 Pin it
Keeping Them Fresh
Store them in your fridge if they've got topping and they'll stay yummy for about 4 days. Without topping? Just leave them on the counter. When I plan ahead, I'll make the cookie parts early but save the topping part for right before serving—they always taste better that way.
Perfect For Any Time
I bring these treats to everything from Christmas gatherings to random Tuesday nights. They look fancy enough for big events but they're simple enough for everyday cravings. They go great with afternoon tea or as a sweet gift for neighbors—and I always get asked for the recipe.
Frequently Asked Questions
- → What food coloring works best?
Go for gel or liquid-gel types, stay away from regular liquid ones.
- → Why add milk powder?
It gives you that soft, cupcake-like feel.
- → Why add vinegar?
It works with the cocoa to boost the red color.
- → Can I make frosting ahead?
Sure, just keep it in the fridge until you're ready.
- → What if frosting is too soft?
Pop it in the fridge for 30-60 minutes to stiffen up.