
 Pin it
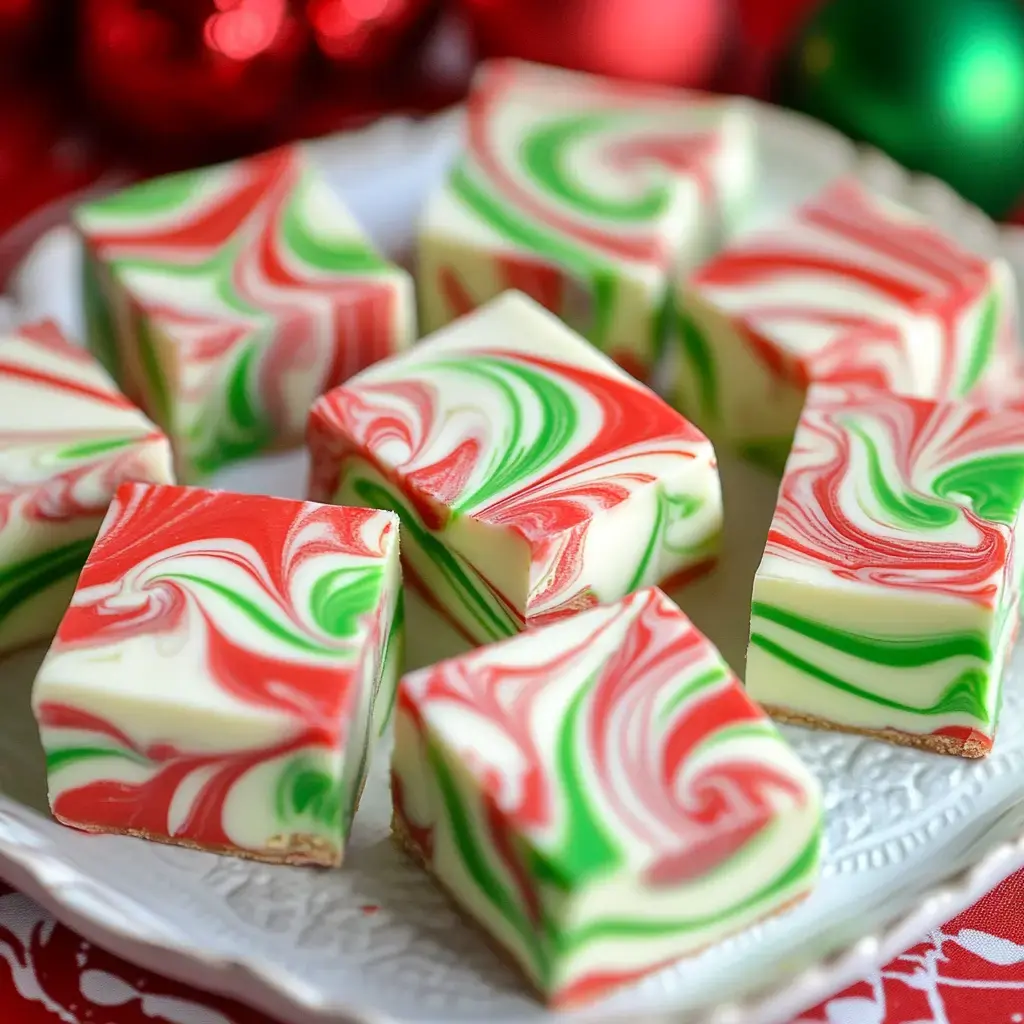
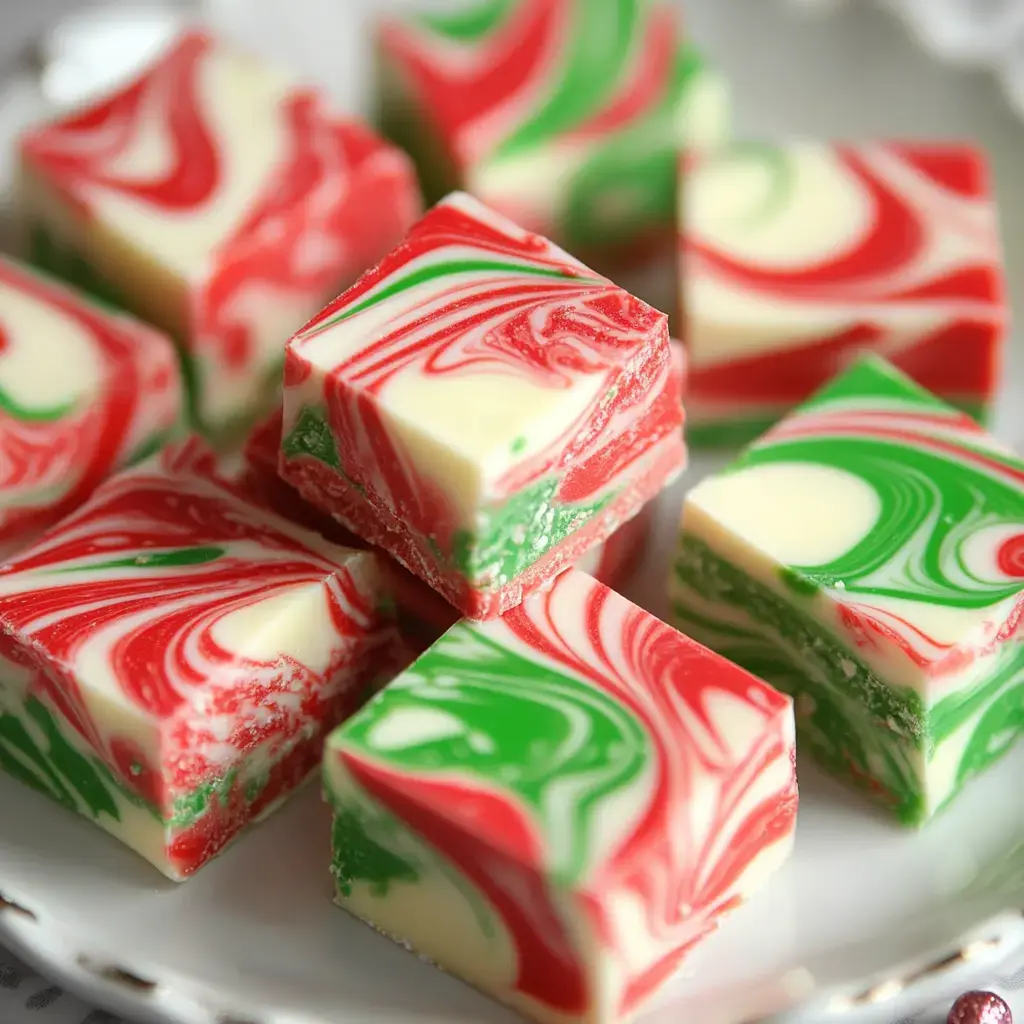
I started whipping up this cheerful fudge when I wanted something fun for the kids' holiday bake sale. The first attempt was wild—red and green on everything, and my hands stayed colorful for days! I finally figured out the trick so the swirls come out just right. The kids say it’s got that awesome Santa’s ribbon look. Even my super picky mom keeps sneaking extra pieces when she thinks no one’s watching!
Irresistible Reasons To Try This Fudge
- No need for a candy thermometer you don't have to worry about burning sugar
- Wrap up some squares in a box and you're set for gifting
- Keeps well for days—if your family doesn't find it
- Swirling colors is fun and little ones can do it
- Makes a cool twist on those usual holiday cookies
- Takes barely any special gear at all
- People always say it looks like you spent hours making it
Shopping List
- The Basics:
- Sweetened condensed milk (just the regular can)
- Decent white chocolate—the cheap bars don’t melt as smooth
- Gel food coloring in green and red, works better than liquid
- Kitchen Stuff:
- Use an 8x8 pan
- Parchment or foil for lining
- A sharp knife that’ll breeze through cutting
- Microwave-safe big bowl
Let's Make Some Magic
- Waiting Game
- Pop it in the fridge to chill for a couple hours. It's always tough keeping hungry hands away before it's set. Especially mine!
- Making Pretty Swirls
- Spoon random colors into the pan—think polka dots. Drag a knife or toothpick through to swirl it. Don’t overdo it or you’ll end up with a brown mess, trust me!
- Color Fun
- Split your smooth fudge into three bowls. Leave one plain, tint the others green and red. Watch out—those colors can dye your hands like crazy. Ask me how I know!
- Melting Time
- Toss the chocolate and condensed milk in your big bowl. Microwave in 30 second bursts, stirring each time. Keep going till it’s creamy and smooth. Take it easy so nothing scorches.
- Getting Ready
- Line your pan with parchment, leave enough to grab onto the sides later. Chop your white chocolate up small—otherwise it won’t melt all the way and you’ll get weird lumps.
 Pin it
Kitchen Pointers I Swear By
Make sure everything sits out to room temp before starting—makes melting way easier. Make sure your bowl and utensils are totally dry. Any drops of water will make the whole thing seize and turn solid. If you want bolder colors, add a little more coloring at a time—you can always go brighter, but I once made mine so red it looked like Valentine's Day!
Switch Things Up
Play with color combos for any event. Orange and black for spooky season? Yep. White and blue for frosty flair. Toss sprinkles on top before it sets—kids love it. I even tried crushed candy canes, which got messy but tasted awesome!
How To Store And Share
Let the fudge chill till it’s nice and cold, then slice into squares with a hot knife for super clean edges. So cute on party trays! Tuck it in the fridge and it’ll last a couple weeks—if you don’t eat it all first. Wrap in wax paper, pop in a bright box with a bow and you’ve got an instant homemade treat everyone wants.
Frequently Asked Questions
- → Why use gel food coloring?
Gel colors give strong color and don’t water down the mixture. Liquid ones sometimes make your fudge runny and the color weaker.
- → How do I get nice swirls?
Try not to mess with it too much. Run a knife back and forth a couple of times for that cool swirly look. If you keep stirring, colors mush together.
- → Why does my chocolate seize?
If it gets too hot or wet it clumps up. Microwave just a little at a time and always use totally dry bowls and tools.
- → Can I make different colors?
Go for it! Any gel colors work, so match any holiday vibe. Just split your mix up evenly so the colors look sharp.
- → Why refrigerate?
The fridge helps your fudge firm up and keeps the swirls neat. Letting it sit on the counter can take forever and it’s not as set.