
 Pin it
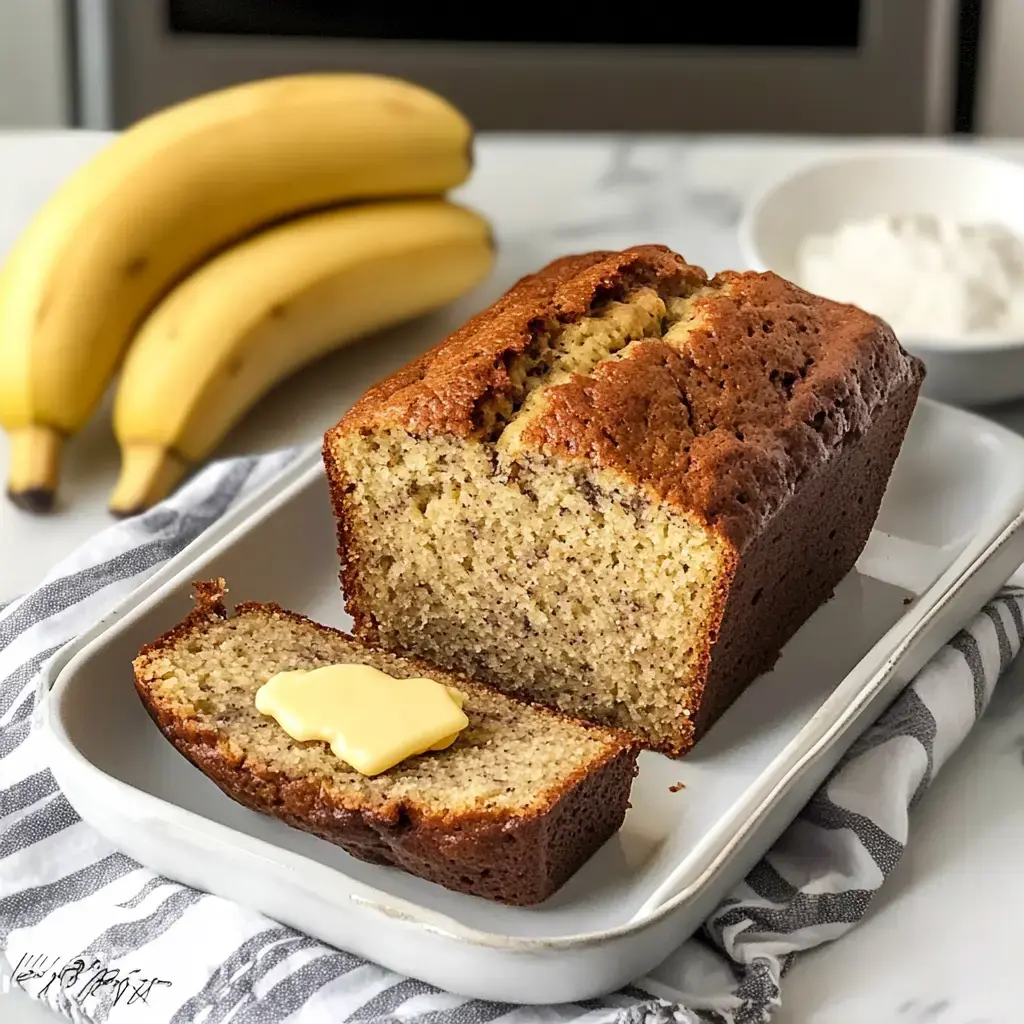
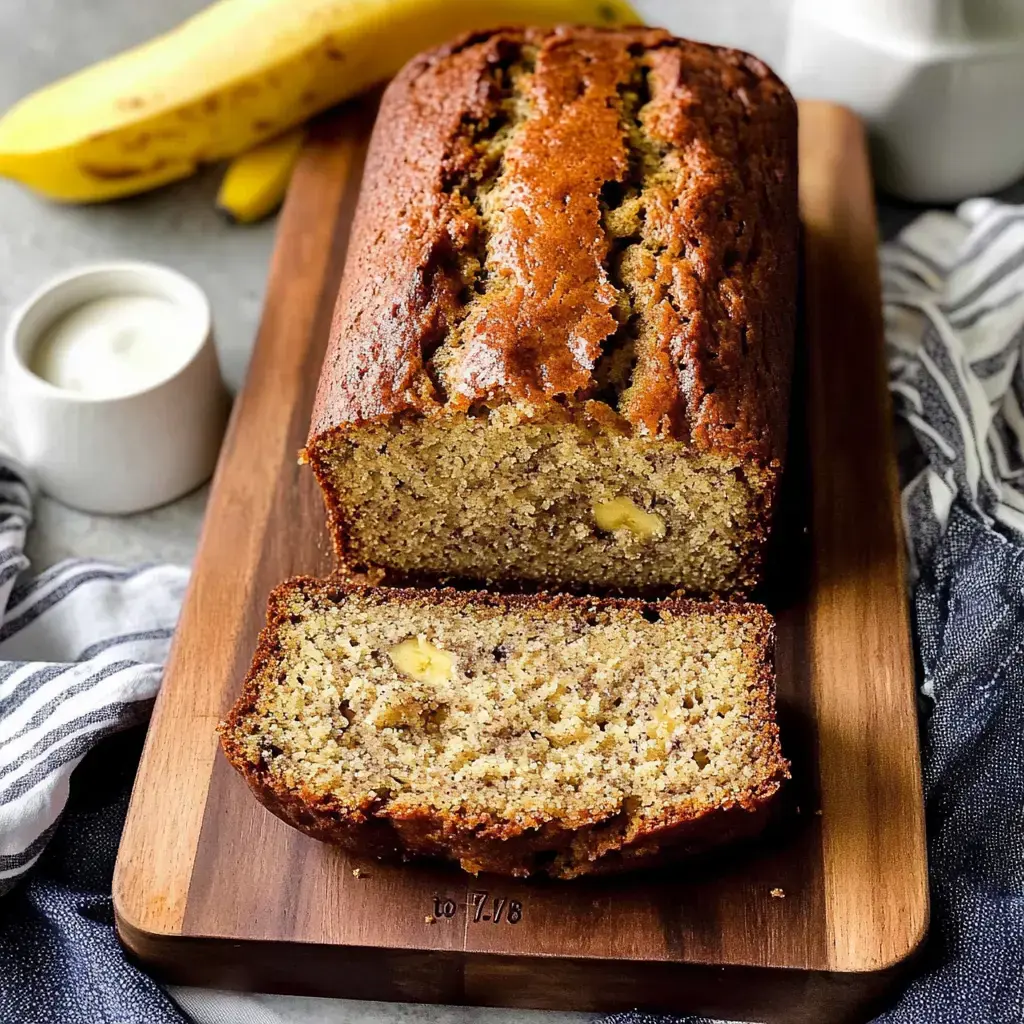
Want a no-fuss way to use those overripe bananas? Transform them into something truly wonderful! This top-notch banana bread comes together in minutes - ideal for both kitchen newbies and seasoned bakers alike. Countless home cooks rave about how straightforward this method is, and you'll quickly see why.
What Makes This Treat Irresistible
This simplified version has been treasured in our family for generations. What's the secret? We use melted butter for richer taste, and you'll only need basic tools - just grab a bowl and fork! Fancy some nuts or chocolate in your loaf? This approach works brilliantly with any additions. Whether for your morning coffee companion or as a thoughtful homemade gift, this bread always hits the mark.
Your Ingredient List
- Bananas: Spotty and dark ones deliver the most flavor
- Butter: Gives your loaf that tender, rich texture
- Baking Soda: Creates that lovely rise in your bread
- Salt: A tiny amount enhances all other flavors
- Sugar: Adds sweetness - cut back for a lighter version
- Egg: Works as the natural binder
- Vanilla: Brings depth to the taste
- Flour: Standard all-purpose works wonderfully here
Quick Instructions to Follow
- Warm Your Oven:
- Start by setting your oven to 350°F. Meanwhile, thoroughly coat your bread pan with butter, getting into every nook. For super easy removal, try adding a parchment paper strip.
- Prepare Your Base:
- In a spacious bowl, squash those ripe bananas until mostly smooth with a few small lumps left - this creates fantastic texture. Add your warm melted butter and mix everything well.
- Combine Remaining Ingredients:
- Stir in your sugar, eggs, and vanilla until barely mixed. Then carefully incorporate your flour mixture - don't overdo it! If you're adding extras like chocolate chips, gently fold them in now. Mix just until combined - too much stirring makes the bread tough.
- Into The Oven:
- Transfer your mixture to the buttered pan, evening out the surface. If you'd like, scatter a handful of chocolate chips on top for a pretty finish. Bake for around an hour, until a toothpick comes out clean from the center.
- Rest Then Devour:
- Now comes the challenge - patience! Let the bread sit in its pan for about 15 minutes. Then carefully flip it onto a cooling rack. Try to wait until it's barely warm before cutting - this keeps your slices intact. But we understand if temptation wins!
The Magic Behind Every Slice
Any standout bread should balance simplicity with flavor. This one definitely does! The aroma while it cooks will fill your home with warmth. It's the perfect solution for those forgotten bananas, and turns out moist consistently. No surprise it's a universal favorite!
Choosing Your Baking Container
When making this tasty treat, container dimensions really count! An 8x4-inch loaf pan creates a taller, more impressive result. Using something wider? Just keep an eye on cooking time - it'll finish quicker. Whether sticking to the classic version or adding nuts, the proper pan ensures success.
Creative Variations to Try
Every baker adds their unique touch to this basic formula. Some folks drizzle in maple syrup, while others can't resist throwing in chocolate chips. Looking for something more nutritious? Switch to whole grain flour or toss in walnuts. From peanut butter morsels to fresh berries, customize it however you want!
Secrets For Outstanding Results
Want your loaf to turn out fantastic every time? Make sure your oven reaches full temperature before baking. Don't stir too much - that's crucial for tender texture! Mash those bananas thoroughly but leave tiny bits for interest. If the crust darkens too quickly, just lay some foil on top.
 Pin it
Storage Suggestions
This delightful creation stays good for quite a while. Wrap it carefully once cooled completely. It'll last on your counter about 4 days, or in your fridge up to a week. Whether you've made the plain version or added special ingredients, you can even store it in the freezer for enjoying later!
Frequently Asked Questions
- → What can I use instead of butter in banana loaf?
You can swap in the same amount of coconut oil or applesauce for a healthier option.
- → Can I mix nuts into this banana loaf?
Sure thing! Throw in some chopped walnuts or pecans for extra crunch.
- → How do I make this banana loaf without gluten?
Just swap regular flour with a 1-to-1 gluten-free baking mix.
- → What's the best way to keep banana loaf fresh?
Wrap it tight in plastic or put it in an airtight container at room temp, or stick it in the fridge to last longer.
- → How brown should my bananas be for this loaf?
Look for overripe bananas with dark spots - they're sweeter and will make your loaf taste better.
Conclusion
When you've got extra ripe bananas, don't stop at this loaf - try making banana muffins, pancakes, or even a full cake. They all capture that sweet fruit flavor by mixing soft bananas with different flour combos for yummy results. These treats turn those brown bananas into something worth eating, giving you soft texture and natural sweetness, sometimes with hints of vanilla or nuts - perfect additions to any banana lover's cooking list.