
 Pin it
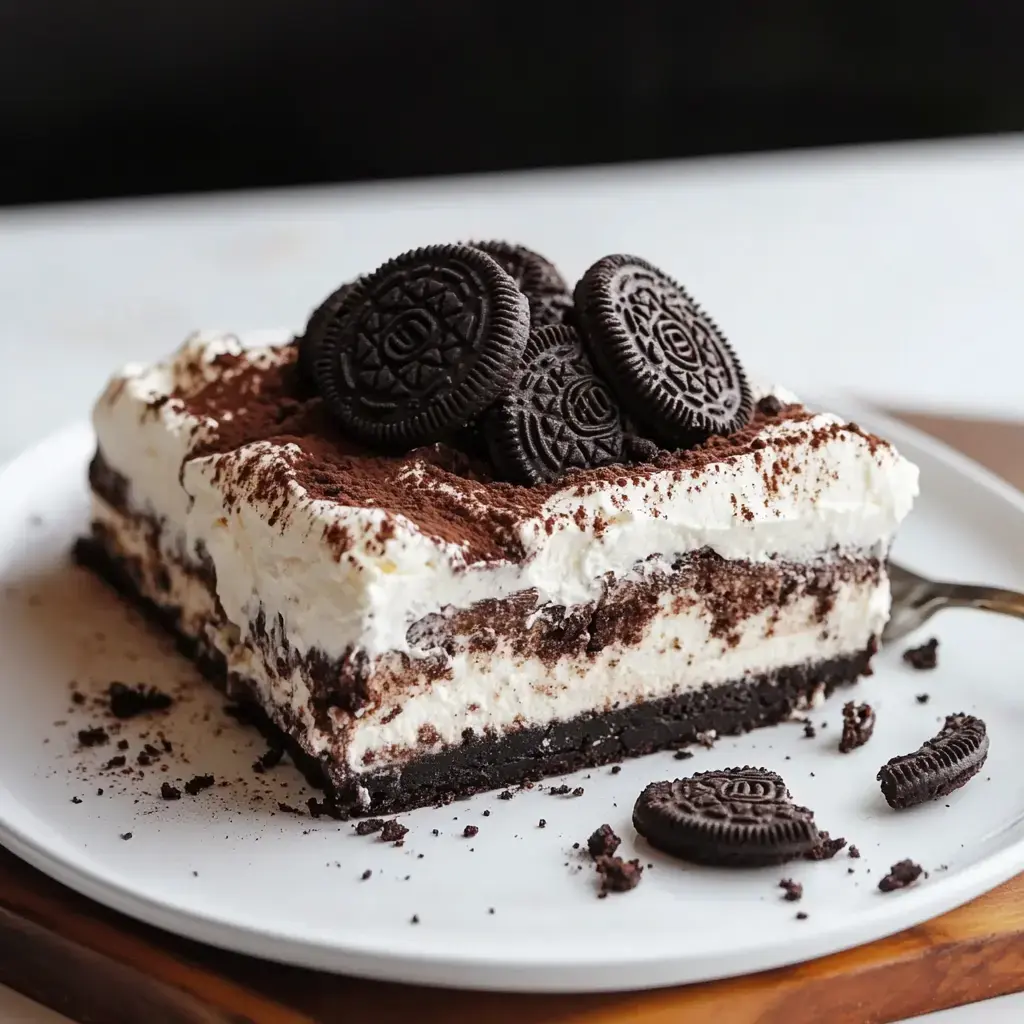
This Chocolate Oreo Dessert Stack combines crushed cookies, smooth cream cheese, twin pudding blends, and fluffy whipped topping in multiple delicious layers. It's a no-bake treat that wows at gatherings and quickly becomes everyone's most requested dessert. Sweet, multi-textured, and absolutely mouthwatering - it's a chocolate fanatic's fantasy come true!
What Makes This Treat Spectacular
This no-bake cookie stack comes together without any fuss but looks totally impressive when served. Every layer brings something special, from the crunchy cookie base to the light, airy topping. Kids and adults go crazy for this chocolatey creation, making it the star at birthday parties, holiday dinners, or just because you want something sweet.
What You'll Need for Your Dessert Stack
- Oreo Cookies: 36 cookies, smashed up for bottom and decorative bits.
- Butter: 6 tablespoons, melted down for the base.
- Cream Cheese: 8 ounces, room temperature.
- Powdered Sugar: 1/4 cup mixed into the cheese layer.
- Vanilla Extract: 1 teaspoon.
- Whipped Cream: 12 ounces, split between inside and top layers.
- Chocolate Pudding Mix: One 3.9 oz box.
- Vanilla Pudding Mix: One 3.9 oz box.
- Cold Milk: 4 cups to mix with puddings.
- Mini Chocolate Chips: 1/2 cup scattered on top.
Step-by-Step Assembly Instructions
- Create Your Base
- Smash Oreos into tiny bits. Stir in melted butter and push down firmly in a 9x13 inch pan. Pop in the fridge while working on other components.
- Whip Up the Cheese Mixture
- Whip cream cheese until fluffy. Add powdered sugar and vanilla. Gently mix in 4 ounces of whipped cream. Spread this over your cookie base.
- Build the Middle Sections
- Mix chocolate and vanilla puddings separately with cold milk. Wait for slight thickening. Pour chocolate layer first, followed by vanilla layer.
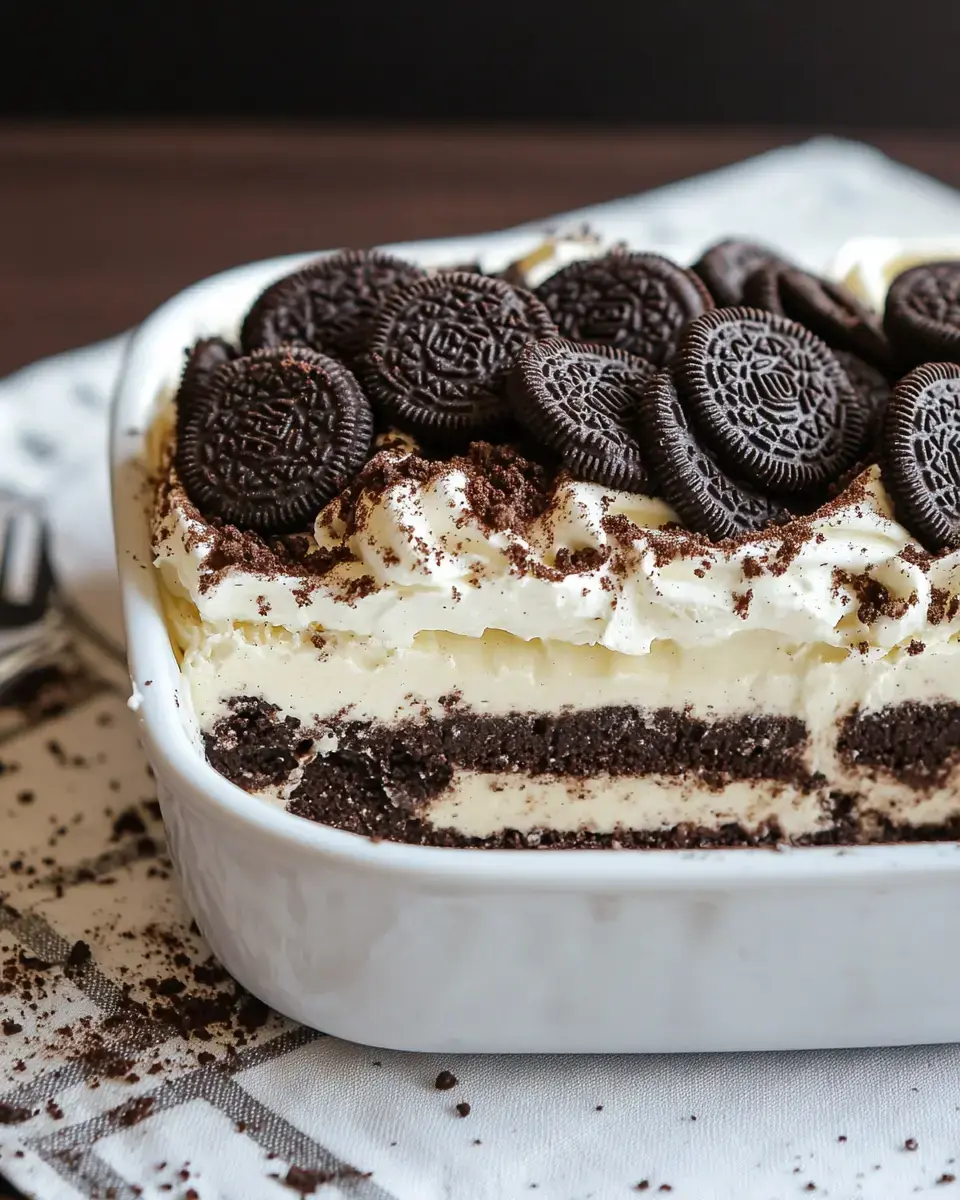
- Crown Your Creation
- Spread remaining whipped cream on top. Scatter crushed Oreos and mini chocolate chips as the finishing touch.
- Let It Set
- Keep in the fridge at least 4 hours or leave overnight until fully firm.
 Pin it
Clever Twists and Helpful Hints
Try mixing things up with different Oreo flavors or pudding types. Want something nutty? Blend some creamy peanut butter into your cheese mixture. Feeling fruity? Go with golden Oreos and strawberry jello instead. You can keep this dessert in the fridge for about 5 days if wrapped well, or stick it in the freezer for up to 2 months. Just move it to your fridge the night before you plan to eat it.
Frequently Asked Questions
- → Can I make this ahead of time?
- Absolutely! This dessert gets even better after chilling, giving the layers time to settle and flavors to blend. Prep it the day before—up to 24 hours ahead.
- → Is store-bought whipped topping okay?
- Sure, it works in a pinch! While homemade whipped cream tastes the best, you can swap it with about 16 ounces of store-bought topping.
- → Why does the cream cheese need to be warm?
- Softened cream cheese is easier to mix and won't leave any clumps in the filling. If it's too cold, it won't blend well with the other ingredients.
- → How do I store the leftovers?
- Cover the dish and keep it in the fridge. The layers will stay fresh and chilled for 3 to 4 days if stored properly.
- → Can it go in the freezer?
- Freezing isn't the best choice since the pudding and whipped layers can get funny textures once thawed. Keep it refrigerated for best results.