
 Pin it
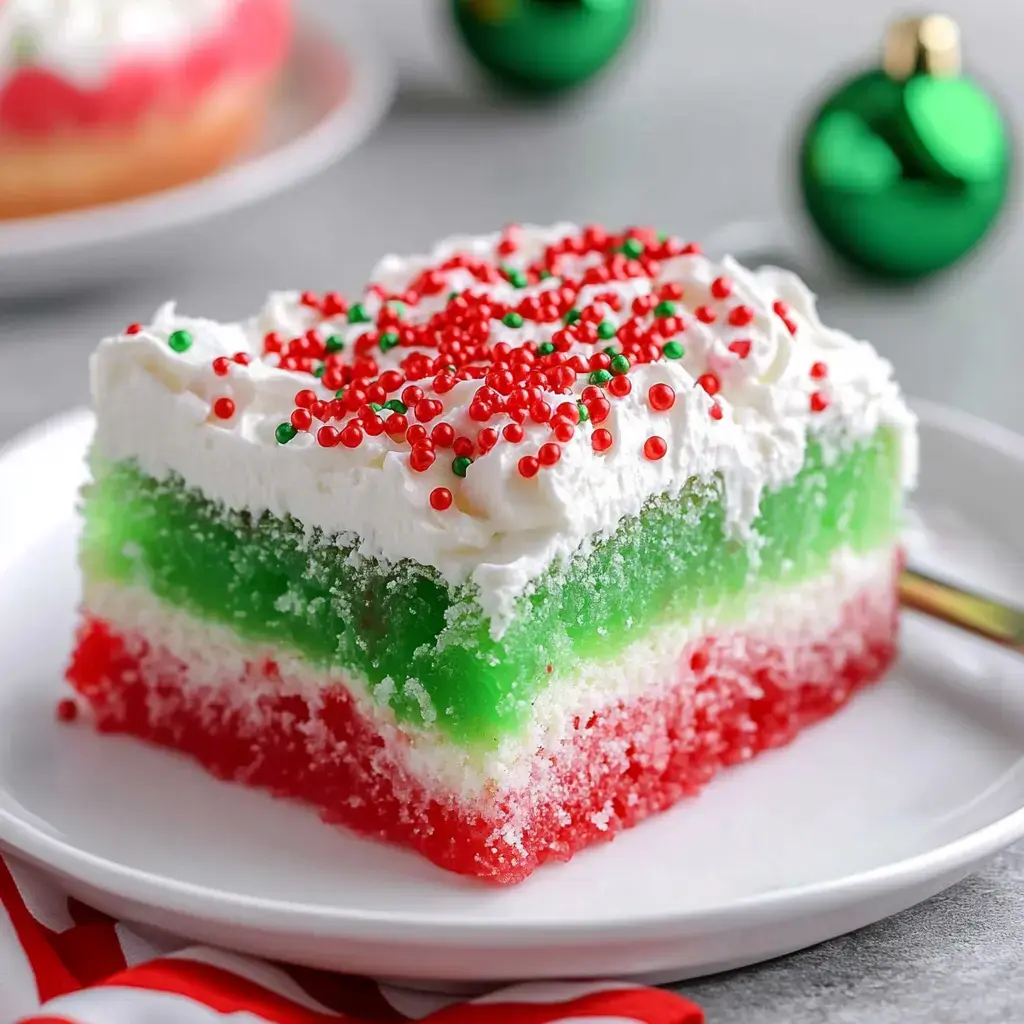
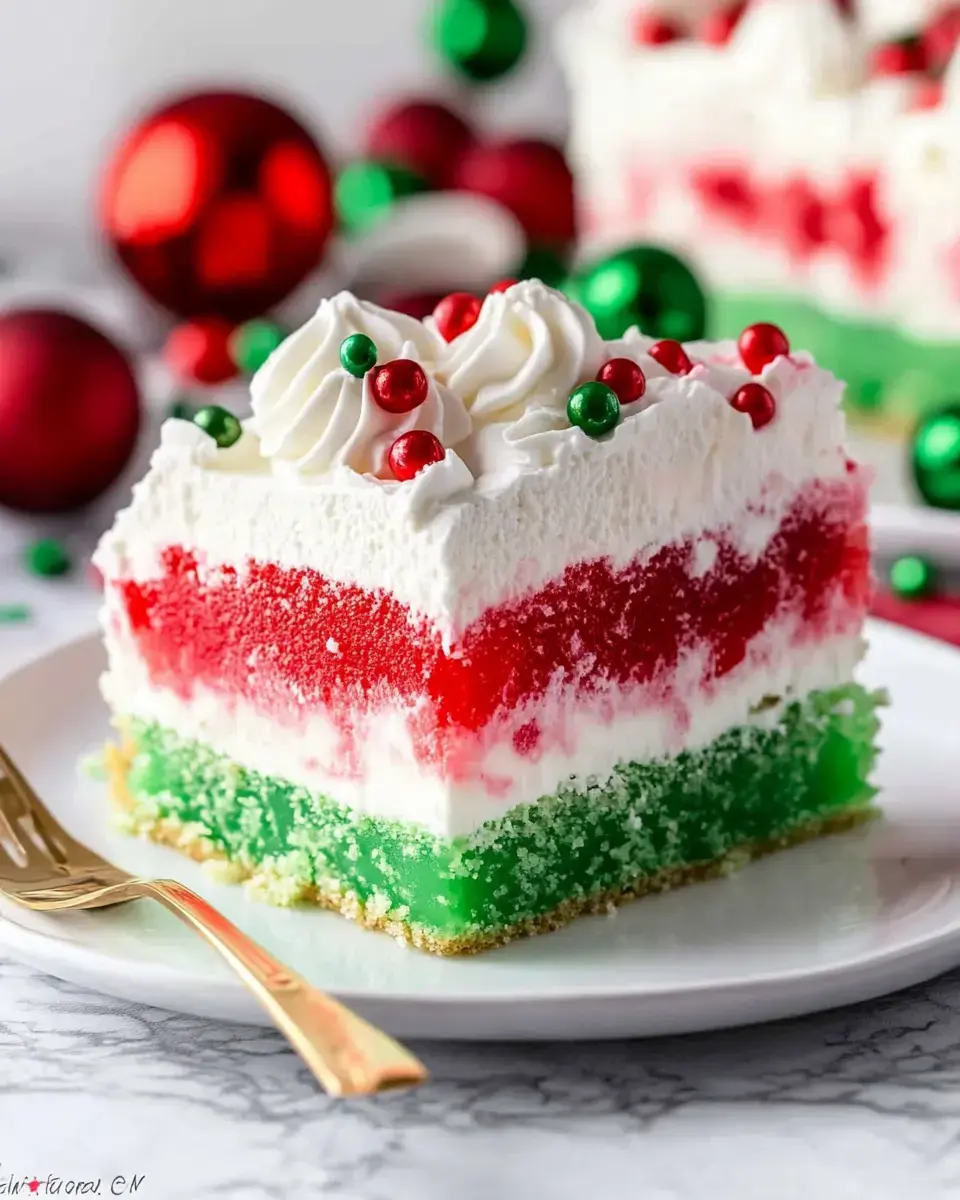
Yuletide Jello Poke Cake
I stumbled upon this eye-catching Jello Poke Cake ages ago and now it's my go-to holiday party showstopper. Guests always gasp when they spot those cheerful red and green layers peeking out. What's awesome? It looks super impressive but needs just basic stuff like boxed cake mix and Jell-O, so you can pull it off even when your December calendar's packed.
What Makes This Treat Special
Here's why this cake steals the show every time:
- The red and green streaks turn it into a slice of holiday cheer
- Each bite stays super juicy thanks to the Jell-O that soaks through
- You can whip it up in no time between holiday errands
- Prep it a day ahead and just finish the top when guests arrive
What You'll Need
- White Cake Mix: This neutral base lets our holiday colors really pop and keeps prep simple.
- Lime Jell-O: Delivers those stunning green streaks that scream holiday fun.
- Cherry Jell-O: Adds those vibrant red stripes for that unmistakable holiday vibe.
- Whipped Topping: A fluffy snow-like finish that crowns your creation beautifully.
- Holiday Sprinkles: Tiny festive bits that bring that extra touch of celebration.
- Boiling Water: Needed to melt the Jell-O so it can sink into the cake.
- Cold Water: Cools the Jell-O mixture so it won't set too fast or too slow.
Simple Making Method
- Bake Your Base Cake
- Get a box mix ready according to the package. Pour everything into a greased 9x13 dish and bake it up. Let it sit out for around 20 minutes until it's just slightly warm to touch.
- Prepare Your Jell-O Mixtures
- While waiting for the cake, get both Jell-O flavors going. Pour hot water over each packet and stir until everything dissolves completely. Add your cold water and let them cool a bit but watch they don't start setting up too much.
- Create Your Cake Tunnels
- This is where things get fun. Grab a straw or the end of a wooden spoon and poke holes all across your cake. Put them roughly an inch apart, going deep but not touching the bottom. More holes mean more flavor in every bite.
- Add Your Colorful Mixtures
- Here comes the cool part. Slowly pour each color over half the cake. Watch as the liquid vanishes into your holes. If some puddles form, just guide it toward nearby holes with your spoon.
- Chill It Thoroughly
- Wrap your creation with plastic and tuck it into the fridge. Give it at least 6 hours, though leaving it overnight works even better. This time lets everything soak in properly and set up.
- Add The Finishing Layer
- Right before you want to serve, spread that fluffy whipped topping all over the top in a smooth layer. Scatter your sprinkles on top however you like. Go wild, this part catches everyone's eye first.
Handy Hints
Using white cake really makes those holiday shades pop
- Try different Jell-O flavors if you want to switch things up
- A longer chill time gives you cleaner slices
- Wait until serving day to add the topping for the freshest look
 Pin it
Keeping It Fresh
Store your cake in the fridge with a cover and it'll stay yummy for about 3 days. Want to make it super early? Don't add the topping yet, wrap it tightly and pop it in the freezer for up to a month. Just thaw it overnight in your fridge then add the creamy top before bringing it out.
A Holiday Table Showstopper
Whenever this cake appears at my December get-togethers, it vanishes faster than Christmas morning presents. Something about those bright colorful stripes and that fluffy white top just brings out smiles all around. Pair it with some warm cocoa or festive punch and watch as your holiday party comes alive!
Frequently Asked Questions
- → Why is less cold water used?
It makes the Jello richer for a stronger flavor in the cake.
- → Can it be prepared early?
Sure, making it the day before helps the Jello fully set.
- → Why cool the cake before adding Jello?
Cooling keeps the cake intact, avoiding crumbles when adding the Jello.
- → Is homemade cake an option?
Absolutely! Use any simple white cake recipe for the base.
- → Is fresh whipped cream okay?
Yes, but Cool Whip lasts longer on the cake when served.