
 Pin it
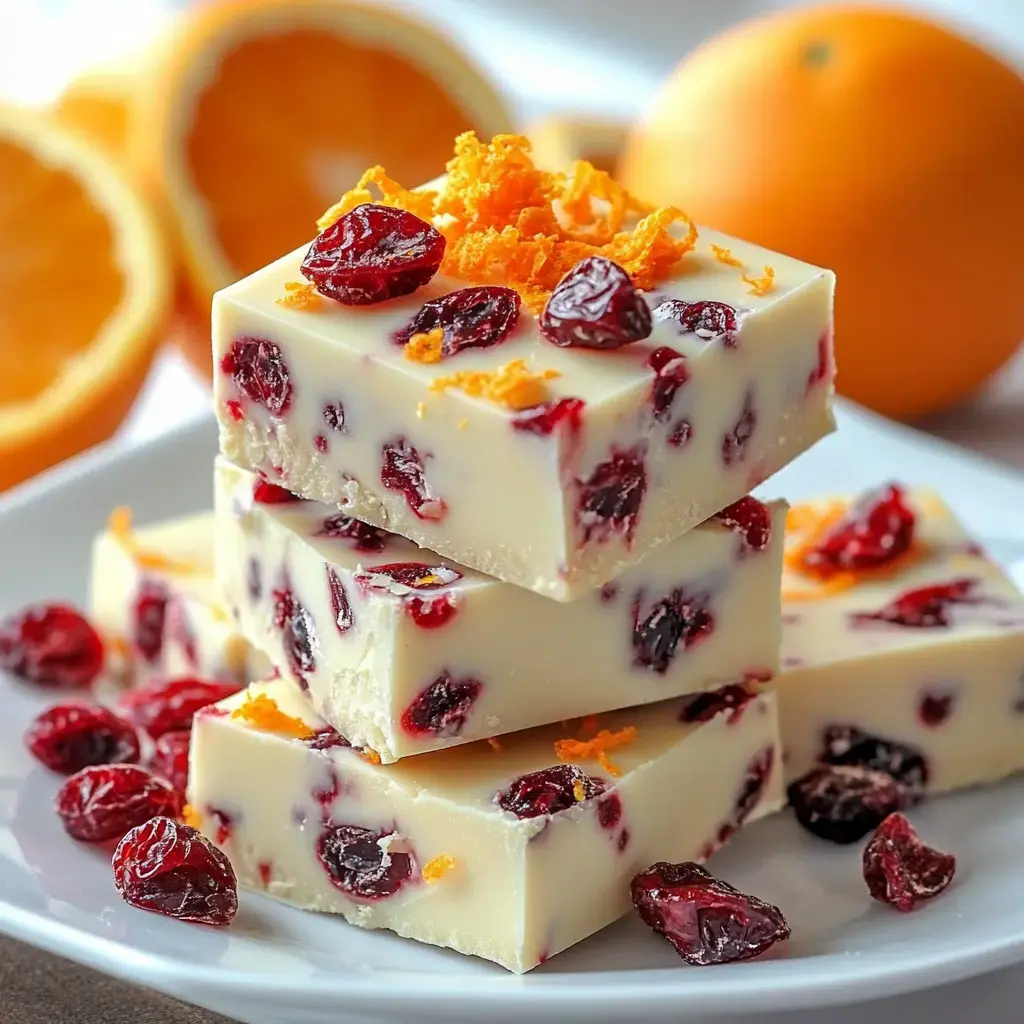
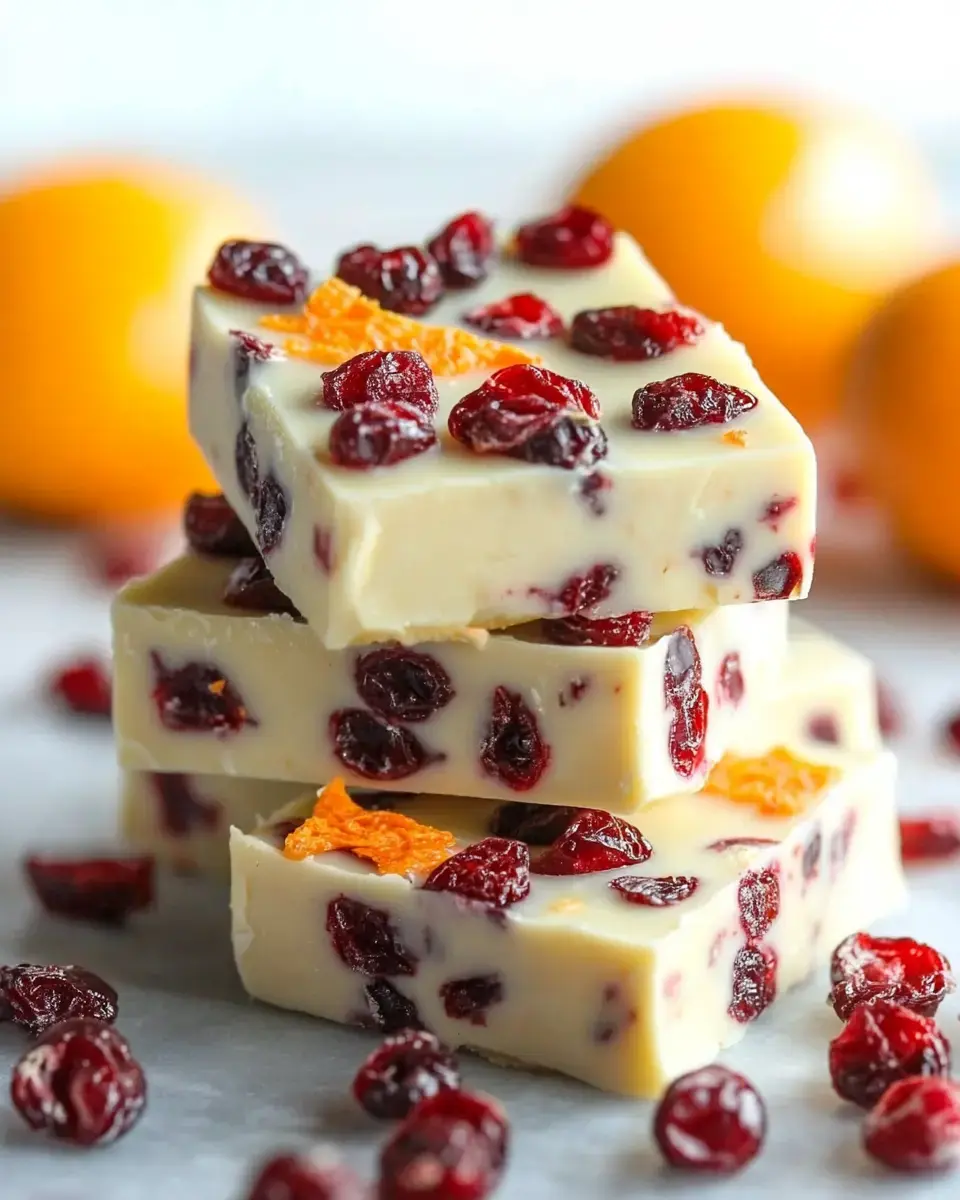
Making this simple cranberry orange fudge at home totally changed the way I give gifts for the holidays. After lots of trial and error, I finally nailed down the perfect mix of tart berry and punchy citrus. It comes together with just a handful of good ingredients. You won’t believe how fancy it looks and tastes — just like something you'd pick up at an upscale candy shop.
Quick Look at What You’ll Need
Good stuff makes all the difference here. Go for legit white chocolate (cocoa butter included) and skip those baking chips or they just won’t melt right. Grab the soft, juicy kind of dried cranberries. Fresh oranges are a must because their zest gives off all that zippy oil. Don’t grab low-fat condensed milk — the fudge just won’t set if you do.
Key Gear and Must-Have Items
- Gear List:
- Offset spatula
- 8x8 metal pan
- Microplane grater
- Double boiler setup
- Heavy-duty parchment
- Digital thermometer
- For Topping:
- Orange zest (fresh is best)
- Some cranberries you held back
- A pinch of edible gold, for extra sparkle (if you want)
- Main Stuff:
- Full-fat sweetened condensed milk, 14 oz
- Two big organic oranges
- High-quality white chocolate, 24 oz
- Nice dried cranberries, 1 cup
- Real orange extract
Step-by-Step Action Plan
- Chill Time
- Slide your pan into the fridge and let it sit for at least 4 hours without messing with it. The fudge needs that time to set up right. Add any finishing touches on top while it’s still sticky.
- Pour and Shape
- Right after mixing, spread the blend evenly in your lined tray with the spatula. Smooth out the top and don’t forget those flourishes before it firms up.
- Flavor Boost
- Once off the heat at 88°F, slowly fold in the cranberries and zest. Splash in the orange extract and give it a final gentle mix.
- Melt the Base
- Get 2 inches of water simmering underneath. Toss the chocolate and condensed milk into the top bowl. Stir the mix using a swirling motion the whole time so it turns out silky and lump-free. Watch for 180°F and stop at exactly 88°F.
- Pan Prep
- Line your metal tray with parchment and leave some extra to grab later. Press it snug in the corners and give the paper a quick grease so the fudge pops out easy.
Best Fixes and Pitfalls
For neat squares, warm your knife before every cut and clean off smudges as you go. If the mix gets lumpy, put it back over gentle heat and stir to smooth it again. Don’t hit 90°F or higher while melting the chocolate — that’s the meltdown zone. Slowly add things instead of dumping them all together or you’ll get clumps. Make sure everything’s super dry — even one water drop can mess up the whole batch.
 Pin it
Fun Ways to Switch It Up
Mix it up and use other berries like raspberries with lime or blueberries with lemon zest. Sprinkle in some chopped nuts if you want a little crunch. Hold back a bit of the melted white chocolate, color it naturally, then swirl it on top for a cool look. Want it to really pop? Spread a layer of glossy dark chocolate on top before chilling.
Storing and Sharing
Stack pieces between parchment sheets in a tight-sealing box. Keep them in the fridge, but for the best bite, let them warm up a little before serving. Cut them into neat little squares and drop into candy wrappers for gifts. Pop them in cute boxes with see-through lids so your pretty toppings show off. They’ll stay just right in the fridge for up to two weeks.
Frequently Asked Questions
- → Why double boiler?
- White chocolate gets ruined fast on direct heat. Go gentle with a double boiler for super smooth fudge.
- → Fresh or dried cranberries?
- Stick with dried cranberries every time. Fresh ones are too wet and will mess up the texture.
- → Can I skip orange extract?
- Only using zest won’t get you enough orange punch. Throw in the extract for that real orange vibe.
- → Why's it grainy?
- Probably got the chocolate too hot. Keep it low and stir, and you should get that melt-in-your-mouth texture.
- → How long does it keep?
- Pop it in the fridge, and it’ll stay good for two weeks. Let pieces warm up a bit before munching.