
 Pin it
I first whipped this up one December when I needed a quick, budget-friendly gift. It took a few attempts (I definitely made some accidental chocolate soup...), but now I've nailed this easy version that looks super fancy. Everybody in my family asks for it as soon as December hits and trees go up!
Irresistible Reasons to Try This
Honestly, don't worry if you've never made fudge before—this one's a breeze. It turns out looking all dressed up, awesome for giving to friends. Make a batch early in the season and you'll have treats that taste fresh for ages. The best part? People's happy reactions when they spot those festive tree toppers!
Ingredients to Gather
- Your Gear:
- Baking pan, 8x8 size
- Parchment
- Heatproof mixing bowl or double boiler
- Spatula (rubber works best)
- Decoration Stuff:
- Green oil-based candy dye
- Edible gold glitter
- Assorted winter sprinkles
- Main Ingredients:
- Pinch of salt (sea is nice)
- 1 teaspoon vanilla
- Can of sweet condensed milk
- 16 ounces almond bark
- 2 cups white chocolate chips (I like Ghirardelli)
Super Simple Fudge Time
- Get Ready First
- Cut your parchment to fit with extra hanging over, so you can pull the fudge out later. Lay out everything ahead, because once you start melting, it goes quick.
- Chocolate Melt Fun
- Pop your bowl over a pot with a low simmer. Add almond bark and chocolate chips slowly while stirring. When it's all smooth, pour in the condensed milk a little at a time while stirring nonstop. The mix will look all shiny and lovely.
- Time to Decorate
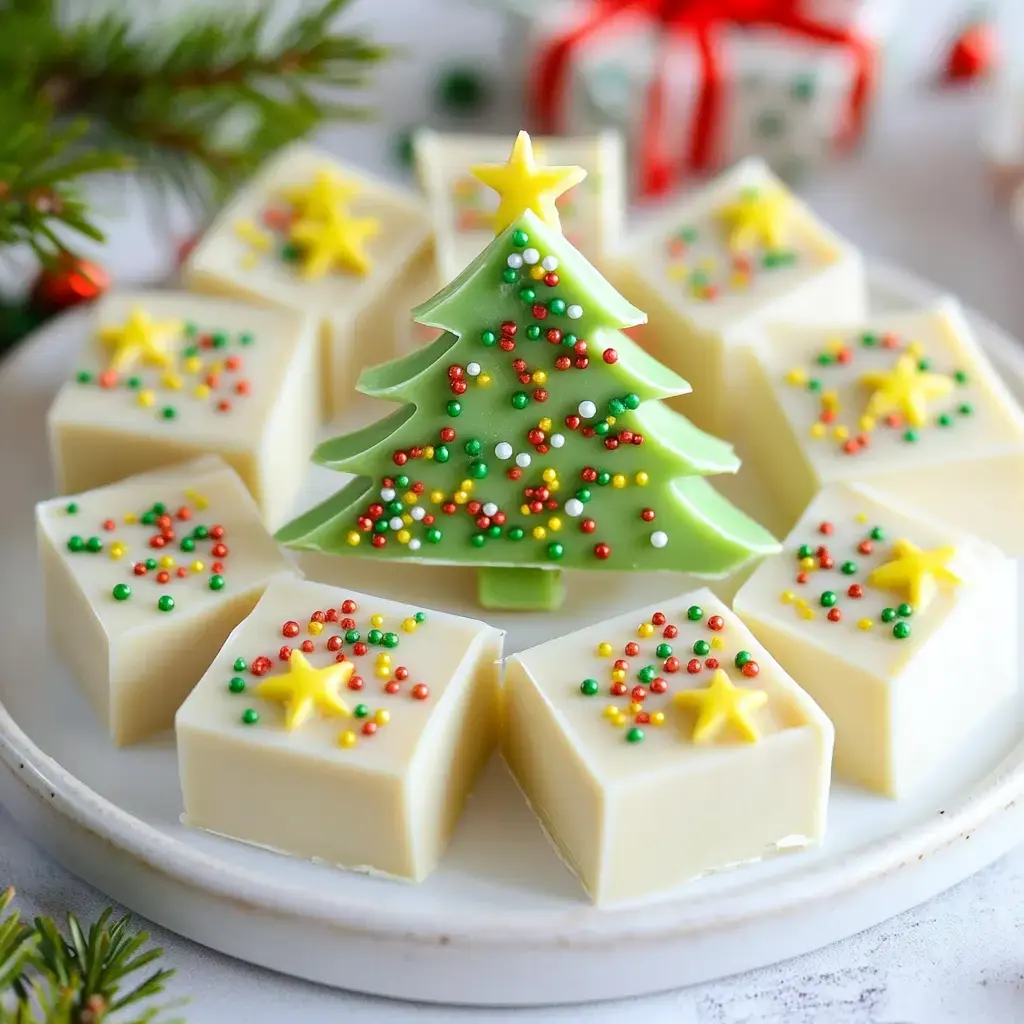
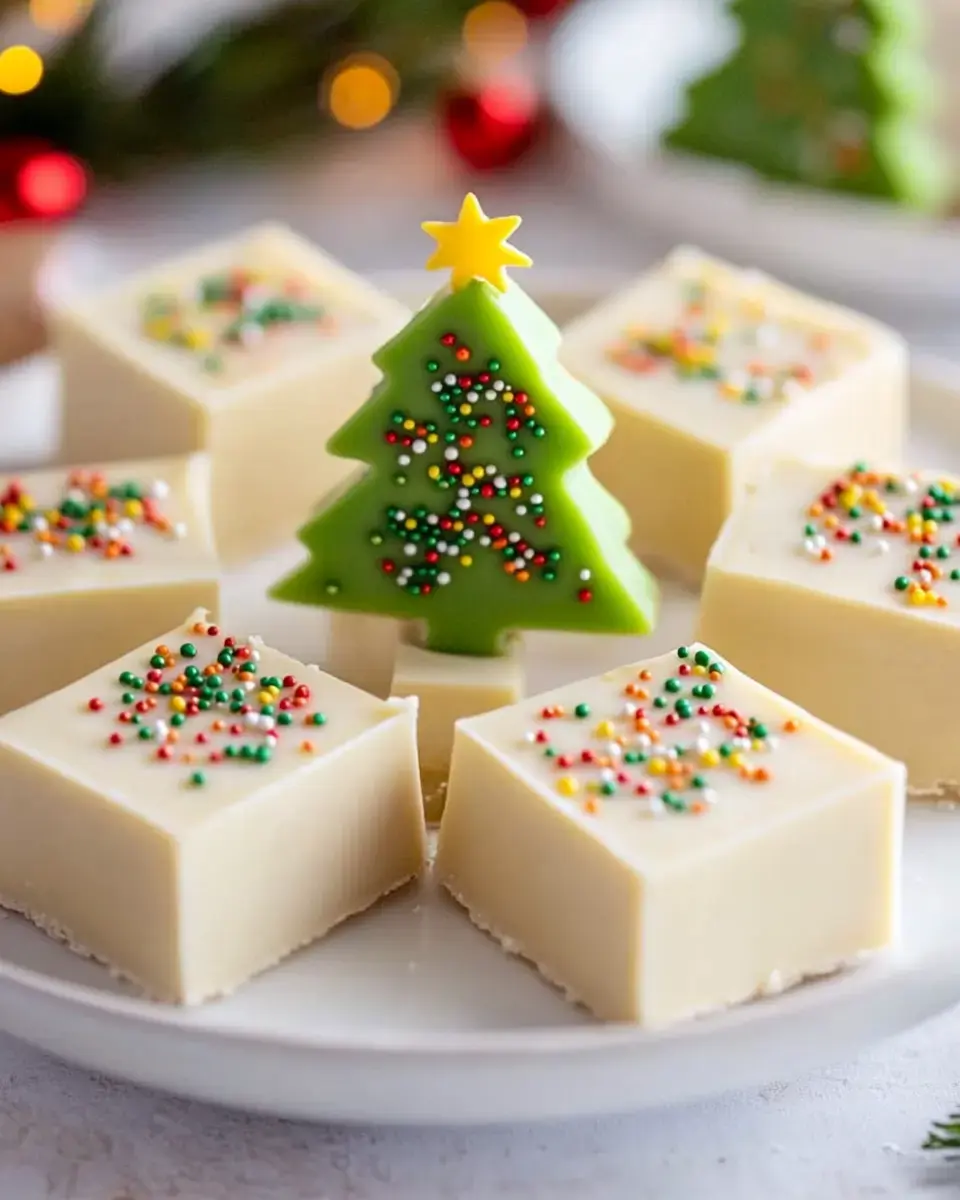
- Spread the fudge in your pan and tap to level it out. When it's just barely set, tint extra melted chocolate green and put it in a piping bag. Draw on your trees and toss on gold sprinkles before it firms up!
My Go-To Tricks
Keep a close eye on the chocolate's heat—too hot and it goes grainy, not warm enough and nothing melts. If the topping thickens up early, warm your piping bag up between your hands. For smooth slices, let your knife chill under hot water then wipe it dry every time you cut.
 Pin it
Make It Your Way
Once you know this version inside-out, have some fun with it! Maybe crush in some minty candy canes, or stir peppermint into the chocolate. I've even done orange and black for spooky season, pink and white for February. Sometimes, switching up the extract to almond or orange is all you need for a new vibe.
Keeping and Sharing
Layer your fudge between sheets of wax paper and tuck it in a tight-sealing box somewhere cool—mine goes far from the stove. If I'm giving these away, I use mini cupcake wrappers inside a sparkly box. Tie it up and pop on a card, and you've got a sweet homemade surprise that'll make anyone's day!
Frequently Asked Questions
- → Why go for oil-based dyes?
Regular dye messes with melted chocolate and turns it lumpy. Oil-based stuff blends in smoothly for perfect candy trees.
- → What if my drizzle's goopy?
Check that almond bark is hot and liquid. Snip a smaller corner in your bag for finer candy lines.
- → Should I keep it in the fridge?
Nope, it keeps great sealed up on the counter for a week or two. Want it longer? Pop it in the fridge and it'll last nearly a month.
- → Can I make different decorations?
All sorts of shapes are fun. Try hearts or eggs for other holidays. Simple shapes work best every time.
- → How come my fudge is still soft?
Let it set all the way. Refrigerating gets it firm quicker, but letting it chill at room temp gives the best bite and feel.