
 Pin it
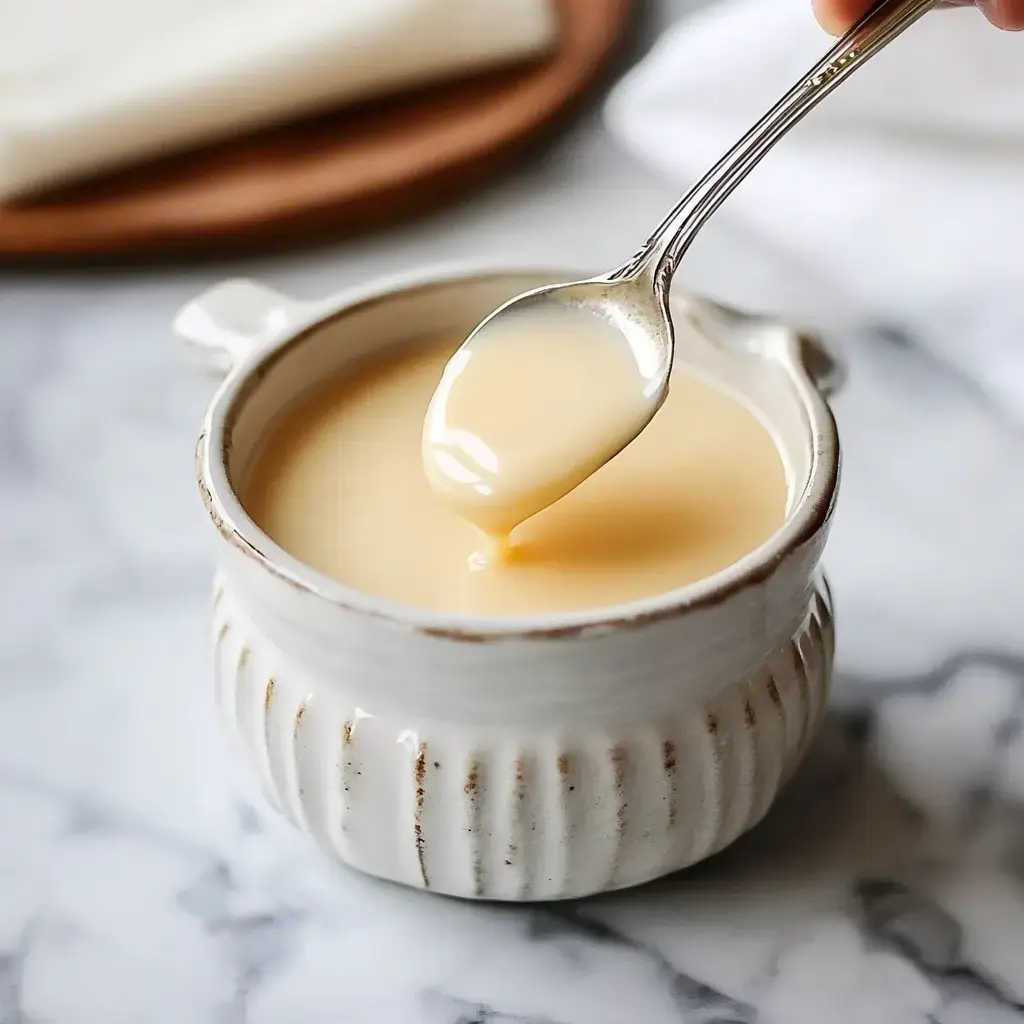
I came up with this super simple way to whip up sweetened condensed milk at home after a late-night baking scramble. I ran out of the canned stuff right when I was making my mom’s fudge. I googled some tricks, poked around my cabinets, and landed on this version that honestly tastes way better than the kind from the store. Trust me, after lots of burnt pots and late-night taste tests, I figured out how to make it thick, dreamy, and smooth every single time.
Why You'll Adore This Condensed Milk
If you think making your own sweetened condensed milk is tough, think again. This method is honestly a breeze and you’ll always recognize every ingredient you toss in - zero weird extras, no hidden junk. You even get to tweak the sweetness until it’s just right for you. The thing I like best is the way your kitchen smells while it’s bubbling away. Seriously, it’s like a cozy hug straight from grandma’s house.
Ingredients
- What You'll Need:
- 1 vanilla bean (optional but so worth it)
- 4 cups whole milk (don’t grab reduced fat for this)
- 1/4 teaspoon salt
- 1 cup plain white sugar
- Trusty Tools:
- Glass jars with lids
- Sturdy saucepan (heavy-bottomed)
- Wooden spoon with a long handle
- Candy thermometer (way easier with one)
Simple Step-by-Step Directions
- Finishing Touches
- Set that sandwich aside for a minute before cutting it. Melty cheese inside and warm bread outside need a moment to settle. Slice it diagonally for that old-school feeling. Press gently with your spatula right at the end to help the layers stick together and the cheese go gooey.
- Get That Golden Toast
- Heat your skillet to medium until a water drop dances. Lay the sandwich in, buttered side against the pan, and wait 3-4 minutes till you get that lovely golden crust. Flip with care and let the other side catch up.
- Stack It Right
- Put a layer of cheese inside on both bread slices to keep things from getting soggy. Toss on your juicy chicken next, top with soft avocado slices, then a little salt and pepper to taste.
- Craft Your Base
- Butter up one side of your bread, then flip it so the butter stays on the outside—this is what’ll make everything crispy and perfect.
- Get Everything Ready
- Start with room-temp butter, it spreads way easier than cold. Make sure your avocado is ready and ripe, cheese is shredded or sliced, and chicken is all set.
Top Tips for Smooth Results
Keep the heat chill—if things start bubbling wild or sounding angry, you gotta turn it down. You’re shooting for gentle bubbling, not chaos. If you see the mix getting dark and crusty at the edges, leave those bits alone. Here’s my little hack: I zap the sugar in the oven for a couple minutes before pouring it in. Warm sugar melts into the milk in no time!
 Pin it
Fun Ways to Use It
Don’t just save this for baking. Splash a spoonful in your coffee or tea and see what happens. It’s an awesome base for DIY ice cream. You can pour it over a bowl of fresh berries too—it’s a game changer. Whenever I use it for no-bake treats, the cookies turn out extra rich and dreamy.
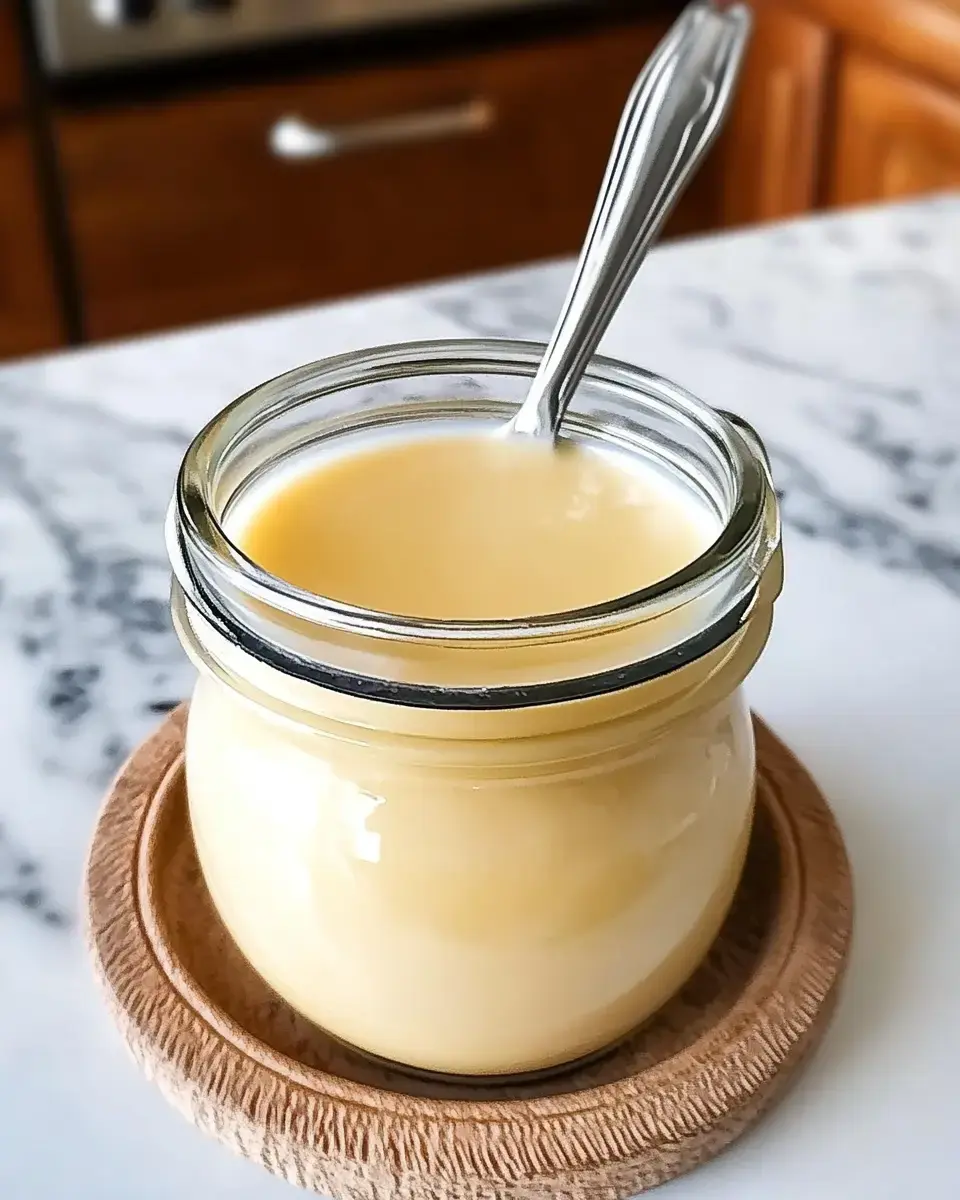
Keep It Fresh & Handy
Pour your hot sweetened condensed milk right into sparkling clean jars. Stash it in the fridge and you’re set for about four weeks—if you don’t eat it all first! It thickens up a lot as it cools, so don’t freak out if it’s a bit runny at the start. If you need it to flow again, just warm it up gently and you’re good to go.
Frequently Asked Questions
- → Why does it feel like forever to thicken?
Spread it into a couple of pans instead of one huge one. The difference? Two pans get you there in 40, not hours.
- → Feels too runny?
Chill, it'll firm up as it cools. If you boiled it down halfway, you're set.
- → What’s up with the crystals on the side?
Stirring too hard after the sugar's gone makes them pop up. Go easy and just check the bottom's not burning.
- → Too sweet or not sweet enough?
Start off with half a cup of sugar, have a quick taste once it’s thicker, and toss in more if you want. You can’t sweeten it later.
- → Can’t pour when it’s from the fridge?
No worries. Zap it a few times in the microwave and it'll loosen right up.
Conclusion
This sweet milk mix is crazy flexible. You only need a few staples and a little time to pull it off at home.