
 Pin it
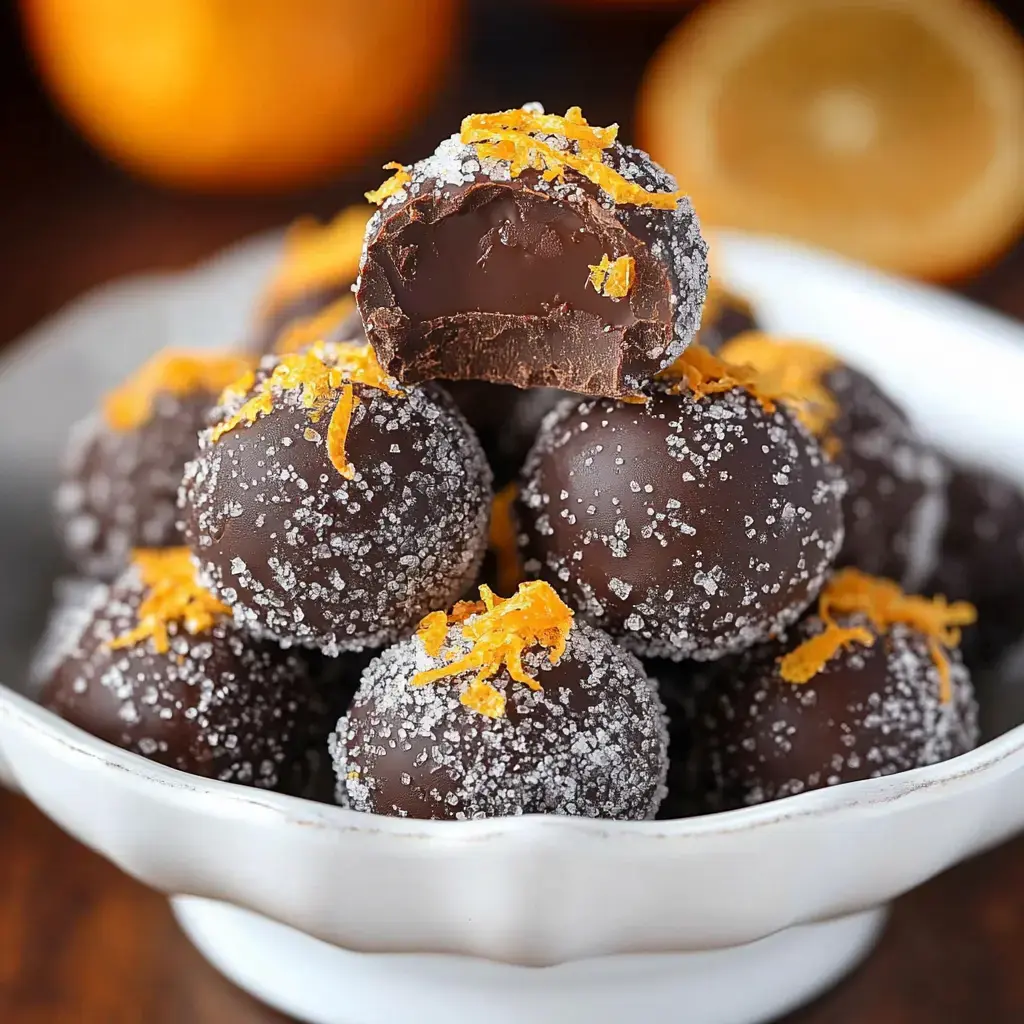
My kitchen always fills with the most incredible chocolate-citrus smell when I whip up these Orange Chocolate Truffles. I stumbled on this treat while playing around with extra chocolate on a drizzly day, and now they're my favorite indulgence. The coolest thing? You'll only grab five ingredients and won't need any special tools—just your hands and a bit of chocolate passion.
What Makes These Special
There's something way better about making truffles yourself instead of grabbing them from a store. You won't believe how simple they are once you try them. That gorgeous mix of deep chocolate with zingy orange is totally addictive. They're also naturally free from gluten and make really thoughtful handmade presents.
Basic Components
- Full-Fat Cream: Don't skimp here—the richness creates that velvety center you'll love.
- Orange Peel Zest: This brings all the wow factor—just grab a juicy orange and get zesting.
- Orange Extract: A tiny drop kicks up that citrus flavor even more.
- Quality Dark Chocolate: Treat yourself to the good stuff—it really shows in the taste. Switch to milk or semi-sweet if that's your preference.
- Sugar Crystals: For that pretty outer layer, though cocoa, chopped nuts or colorful sprinkles work great too.
Quick Preparation Method
- Mix Your Base
- Warm your cream in the microwave until it's steaming. Add your fragrant orange bits and extract, then dump in the chocolate chips. Keep mixing until it looks shiny and smooth. If needed, give it another quick zap for 15 seconds.
- Cool It Down
- Put a cover on your chocolate mix and stick it in the fridge for about 30 minutes until it's firm enough to work with.
- Shape Your Treats
- Grab a tablespoon and scoop out chunks of the cold mixture. Roll them between your hands into small balls, then coat them in sugar until they're all sparkly.
- Finish Them Off
- Arrange them on parchment and tuck them back in the fridge until you're ready to enjoy. They taste great whether cold or at room temp.
Smart Tricks and Twists
Your cream needs to be super hot when you mix in the chocolate so everything melts properly. When you're working with your orange, just take the bright outer skin—avoid the white stuff underneath as it tastes bitter. Don't be afraid to try different coatings or add a dash of booze to the mix for grown-up versions.
Perfect for Gifting
I've always loved wrapping these up in cute boxes with parchment linings. They make such wonderful homemade gifts. Sometimes I'll coat them in birthday sprinkles or fancy nuts depending on the occasion. They always get big smiles when handed out as presents.
 Pin it
Impressive Handmade Presents
I really enjoy putting these in pretty little boxes with parchment paper inside. They work so well as personal gifts from the heart. I sometimes roll them in fun colored sprinkles for birthday treats or crushed nuts when I want something more elegant. They never disappoint when given as presents.
Keeping Them Fresh
Store your truffles in a sealed container in your fridge and they'll stay yummy for about a week. Want to plan ahead? You can freeze them up to 3 months. Just move them to the fridge overnight before you want to eat them—they'll taste just as good as day one.
Frequently Asked Questions
- → Why warm the cream?
Warm cream makes the chocolate melt properly without burning it.
- → Can I swap for milk chocolate?
We suggest dark chocolate for the best balance with the orange flavor.
- → Why do I need to cool the mix?
Cooling helps the ganache get firm enough to roll into shapes.
- → Can I roll them in something else?
You can use cocoa powder or crushed nuts instead of sugar.
- → How long will they stay good?
They'll keep up to a week in the fridge in a sealed container.