
 Pin it
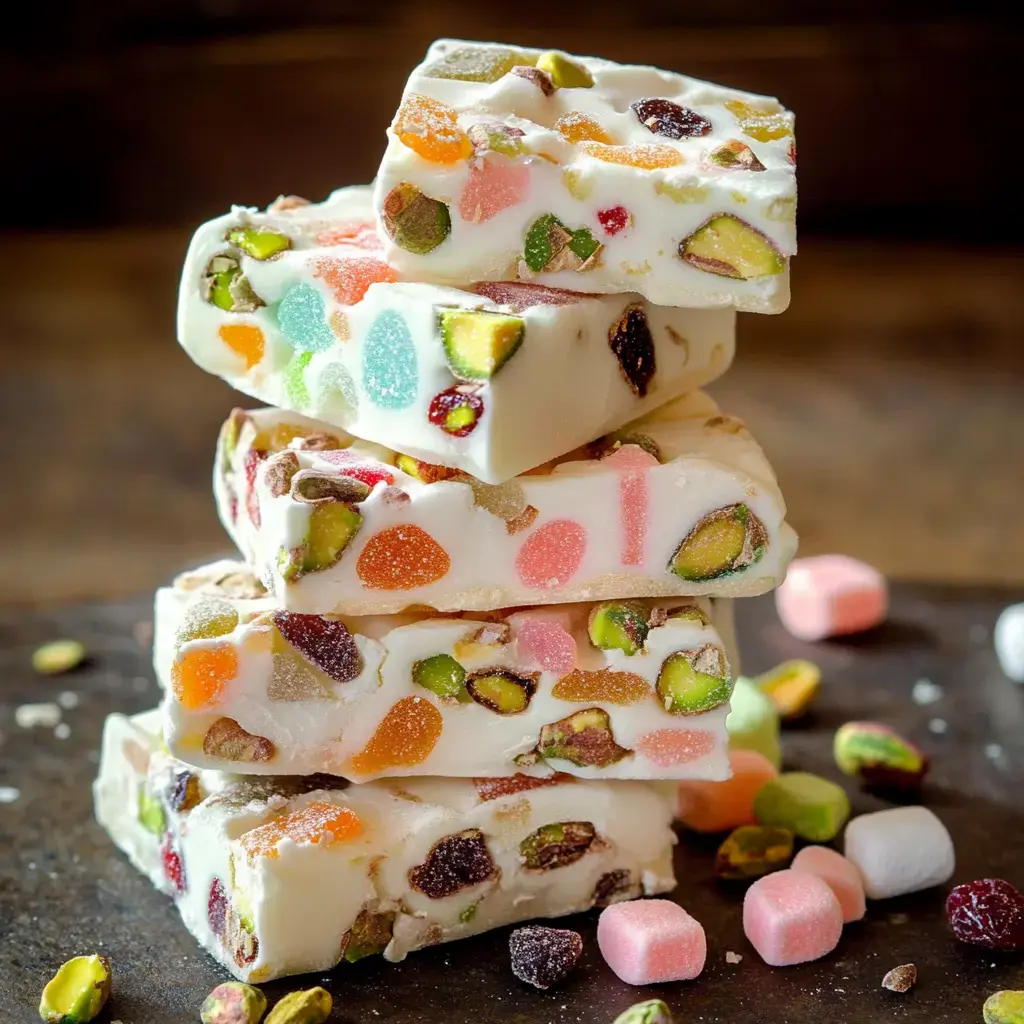
This simple homemade white chocolate rocky road idea popped up one holiday when I wanted a special treat but didn’t want to use the oven. After trying out lots of add-ins and tweaking the mix, I found this homey version is creamy and packed with lots of good bits. The best part is it’s super flexible and nearly foolproof—so anyone can make it look fancy even if it’s their first time.
Fresh Ingredient Know-How
For this simple homemade treat, grab good white chocolate—make sure it’s got real cocoa butter, ideally at least 30%. Pick soft, bouncy marshmallows—old, hard ones won’t give you that chewy bite. Want deeper flavor in your nuts? Toast them for a minute. Use dried fruit that’s juicy, not dry, and keep jellied candy at room temp so it’s easier to slice.
Must-Have Tools and What You’ll Need
- Main Parts:
- 18 oz high-quality white chocolate
- 1/3 cup chewy jellied sweets
- 1/2 cup toasted mixed nuts
- 1/3 cup plump dried fruits
- 1 cup soft mini marshmallows
- What to Use:
- Kitchen thermometer (digital)
- Good chef’s knife (sharp!)
- Heavy parchment sheet
- Medium metal pan 8x8 inches
- Sturdy silicone spatula
- Double boiler set
- Fun Extras:
- Vanilla extract
- Gold dust (edible)
- Colorful sprinkles
Delicious Step-by-Step Walkthrough
- Set Everything Up
- Get your add-ins ready while the chocolate melts. Chop the nuts and jelly bits to about 1/4 inch. Split up the sticky marshmallows. Have everything close by and measured out.
- Melt the Chocolate
- Cut the white chocolate into small pieces (nothing bigger than a dime). Heat the double boiler water up to 180°F. Pop the chocolate in the top and keep mixing until it hits 88°F.
- Mix It All Together
- Let the melted chocolate cool until it gets to 85°F. Fold in the marshmallows and nuts, then toss in the fruits and candies. Move fast and easy so nothing melts away.
- Let It Set
- Scoop your mix into the lined pan right away. Use an offset spatula to smooth it out. Gently tap the pan a few times to kick out air bubbles. Chill it (don’t cover yet) until it looks matte, then cover it up.
Top Tricks and Quick Fixes
If your chocolate gets clumpy, gently stir in a teaspoon of warm cream. For neat squares, dip your knife in hot water and wipe it between slices. If your mix’s too stiff to stir, warm it up for a few seconds over the double boiler. Try not to over-chill before slicing—the colder it gets, the more the chocolate may peel off the mix-ins.
 Pin it
Bold Fun Twists
Switch things up with macadamia nuts and pineapple for a real tropical vibe. Go for festive colors and candies when the holidays roll around. I love layering dark and white chocolate for a cool marbled look. Or play with the crunch by mixing in crisp cereal or little cookie chunks.
How to Store and Share
Keep your rocky road between parchment sheets in a tight container. It’ll stay good at cool room temp for about a week. Cut it into tidy squares and pop them in little candy liners if you’re gifting. These are sturdy enough to send in care packages or bring to bake sales. Make a fancy tray by serving with mint and fresh berries.
Frequently Asked Questions
- → Best way to melt white chocolate?
Microwave little by little, stirring each time. Take it slow—white chocolate burns and gets lumpy fast if you rush.
- → What mix-ins work best?
Use whatever makes you happy! Just chop big things smaller and keep sticky candies apart so they don’t lump together.
- → Why won't it set?
Let it cool long enough to go hard. Fridge speeds it up, but leaving out is fine too. If it’s super cold when cutting, let it warm up a bit first.
- → How do I cut it neatly?
Pull the whole slab out using the parchment paper. Then slice with a sharp knife once it’s back at room temp for super clean pieces.
- → How long does it keep?
It holds up a couple weeks in a cool spot. If you chill it in the fridge, it might sweat when you bring it out. No worries—still tasty!
Conclusion
This dessert is super flexible and easy to throw together. Switch up the fillings every time. Great for sharing or snacking anytime you want something sweet.