
 Pin it
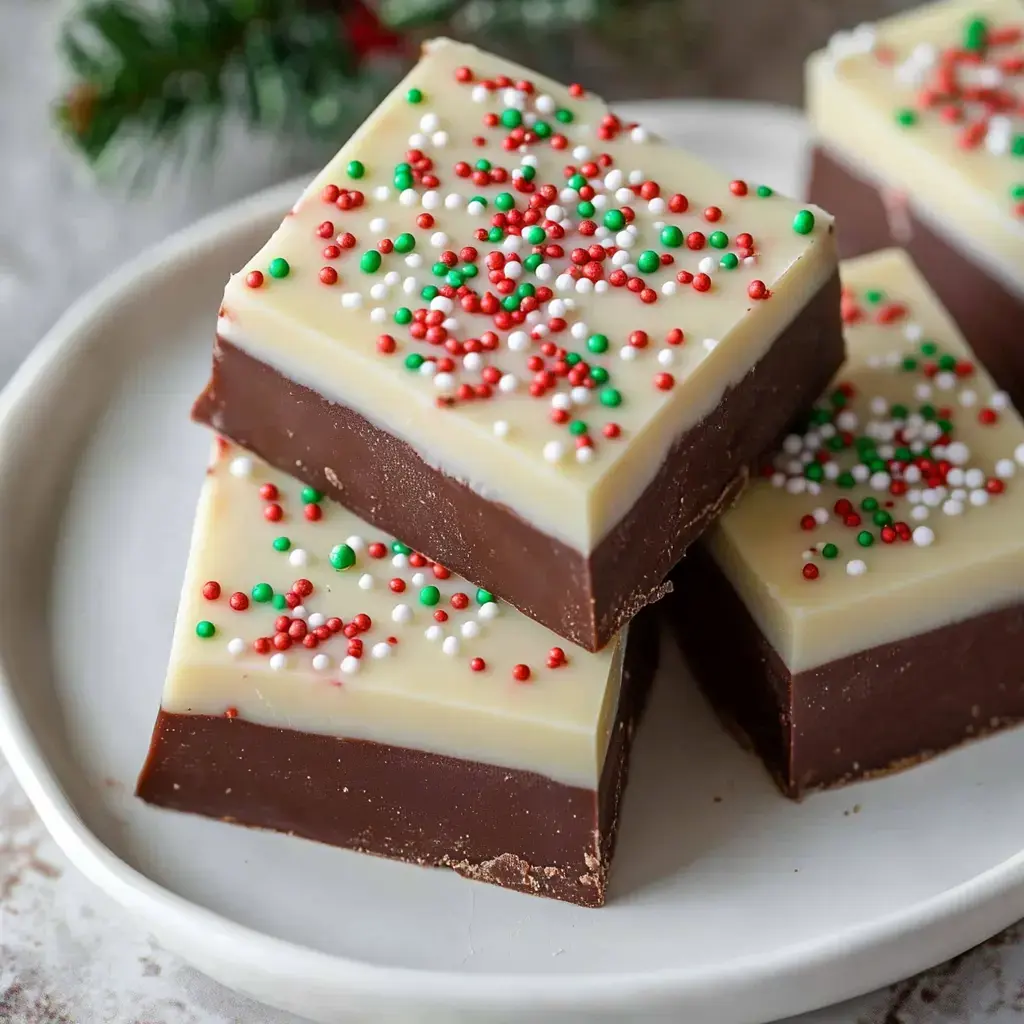
Want the quickest, yummiest Christmas fudge you've ever tasted? This treat blends smooth white and semi-sweet chocolate into irresistible holiday squares. Topped with festive sprinkles, it's more than just fudge - it's a bite of Christmas wonder! And guess what? You don't need any special candy-making skills to pull this off.
What Makes This So Special
Hunting for a holiday snack that's dead simple but looks impressive? You've found it! Using just a few basic ingredients and regular kitchen stuff, you can create this stunning two-layer fudge in minutes. It's great for giving as presents, adding to dessert trays, or munching while you're binging Christmas flicks.
Ingredients List
- Sweetened Condensed Milk: 2 cans (14 oz each) - the secret ingredient!
- White Chocolate Chips: 3 cups premium quality - bargain brands won't melt properly
- Semi-Sweet Chocolate Chips: 3 cups - splurge on quality here
- Vanilla Extract: 2 teaspoons to boost flavor
- Christmas Sprinkles: Around 1/2 cup - pick colorful holiday varieties!
Creating Your Sweet Masterpiece
- Prep Your Container
- Start by taking an 8x8 pan and putting parchment paper in it. Leave some paper hanging over the sides - this helps you pull out the finished fudge easily. Lightly spray with cooking spray to prevent sticking.
- Split Your Ingredients
- Separate the condensed milk into two different bowls. Add white chocolate chips to one bowl and semi-sweet to the other. This sets up your two beautiful layers!
- Work On The Bottom Layer
- Begin with the semi-sweet mixture. Microwave for 30 seconds, stir it well, then continue heating in 15-second bursts until completely smooth. Add some vanilla for extra flavor. Pour this mixture into your prepared pan and spread it flat.
- Add The Top Layer
- Next, tackle the white chocolate using the same method. Heat carefully in short intervals, stirring often. White chocolate can burn easily, so watch it closely. Once melted, mix in vanilla and most of your sprinkles. Gently spread this over your dark chocolate layer.
- Decorate The Top
- Hurry before it hardens! Scatter your remaining sprinkles all over the top. This is when you can get creative with your holiday decoration. Then stick the whole thing in your fridge for at least an hour to set firm.
- Cut And Enjoy
- When your fudge feels solid, use the parchment paper to lift it out. Cut into squares - you should get around 36 pieces. Try to wait before sampling (but we know it's tough!).
Wonderful Holiday Gifts
Want to win Christmas this year? Pack some fudge squares in cute containers or clear bags, add a ribbon, and watch people smile! It's like giving tiny blocks of Christmas cheer. And since it looks so fancy but was actually super easy, everyone will think you spent all day in the kitchen.
Fun For Kids Too
This recipe is awesome to make with children! They can help measure stuff, mix the chocolate (with your help), and go crazy with sprinkles. Just a heads up - you might find sprinkles in weird places for days, but that's part of the fun. The messiest memories are often the best ones!
Storage Tips
Your fudge will stay tasty in the refrigerator for up to two weeks (if nobody eats it all first!). Store it in a sealed container, and put wax paper between layers if you're stacking pieces. Need to make it early? It freezes great for up to three months - just let it thaw in the fridge overnight before serving.
 Pin it
Tricks For Beautiful Layers
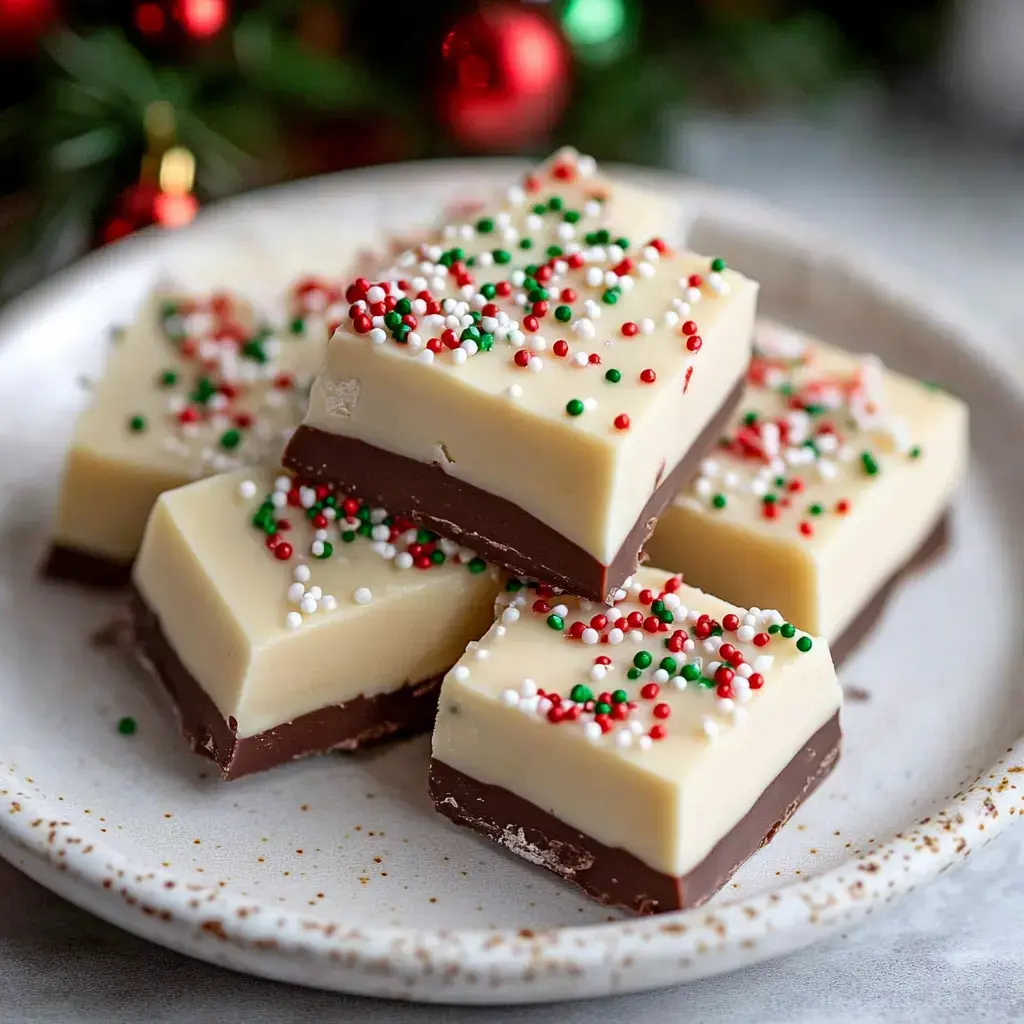
The trick to those stunning layers? Don't rush! Make sure your first layer is nice and flat, and let it cool slightly before adding the white chocolate on top. This keeps the colors from mixing and creates that amazing look when you slice into it.
Customize It!
Don't be afraid to switch things up! Try different color sprinkles for other holidays, use milk chocolate instead, or add a tiny bit of peppermint extract for a holiday twist. The recipe is so simple, it's almost impossible to get wrong. Put your own spin on it and maybe start a family tradition!
Frequently Asked Questions
- → Can I use other chocolate types?
Dark gives rich flavor. Milk tastes sweeter. You can mix varieties too. Always use fresh chips. Pay attention to melting speed.
- → What's the chilling time?
At least one hour in fridge. Leaving overnight works better. It must harden completely. The patience pays off. You'll get cleaner slices.
- → Can I include nuts?
Any nuts work fine. Make sure they're finely chopped. Mix them in while chocolate's warm. Toasting beforehand adds flavor. Don't overdo the amount.
- → Can I substitute the condensed milk?
Non-dairy options work too. Alternative chocolates are fine. Setting might be different. The taste stays good. Give it a try.
- → How long does it stay fresh?
Store it airtight. Keep refrigerated. Stays good two weeks. Put paper between layers. If anyone leaves it uneaten that long!
- → Why is my fudge too soft?
Let it cool longer. Store in cold place. Only cut when fully firm. Serve quickly once cut. Patience makes better texture.
- → How do I transport it?
Start with it cold. Use sturdy containers. Bring a cooler along. Drive carefully with it. Good packaging matters.
- → Can I speed up the process?
The setting time can't be rushed. The melting part goes quick. Get ingredients ready beforehand. It still needs cooling time. The wait gives best results.
- → Can I make a larger batch?
Doubling works great. You'll need extra pans. Allow more cooling time. Keep everything refrigerated. Perfect for multiple gifts.
- → How can I add extra flavors?
Try adding peppermint. Consider nuts too. Experiment with toppings. A pinch of sea salt works. Don't overwhelm the chocolate taste.
- → Why isn't my fudge smooth?
Melt everything gradually. Stir thoroughly throughout. Control temperature carefully. Filter out lumps if needed. Taking your time helps.
- → How do I keep layers separate?
Wait until first layer firms slightly. Add second layer promptly. Keep pan flat. Pour gently on top. Timing makes the difference.
Conclusion
Enjoyed this? You should try peppermint bark next time. Or whip up some homemade nut brittle. They're both wonderful for giving away.