
 Pin it
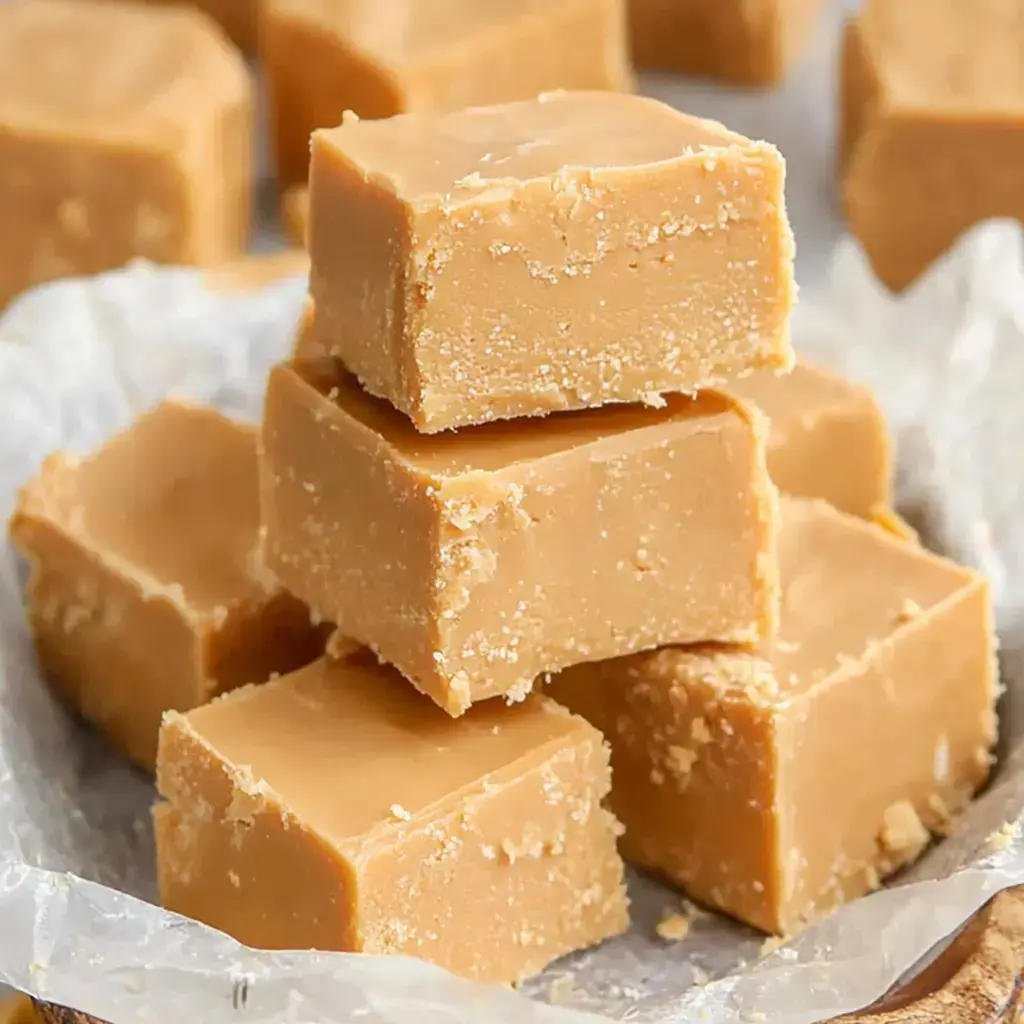
Whip up this easy peanut butter fudge at home with just a handful of pantry staples. It's fast, simple, and comes out great every single time. You'll want to add this to your regular treat rotation after the first batch.
Why This Peanut Butter Fudge Rocks
This fudge calls for only four ingredients and comes together in no time flat. It's velvety, rich, and will transport you straight to an old-time candy store. Wrap it up as presents - homemade goodies always win hearts. Even the little ones can join in since we're using the microwave. Toss in extras you love to make the recipe yours.
Ingredients List
- Butter: Stick with unsalted butter for clean flavor. Out of butter? Margarine or coconut oil can step in.
- Smooth Peanut Butter: Go with your top pick of creamy peanut butter. Looking for something else? Almond butter or sunflower seed butter work too.
- Vanilla: Brings warmth to the mix. Both pure and artificial vanilla get the job done.
- Powdered Sugar: Creates that silky sweet texture. In a pinch, buzz regular sugar with a touch of cornstarch in your blender.
Cooking Steps
- Combine and Warm:
- Find a microwave-safe glass bowl and throw in your peanut butter, butter, and a dash of vanilla. Microwave for around 90 seconds. Pull it out and stir until everything looks glossy and uniform. Got lumps? Pop it back in for a few more seconds - you want it completely melted.
- Mix in Sugar:
- Time for the powdered sugar magic. Add it gradually, one cup at a time, mixing well between additions. It'll start getting tougher to stir as you go, and you might feel it in your muscles, but keep going. You're aiming for a thick dough that sticks together when pressed.
- Prepare the Pan:
- Grab an 8 or 9 inch baking dish and either coat it with butter or cover it with parchment paper (this lets you lift everything out easily later). Transfer your mixture into the pan and smooth it down. Press firmly with a spoon back or clean fingers to make sure it'll stay together when sliced.
- Chill and Slice:
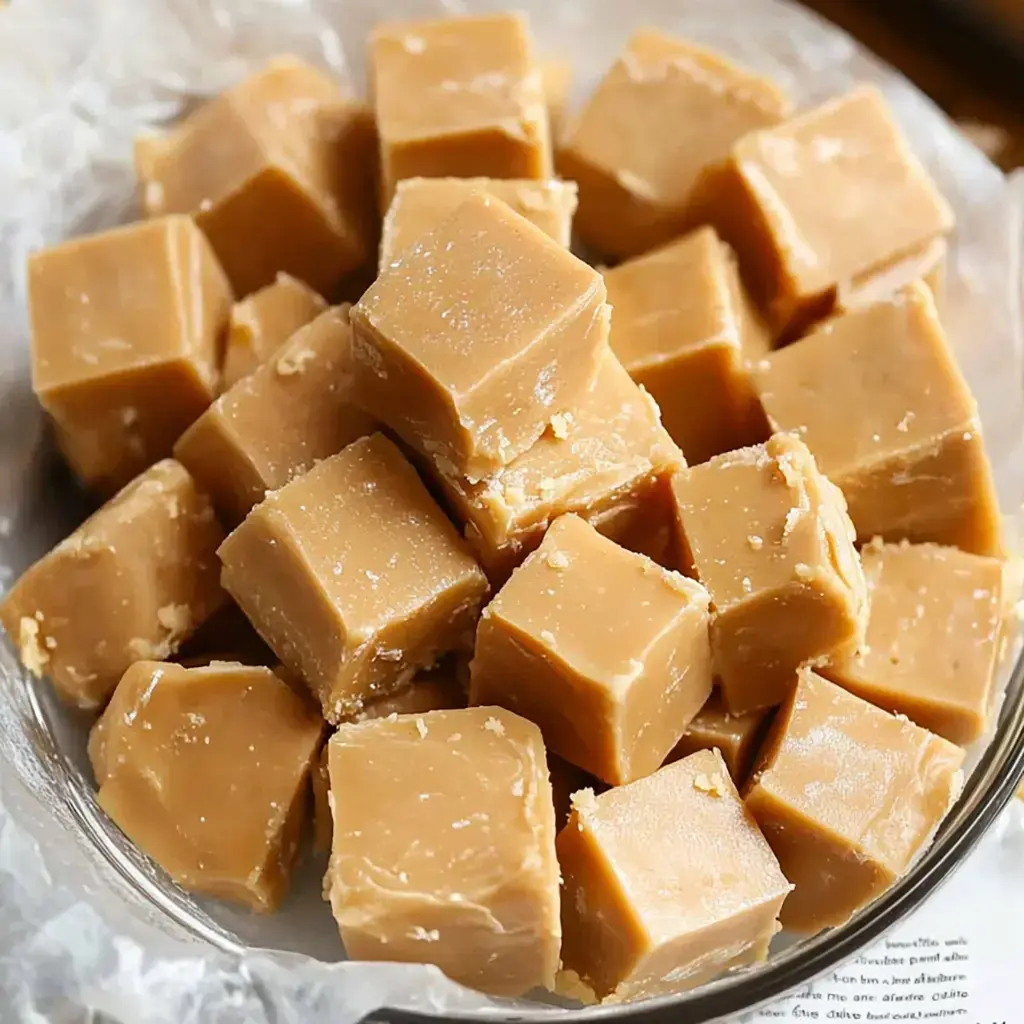
- Now comes the waiting game! Stick your pan in the refrigerator for at least 4 hours. You need it fully set. After it's firm, cut into squares of whatever size you fancy. Keep your fudge pieces in a sealed container in the fridge, assuming they don't vanish first!
- Stovetop Method:
- No microwave available? That's totally fine! Just use a saucepan with your peanut butter, butter, and vanilla over medium-low heat. Keep stirring constantly to avoid scorching. Once everything's melted together smoothly, remove from heat and stir in sugar exactly like the microwave version. Works perfectly!
 Pin it
Nostalgic Treats
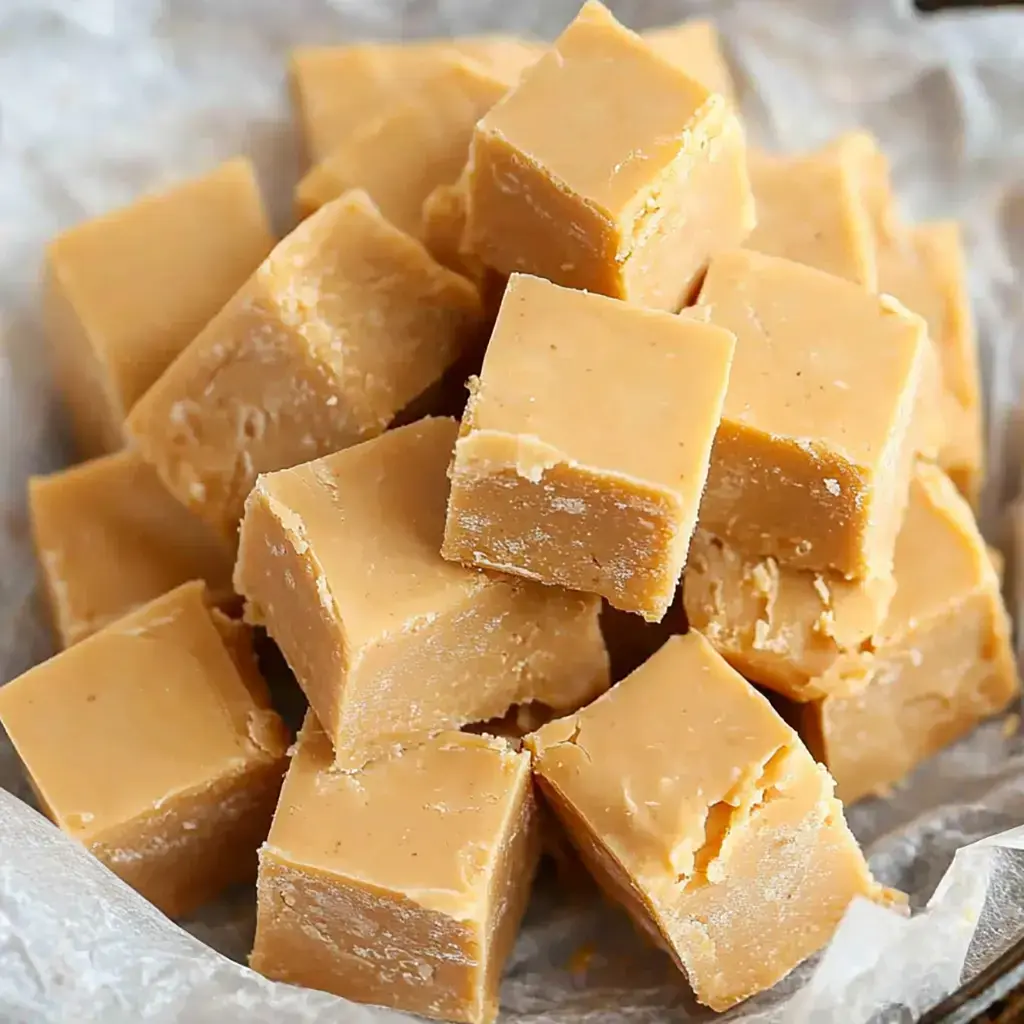
This fudge always takes me right back to childhood days, staring at candy displays through windows. Anyone who tastes it wants the recipe. It's basic but wonderful - hitting those perfect notes of sweet, salty, and creamy all together.
Powdered Sugar Magic
The powdered sugar is what makes this fudge incredibly silky. It blends in completely unlike granulated sugar - leaving no grainy texture behind. That's the secret to that perfect melt-in-your-mouth feeling.
Custom Creations
Mix in some chocolate ribbons, sprinkle with flaky sea salt, or add crunchy crushed nuts. A caramel topping works wonders too. Keep trying different add-ins until you discover your personal favorite.
Perfect Presents
Looking for a holiday gift idea? Put this fudge in a cute container with a bow. Handmade treats always impress, and nobody will guess how quickly you threw it together. It shows thoughtfulness without burning through time or cash.
When to Enjoy
Savor a piece with your morning brew, afternoon cup, or as an after-dinner treat. It's ideal for family nights snuggled up by the fireplace. Pair it with your favorite drink - this fudge matches well with practically anything.
 Pin it
Frequently Asked Questions
- → How long do they need to chill?
Let them rest for at least four hours, but overnight is better to get them properly firm. Don't rush - the wait's worth it.
- → Can I add peanut chunks?
Yes, though the smooth mix blends easier. If adding chunks, expect thicker mixing. Still delicious!
- → What dish works best?
Go for an 8-inch pan. A bigger one makes thinner squares. Use parchment for smooth cleanup.
- → Can I work on the stove?
Absolutely. Keep the heat very low, stirring constantly. It needs more time, but works no problem.
- → Want plant-friendly swaps?
Use dairy-free butter and check your nut butter’s ingredients. Once melted, it still firms up nicely.
- → Why’s it softening too much?
Try adding extra sugar. Refrigerate longer and ensure it’s cold to serve. Butter might’ve been too warm too.
- → How to carry them for trips?
Pack in a rigid box, keep them as cool as you can, and maybe slice on arrival. Stack with careful layering.
- → Can I speed up the process?
Pop them in the freezer for a shorter chill. Use pre-chilled pans and utensils to save a little time.
- → How about doubling the recipe?
Adjust to a larger pan and expect more stir time. It'll need extra chilling time to set fully.
- → Can I tweak the flavor?
Add a sprinkle of salt, try combining nut butter flavors, or add a touch of honey. Be careful not to overly dampen the mix.
- → Too sweet—what should I do?
Use less sugar next round or boost the peanut butter for balance. Can't undo overly sweet, so experiment to get it right.
- → Why’s slicing messy?
Let the fudge warm up a bit first. Use a heated, clean knife and press straight down for neater pieces.
Conclusion
Fan of this? Try cheesy no-bakes instead. Or whip up super quick chocolate versions. Both breeze to make!