
 Pin it
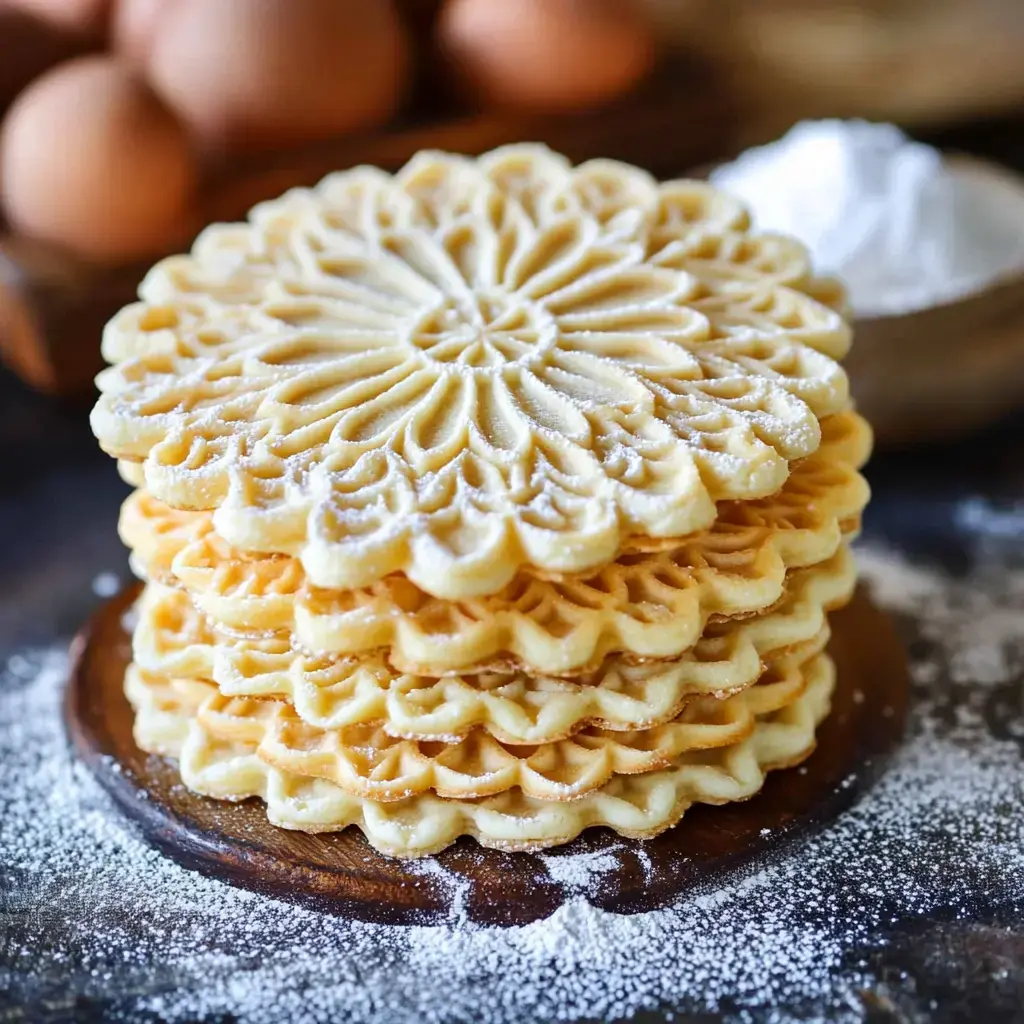
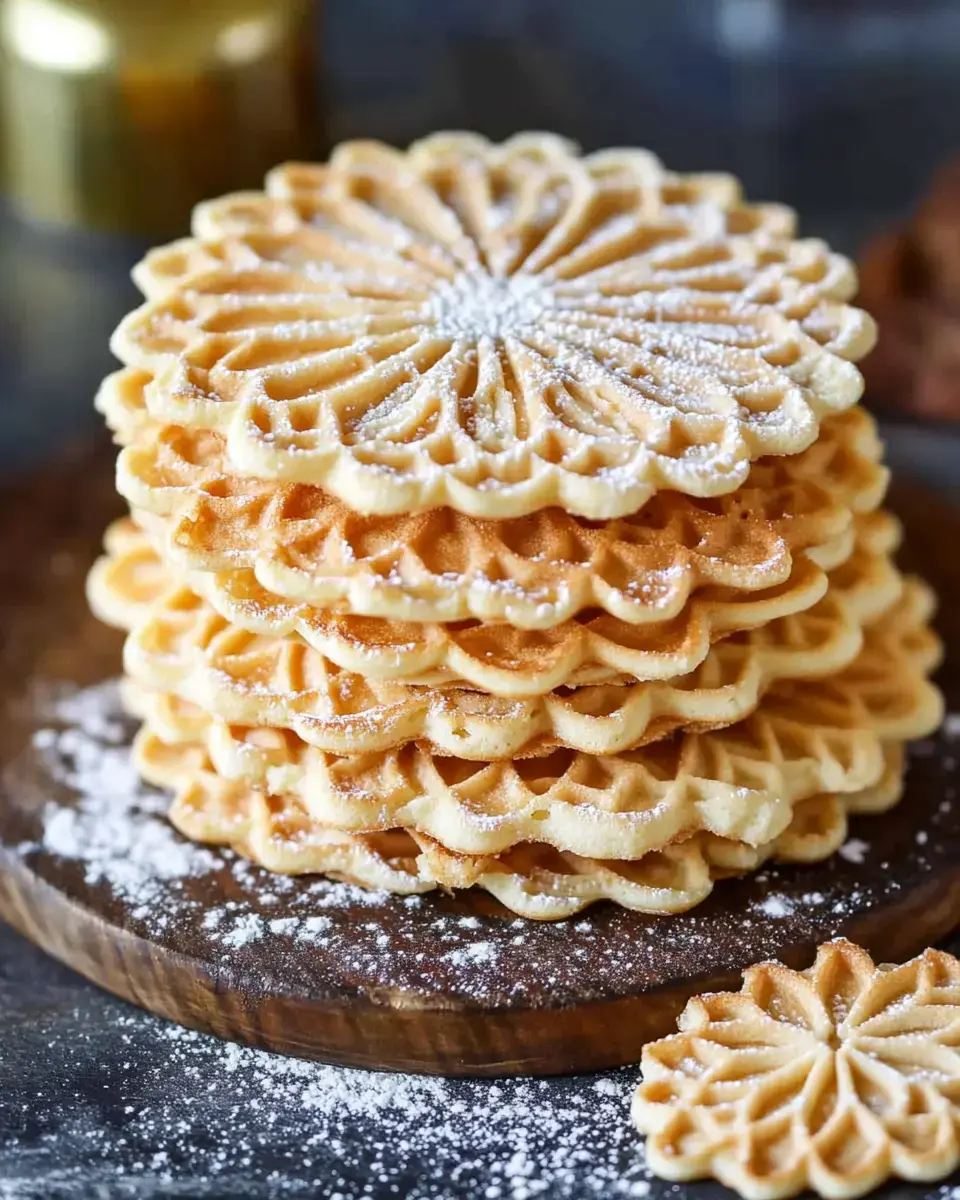
Whip up a batch of classic Italian pizzelle cookies that are super thin, crisp, and pretty thanks to a pizzelle maker. With buttery notes and your pick of vanilla, almond, or anise, these light bites go way back in Italian homes. Share them over coffee or pack them up for friends and family during the holidays.
Irresistible Reasons to Try These Cookies
Pizzelle are crisp but melt in your mouth, with a hint of vanilla or even anise if that's your thing. They come out with gorgeous designs right from the press—which makes anyone say wow. They snap apart easily and last for days, making them awesome for gifting or entertaining. Don't stress, all you need is a handful of pantry items and you'll have a batch in no time.
What You Need to Make Pizzelle
- Dry Stuff:
- 1 and 3/4 cups all-purpose flour
- 1 teaspoon baking powder
- 1/4 teaspoon salt
- Liquid Stuff:
- 3/4 cup white sugar
- 3 big eggs, let them sit out
- 1/2 cup melted unsalted butter, let it cool a bit
- 1 teaspoon vanilla or just a dash (1/2 teaspoon) of almond/anise
- Handy Tools:
- Cookie scoop or teaspoon
- Pizzelle maker
- Rack for cooling them off
- Spatula to scoop them up
Easy Pizzelle Directions
- Mix and Rest
- Beat eggs and sugar together so it turns smooth and pale. Pour in melted butter and your favorite extract. Sift all dry stuff together, then add them to your wet mix slowly. Let the mix sit for half an hour.
- Warm Up the Maker
- Plug in your pizzelle maker and let it get hot. Spray or brush a little oil if your maker needs it. Most are nonstick now, though.
- Make the Cookies
- Spoon some batter onto each side. Close up and cook 30 seconds to about a minute till golden.
- Cool Down
- Move cookies gently using a spatula onto your rack. If you're making shapes, do it while they're still warm. They'll crisp up as they cool.
Helpful Tricks for Great Cookies
Cool off your dough a bit to get them extra golden and crisp. Try to scoop the same amount every time. Don't wait too long to shape them if that's your plan. Wipe the press if crumbs build up. Cook a little longer or shorter for the perfect crunch or color. Keep them apart so they stay snappy.
 Pin it
Fun Ways to Serve and Share
Pair pizzelle with your favorite tea or coffee. Sift some powdered sugar over the top to make them pop. Stick two together with a layer of Nutella or creamy cannoli filling for a treat. Tuck them in a pretty tin or clear bags to give away. Layer with parchment so they don't stick together. They're awesome for celebrations or adding to cookie trays.
Keeping Them Fresh and Ready Ahead
Let pizzelle sit in an airtight box up to two weeks on the counter. Don't keep them next to anything damp, so they stay crisp. You can chill the batter for a day before using. Freeze baked cookies for a few months if you wrap them tightly. Let them thaw and get to room temp before you snack.
Frequently Asked Questions
- → Do I need to spray the press each time?
If you're using a non-stick pizzelle iron, just one spray at the start is usually enough. The batter’s butter helps keep it from sticking.
- → Why do pizzelle crisp up after cooling?
Fresh from the press they're soft, but as they lose moisture while cooling, they turn nice and crisp.
- → How do I know when the pizzelle are done?
Once they're pale gold after about a minute or so, they're good to go. Your press might change the timing a little.
- → Can I make the batter ahead?
Yep, keep the batter chilled in the fridge overnight. Just take it out about thirty minutes before you're ready to use it.
- → Why let the batter rest?
Resting gives the flour a chance to soak up the liquid so your cookies come out with a much better crunch.
Conclusion
Golden vanilla Italian wafers that get their crunch in a pizzelle press. Great for special days or any cozy get-together.