
 Pin it
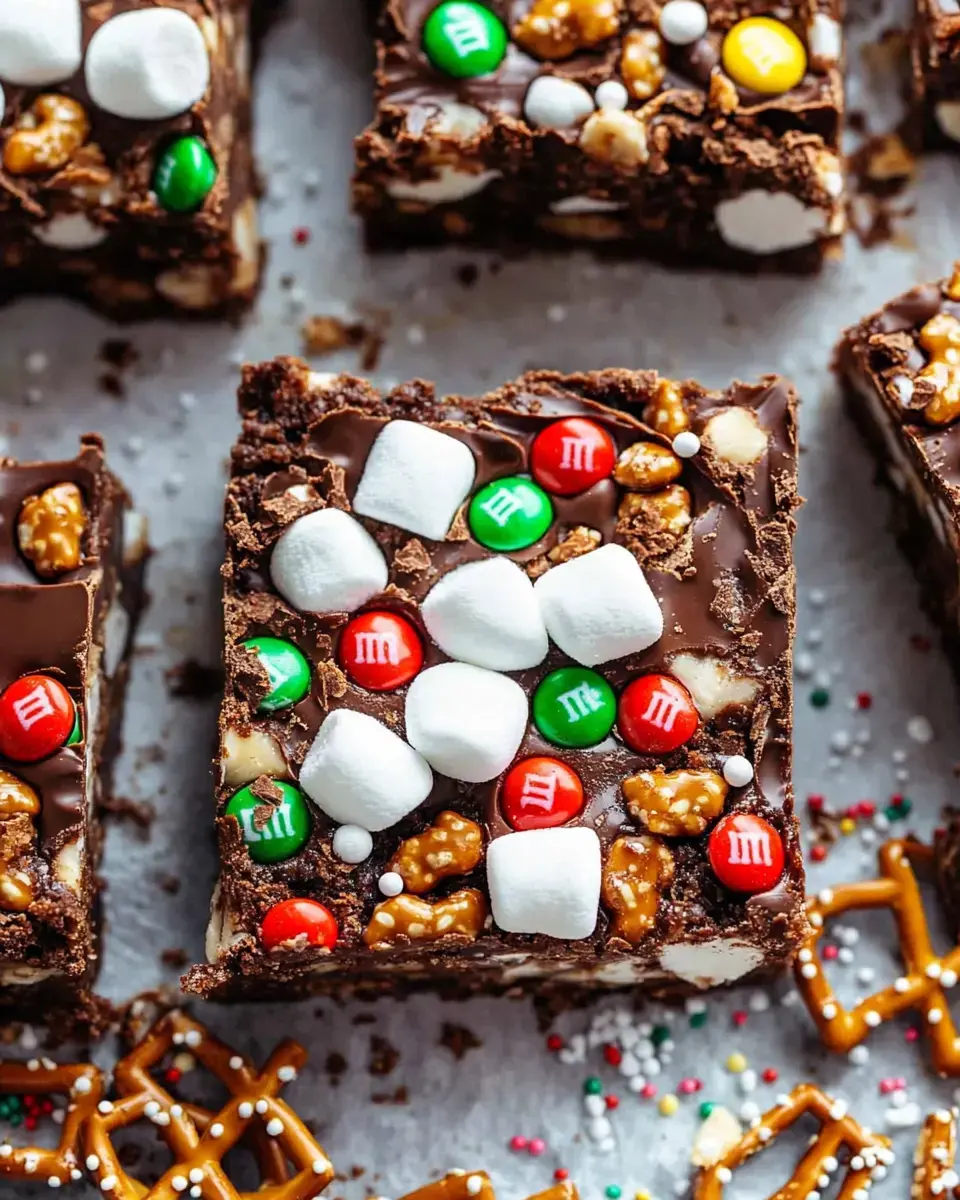
Crunchy Peanut Butter Road Bars
These Crunchy Peanut Butter Road Bars blend textures and tastes for an amazing no-bake snack. The bottom layer mixes fudgy chocolate with creamy peanut butter, topped with soft marshmallows, salty pretzels, and bright M&M's, plus a surprise middle section filled with peanut butter cups. They're super adaptable with whatever extras you fancy, making them great for gatherings, seasonal celebrations, or just treating yourself!
What Makes These Bars Special
You'll fall for these tasty treats because:
- No-fuss Prep: Just blend, combine, and chill—no oven needed.
- Make Them Yours: Switch up the add-ins to create your own special version.
- Flavor Balance: Combines chocolate richness, nutty peanut butter, and pretzel crunch.
- Crowd Favorite: Fantastic for family get-togethers, holiday parties, or homemade presents.
What You'll Need
- Chocolate Chips: They form the rich, fudgy foundation.
- Coconut Oil: Makes the chocolate silky and gives it a nice finish.
- Peanut Butter: Brings smoothness and nutty flavor to the mix.
- Marshmallows: Essential for that classic puffy texture.
- Salted Pretzels: Adds the perfect salty crunch against the sweetness.
- M&M's: Brings pops of color, crunch, and extra sweetness.
- Peanut Butter Cups: Creates an amazing surprise layer in the middle.
How To Make Them
- Create Your Chocolate Mix
- Put chocolate chips, coconut oil, and peanut butter in a microwave-safe container. Heat for 30 seconds at a time, mixing between until everything's smooth.
- Mix Your Toppings
- Gently stir marshmallows, pretzels, and M&M's into your chocolate mixture until everything's coated.
- Add The Secret Middle
- Pour half your mix into a paper-lined dish. Place peanut butter cups in a single row, then cover with the rest of your chocolate mixture.
- Let It Set
- Pop in the fridge for at least 2 hours until firm. Cut into squares and enjoy.
Tricks For Success
- Go For New Marshmallows: Older ones won't give you that soft, bouncy bite.
- Don't Skip The Paper: Lining your pan means easy lifting and cleaner cuts.
- Control The Sweet: Throw in more pretzels or some nuts if you want to tone down sweetness.
- Be Patient: Let them get completely cold and firm before cutting for neat squares.
 Pin it
Fun Variations
Switch things up by trying different add-ins:
- Any Nuts: Try cashews, hazelnuts, or walnuts for extra crunch.
- Broken Cookies: Toss in some crumbled cookies for another flavor layer.
- Chewy Fruits: Add raisins or chopped apricots for tangy contrast.
- Caramel Chunks: Mix in some caramel pieces for a gooey surprise.
Keeping Fresh & Serving Ideas
To Keep: Store in a sealed container in your fridge up to 7 days.
To Save Longer: Wrap each piece in plastic, place in a freezer container and keep up to 3 months. Let thaw in the fridge when you're ready to eat.
These tasty Crunchy Peanut Butter Road Bars work great as homemade gifts, quick snacks, or party treats everyone will grab!
Frequently Asked Questions
- → Why melt chocolate using this method?
It uses gentle, even heat so your chocolate won’t burn or clump up.
- → Can I make it without gluten?
Absolutely, just swap in gluten-free pretzels and check labels for certified gluten-free ingredients.
- → What’s the point of tapping the pan?
This step evens out the mixture and helps pack everything together for a better bite.
- → How long will they last?
Keep them fresh in the fridge for up to a week in a sealed container.
- → Can I change the mix-ins?
Totally! Add whatever candies or nuts you love most.