
 Pin it
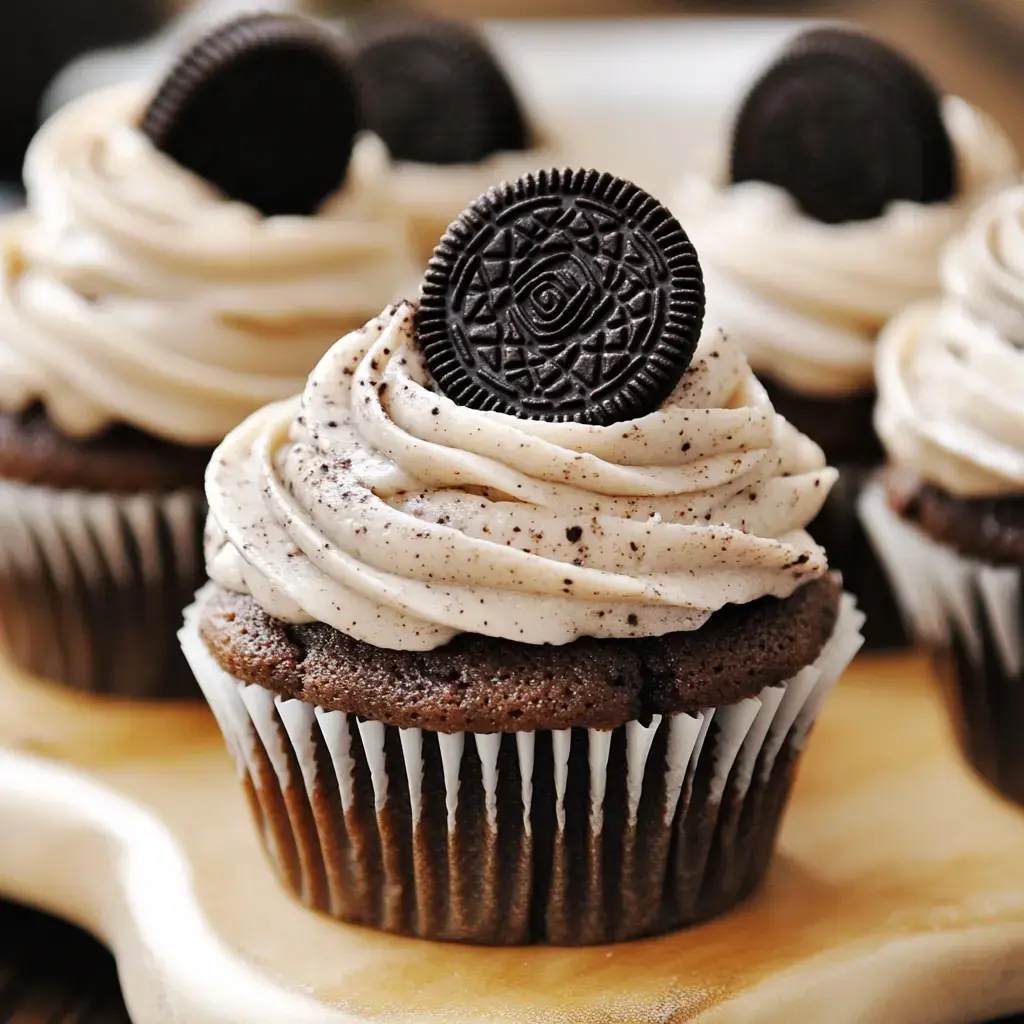
Cookie fans rejoice! These whipped vanilla cupcakes packed with Oreo chunks, topped with fluffy Oreo buttercream, and finished with cute mini cookies make a stunning sweet treat. They taste just as good as they look. Perfect for parties or when your sweet tooth kicks in, everyone will beg for seconds of these delightful goodies.
What Makes These Cupcakes Special
These Oreo treats blend soft, airy cake with rich, smooth topping. They look fancy but come together with simple stuff you probably have at home. The Oreo-loaded frosting is so tasty you'll want to lick the spoon clean. Making these is fun and sharing them brings smiles all around - nobody can resist these cookie-filled cakes.
What You'll Need
- Butter: Make sure it's room temp for mixing into both cake and topping.
- Granulated Sugar: Gives the cake its sweetness.
- Vanilla Extract: Brings out flavors in both the cake and frosting.
- Eggs: Help your cupcakes hold together nicely.
- Milk: Keeps everything wet and smooth.
- All-Purpose Flour: The main building block for your treats.
- Self-Rising Flour: Helps cakes puff up perfectly with built-in leaveners.
- Crushed Oreo Cookies: Blended throughout for cookie goodness in every bite.
- Powdered Sugar: Creates silky, sweet frosting.
- Mini Oreo Cookies: Pop these on top for an eye-catching finish.
Mixing Up Your Cupcake Batter
- Get Ready
- Turn oven to 350°F (175°C). Put paper liners in 24 muffin spots and leave them aside.
- Start Mixing
- Beat soft butter with sugar until it's fluffy and pale. Drop in vanilla and eggs one by one, making sure to scrape down the sides.
- Combine Dry and Wet Stuff
- Switch between adding both flours and milk, mixing gently. Then use your hands to fold in the Oreo bits so they spread out nicely.
- Into The Oven
- Fill each lined cup about 2/3 full with your mix. Cook for 18–20 minutes until you can poke them with a toothpick and it comes out clean. Let them cool fully before adding frosting.
Whipping Up Oreo Frosting
- Mix The Base
- Beat room temp butter with vanilla until it's smooth and light. Add powdered sugar bit by bit until it's all mixed in.
- Get The Right Texture
- Stir in enough milk to make it spreadable, then mix in finely smashed Oreo bits. Make sure the cookie pieces are super small if you're using a piping bag.
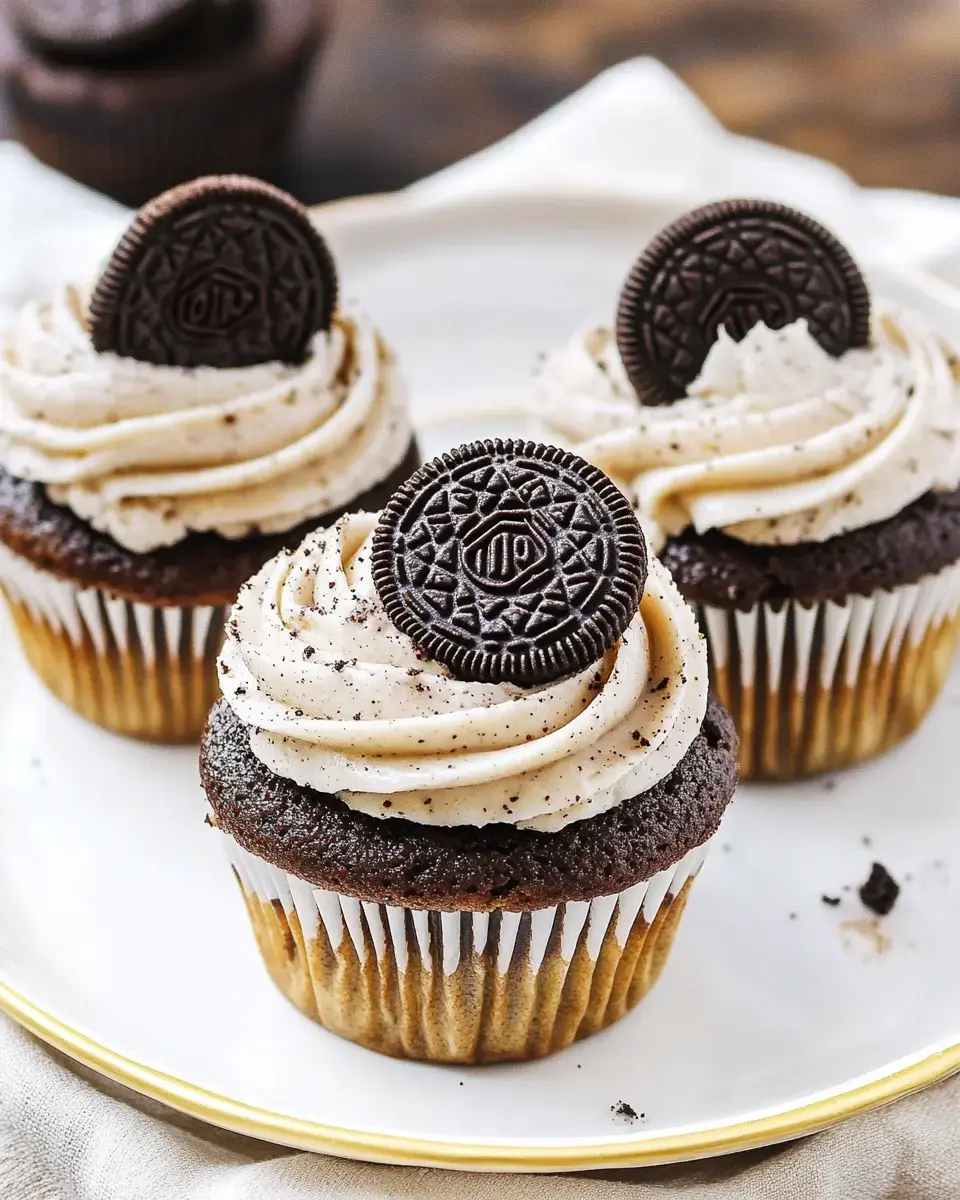
- Top Them Off
- Swirl or spread the frosting on your cooled cupcakes. Stick a mini Oreo on each one for a cute finishing touch.
 Pin it
Fun Twists on Basic Oreo Cupcakes
- Dark Cookie Cupcakes: Throw in 2 tablespoons of cocoa powder with your dry stuff for extra chocolate goodness.
- Cream Cheese Cookie Cupcakes: Add ½ cup cream cheese to your batter for a tangy twist.
- Bright Red Cookie Cupcakes: Switch to cake flour and add red coloring for a stunning color change.
- Extra Touches: Try different toppers like smashed cookies, colorful sprinkles, or drizzled chocolate.
Keeping Them Fresh
Keep your cupcakes in a sealed container at room temp for 2-3 days. Want them to last longer? Stick unfrosted ones in the freezer for up to 3 months in an airtight box. Just thaw before adding frosting. For the freshest taste, you can bake your cupcakes a day early and frost them right before serving. These treats work great for birthdays, get-togethers, or just because you want something yummy!
Frequently Asked Questions
- → Can I prep these cupcakes in advance?
Sure, bake the cupcakes a day ahead and keep them plain in a sealed container. Whip up the frosting fresh before serving for that just-made taste.
- → Why mix two types of flour?
The texture comes out just right because self-rising flour helps with lift, while regular flour gives sturdiness to the cupcakes.
- → How small should I crush Oreos?
For the cake, small chunks are fine. But for the frosting, go super fine so piping remains smooth without clogging tips.
- → Can these cupcakes be frozen?
Yes! Put the plain cupcakes in a sealed container and freeze up to 2 months. Thaw completely before frosting, which is best made fresh.
- → What’s the best way to check if they’re done?
If a toothpick comes out clean or just slightly crumbly, they’re ready. Don’t overbake or they’ll turn out dry.