
 Pin it
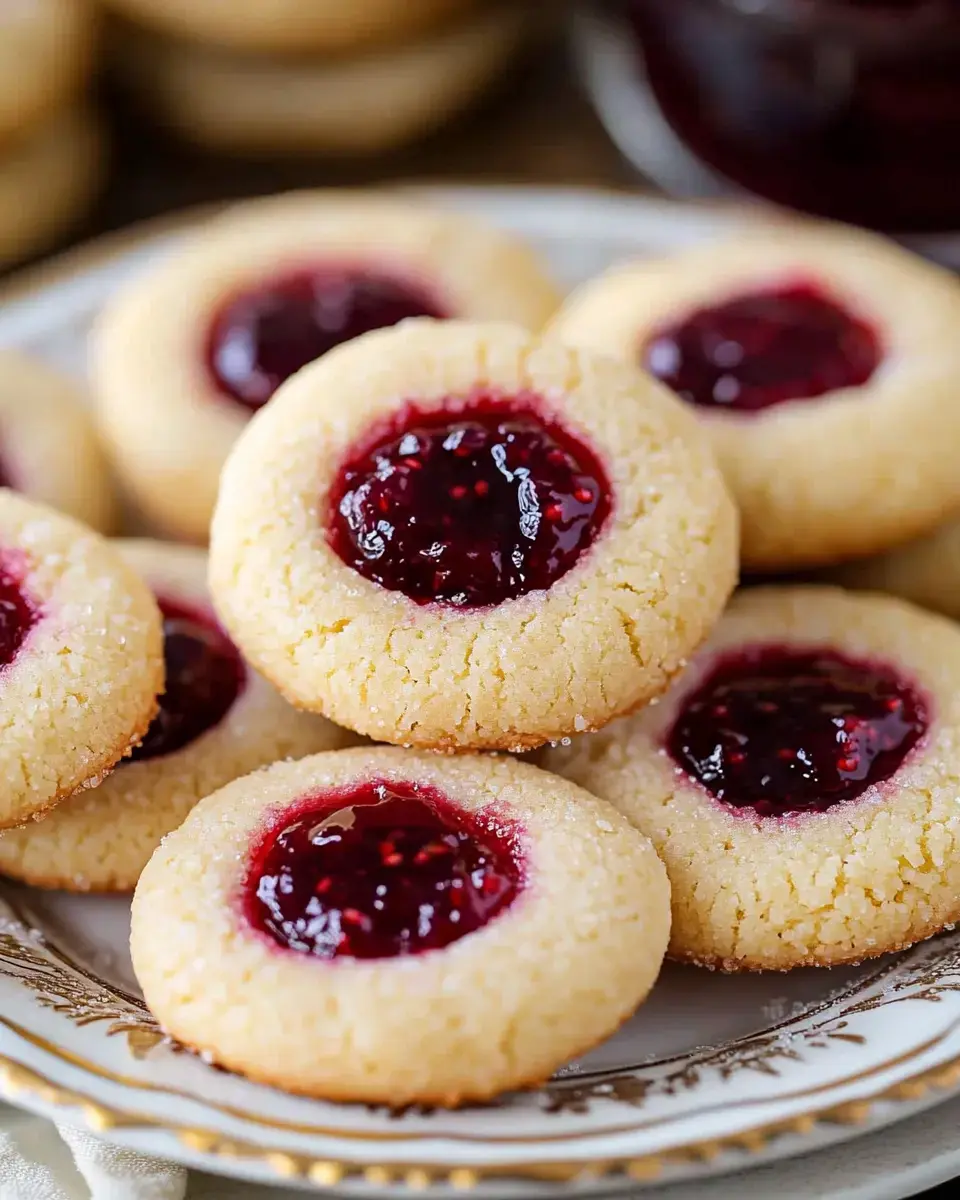
Whip up batch after batch of these Classic Thumbprint Cookies that are sweet, buttery, and have jam centers. They’re super simple to make and you can switch up the jam any way you want. Each bite gives you a crunchy bite outside and soft inside. They’re a hit for holidays, tea parties, or whenever you feel like treating yourself.
Unexpected Reasons to Crave These Cookies
Dig into these classic treats that pair a rich, buttery base with that gooey jam pocket everyone loves. You can use anything from apricot to mixed berry for endless choices. Dough mixes up crazy fast—no fridge time required—so you can bake them on a whim. They’re cute and tasty, sure to be the star at get-togethers or when you need an easy win.
What Goes Into Thumbprint Cookies
- Cookie Dough Ingredients:
- 1/4 teaspoon salt
- 2 cups (250g) all-purpose flour
- 1 teaspoon vanilla extract
- 1 large egg yolk
- 2/3 cup (135g) granulated sugar
- 1 cup (226g) unsalted butter, softened
- Rolling Sugar (If You Like):
- 1/3 cup (65g) granulated sugar
- Center Filling:
- 1/2 cup jam or preserves—try raspberry, apricot, or strawberry
- Helpful Tools:
- Electric mixer
- Parchment paper
- Baking sheets
- Spoon (for thumbprints)
How to Make Them, Step by Step
- Fill and Bake
- Spoon about 1/2 teaspoon of your jam into each thumbprint. Slide into the oven for 12 to 15 minutes until you see the edges go a light gold. Let them cool on the tray for 5 minutes before moving to a rack.
- Shape Your Dough
- Form 1-inch dough balls and, if you want, roll them in sugar. Pop them on your lined trays with a couple of inches between them. Use your thumb or a spoon’s back to make a small dent in each.
- Mix the Dough
- Beat sugar and butter till light and fluffy for about 3 minutes. Toss in the yolk and vanilla—blend well. Slowly add flour and salt till it all sticks together like dough.
- Get Ready to Bake
- Heat your oven up to 350°F (175°C). Set parchment paper on baking trays. If you’re rolling in sugar, get it ready.
Smart Tricks for Awesome Baking
Spoon flour into your cup and swipe off the extra so your dough isn’t dry. Roll dough into tight balls so they don’t split open. If you notice cracks during pressing, gently pinch them together. Warm up your jam a tad if it’s thick. Always use cooled baking pans between batches to stop your cookies from spreading too much.
 Pin it
Creative Ways to Share or Enjoy
Stack on a fancy tray when company comes over. Go wild with different jams for variety. Have with coffee or tea in the afternoon. Ideal for cookie swaps or holiday cookie trays. Pack them up in cute little boxes to give as gifts just because.
Keeping Them Fresh and Freezer Friendly
Keep them tightly covered at room temp for up to a week. You can freeze unbaked balls (before making indents) for 2 months—just thaw a bit, press in dents, and fill before baking. Lay them between parchment pieces to avoid clumps. Wait for the jam to set before stacking or packing to keep 'em pretty.
Frequently Asked Questions
- → Why chill the dough?
Popping the dough in the fridge helps everything hold its shape instead of spreading out in the oven. That way, your thumbprint stays put and the middles don’t burst open.
- → Can I use any type of jam?
Totally! Pick whatever fruit spread makes you happy. A quick zap in the microwave also makes it easier to scoop into the cookies.
- → Why does the dough seem dry and crumbly?
Don’t worry if it feels a bit crumbly—just roll it together in your hands. That’s what gives you that melt-in-your-mouth cookie.
- → Why roll without cracks or seams?
If you make them smooth before baking, you’ll dodge any cracks around that jam pocket. It just helps them look prettier when they’re done.
- → Can I make these ahead?
Yep, go ahead and shape then freeze the cookies before stuffing them with jam. Wait till you’re ready to bake before loading in that filling.
Conclusion
Bite into these classic thumbprints with a sweet, gooey jam spot and a tender, crumbly base. They’re awesome for parties, or just to have something sweet on hand.