
 Pin it
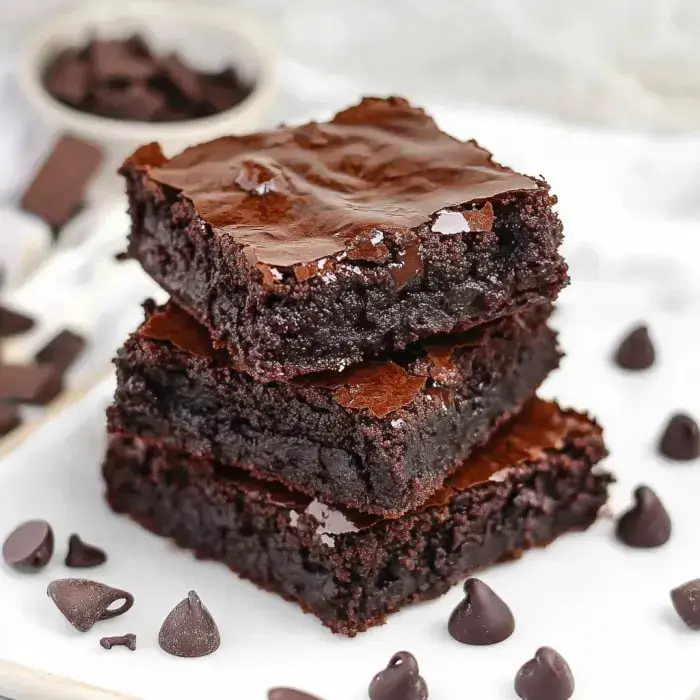
Want melt-in-your-mouth brownies that'll knock your socks off? You're gonna love this! These super fudgy squares come with that iconic crackly crust and a rich chocolate punch. Skip those store mixes - once you try these homemade goodies, you'll never go back to the boxed stuff again.
What Makes These Brownies Special
This no-fuss brownie is every chocolate fan's fantasy come true. Imagine biting into a dense, intensely dark treat that feels silky against your tongue. The method's simple enough for kitchen newbies but gives results that'll make folks think you've been baking forever.
Ingredients List
- Butter: 1 cup unsalted, because we're doing this from scratch!
- Cocoa Powder: 3/4 cup unsweetened - splurge on quality here
- Sugar: 2 cups granulated - don't try to cut corners
- Eggs: 4 large ones, cold from the refrigerator
- Vanilla: 2 teaspoons pure extract
- Flour: 1 cup all-purpose, carefully measured
- Salt: 1/2 teaspoon, it enhances the chocolate flavor
- Mix-ins: 1 cup of your favorite additions - chocolate chunks, walnuts, whatever sounds good
Baking Instructions
- Prep Work
- Heat your oven to 325°F and put parchment in an 8-inch pan. Make it hang over the sides so you can easily pull everything out later.
- Start Mixing
- Slowly melt the butter in a saucepan. While it's hot, mix in cocoa and sugar until you get a dark, shiny mixture that looks like wet sand.
- Take a Break
- Let everything sit for about 5 minutes to cool down. You don't want scrambled eggs in your brownies!
- Add Eggs
- Mix in each egg one by one. Really work that spoon - this effort now means you'll get that gorgeous shiny top later.
- Complete Your Mix
- Gently add flour and salt just until mixed. Now throw in any extras you want.
- Into the Oven
- Pour everything into your pan and bake around 30 minutes. You want firm edges but the middle should still have some give for that fudgy texture.
- Cool Down
- Let them cool all the way. I know it's hard to wait, but cutting them too soon makes a mess. Good things come to those who wait!
The Magic Behind Fudgy Texture
Wondering why these taste so amazing? It comes down to how the cocoa and melted butter work together. This combo creates something truly spectacular - deep chocolate flavor with that dreamy fudgy consistency that'll have your friends asking for your secret.
Picking Your Cocoa Type
Here's a tip from the pros: different cocoa powders create totally different brownies. Go with Dutch-process for a smooth, cookie-like flavor, or natural cocoa for something closer to pure dark chocolate. Both work great - just pick what matches your taste preferences.
Getting Perfect Results
For truly fudgy brownies, timing is everything. Don't trust the old toothpick trick completely. You actually want some sticky bits clinging to it - a clean toothpick means they're probably overdone. And don't forget, they'll continue cooking slightly as they cool down.
 Pin it
Customization Ideas
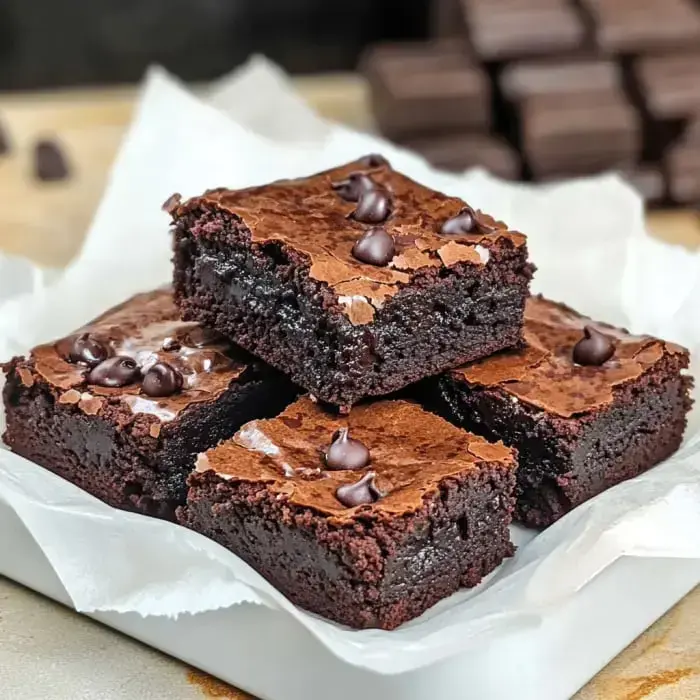
Don't be afraid to make these your own. Throw in some chopped walnuts for extra crunch, add a peanut butter swirl, or dump in a handful of chocolate chips. This recipe works as your starting point - customize it however you want! Just don't go overboard or you might mess up the consistency.
Storage Tips
These treats will stay soft and tasty for quite a while if stored properly. Pop them in an airtight container at room temperature and they'll last up to 5 days. For longer storage, wrap them tight and stick them in the freezer - they'll keep for months! Just thaw them out whenever you need a chocolate fix!
Frequently Asked Questions
- → Need different pan?
Pan size affects cooking time. Larger pans make thinner brownies. Keep an eye on them. They cook fast. Check them early.
- → Want no wheat kind?
Gluten-free flour works fine. Read package directions carefully. They'll still turn out gooey. You might need extra moisture. Watch your timing.
- → How keep em good?
Store in airtight container. Room temperature works for three days. Fridge keeps them good two weeks. Make sure they're covered well. If anyone leaves them alone that long!
- → Adding extra stuff?
Walnuts or pecans work great. Try raisins or cranberries. Even peanut butter tastes good. Fold in carefully. Don't overdo the extras.
- → When they done good?
Edges should pull away slightly. Center remains soft. Try toothpick test. Should come out with crumbs. Trust what you see.
- → Getting too dry?
Shorten baking time. Keep watching your oven. Center needs to wobble. Don't bake too long. Underdone beats overdone.
- → Taking em places?
Cool them completely first. Cut into neat squares. Stack them carefully. Use container with walls. The effort pays off.
- → Need em faster?
Single-pot method saves time. Get ingredients ready beforehand. Don't rush the baking though. They still need cooling time. The wait's worth it.
- → Making big batch?
You can easily double everything. Use a larger baking dish. Might take longer to cook. Watch for doneness in middle. Good oven space helps.
- → Want more rich taste?
Use premium cocoa powder. Add extra vanilla if you want. Brown sugar adds depth. A splash of espresso works wonders. Let the chocolate shine.
- → Top not crackling?
Mix the sugar thoroughly. Whisk eggs longer. Correct oven temperature matters. Don't change ingredients. Follow the process carefully.
- → Too gooey middle?
Bake a bit longer. Turn down temperature slightly. Test with toothpick. Allow more cooling time. They'll still taste amazing!
Conclusion
Enjoyed these? Maybe try making lava cakes next time. Or whip up some chocolate chip cookies. Both will satisfy your sweet cravings perfectly.