
 Pin it
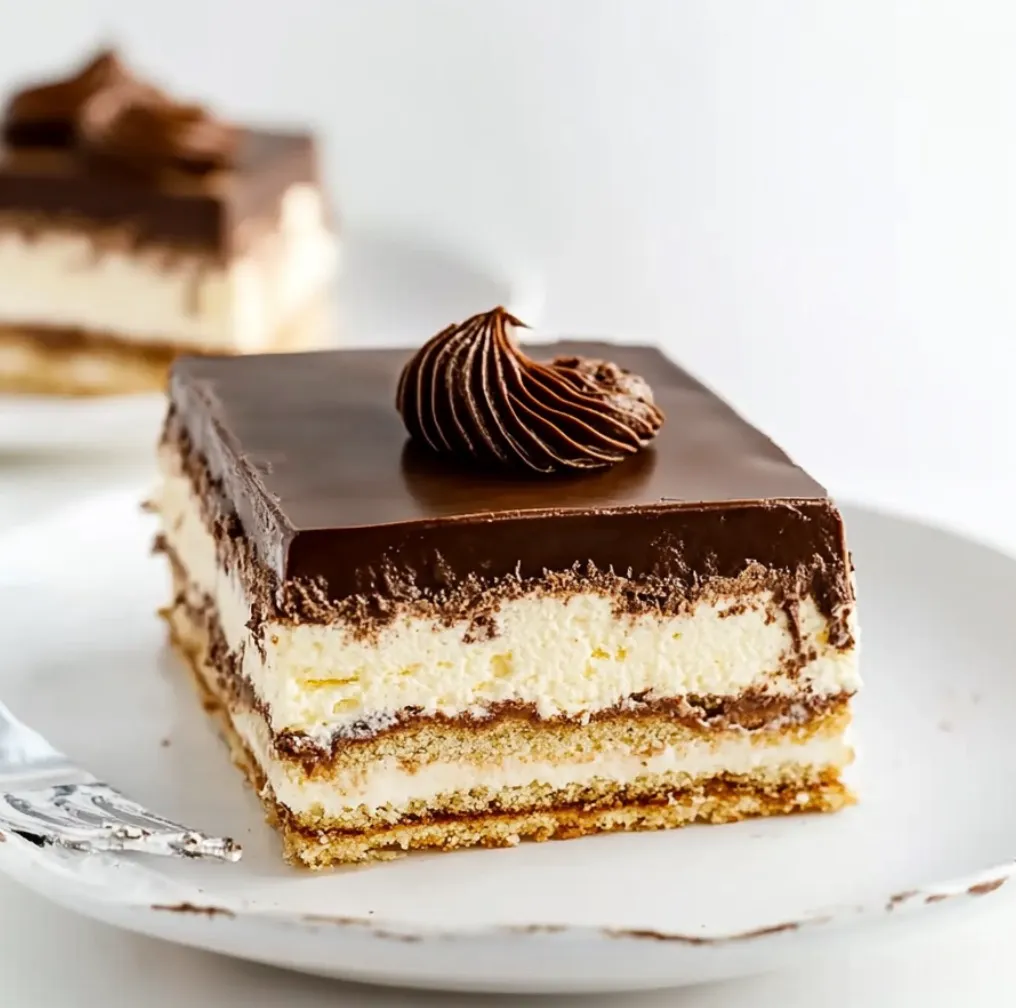
Transform classic chocolate éclair into a simple layered treat that captures all those favorite flavors without any baking. Smooth vanilla pudding, crunchy graham crackers, and decadent chocolate frosting mix to create a dessert that tastes like it's from a fancy French bakery, but comes together quickly. After making this family favorite countless times, I've learned the true trick is giving everything time to blend, creating that perfect texture that reminds you of real éclairs.
I brought this to my kid's birthday celebration yesterday, and my mother-in-law, who absolutely loves French pastries, couldn't tell it wasn't made with traditional choux dough. What's the trick? Just wait - let those layers work their magic in the fridge overnight.
Key Ingredients and Smart Picking Tips
- Graham Crackers: Pick ones that aren't broken or damaged. Regular honey grahams work best since they have just the right amount of sweetness and firmness to soak up the pudding
- Vanilla Pudding Mix: You need instant pudding here; the cook type won't give you the right texture. I like using French vanilla for that true éclair taste
- Heavy Whipping Cream: Don't go for the ready-made whipped stuff - real cream is worth it. The richness really shows in your finished dessert
- Chocolate Frosting: Good quality store-bought works great, but look for something rich and shiny to match that classic éclair look
 Pin it
Step-by-Step Making Instructions
- Whipping Up Your Pudding Base:
- First, make your pudding mixture - this starts the whole magic process. Empty the instant pudding powder into a big bowl with cold milk. Here's a tip from years of making this: stir by hand for about 2 minutes until it starts getting thick but isn't completely set yet. Then carefully fold in your whipped cream using a spatula, making gentle figure-eights to keep everything airy and light. This careful approach keeps your filling perfectly smooth.
- Creating Your Layers:
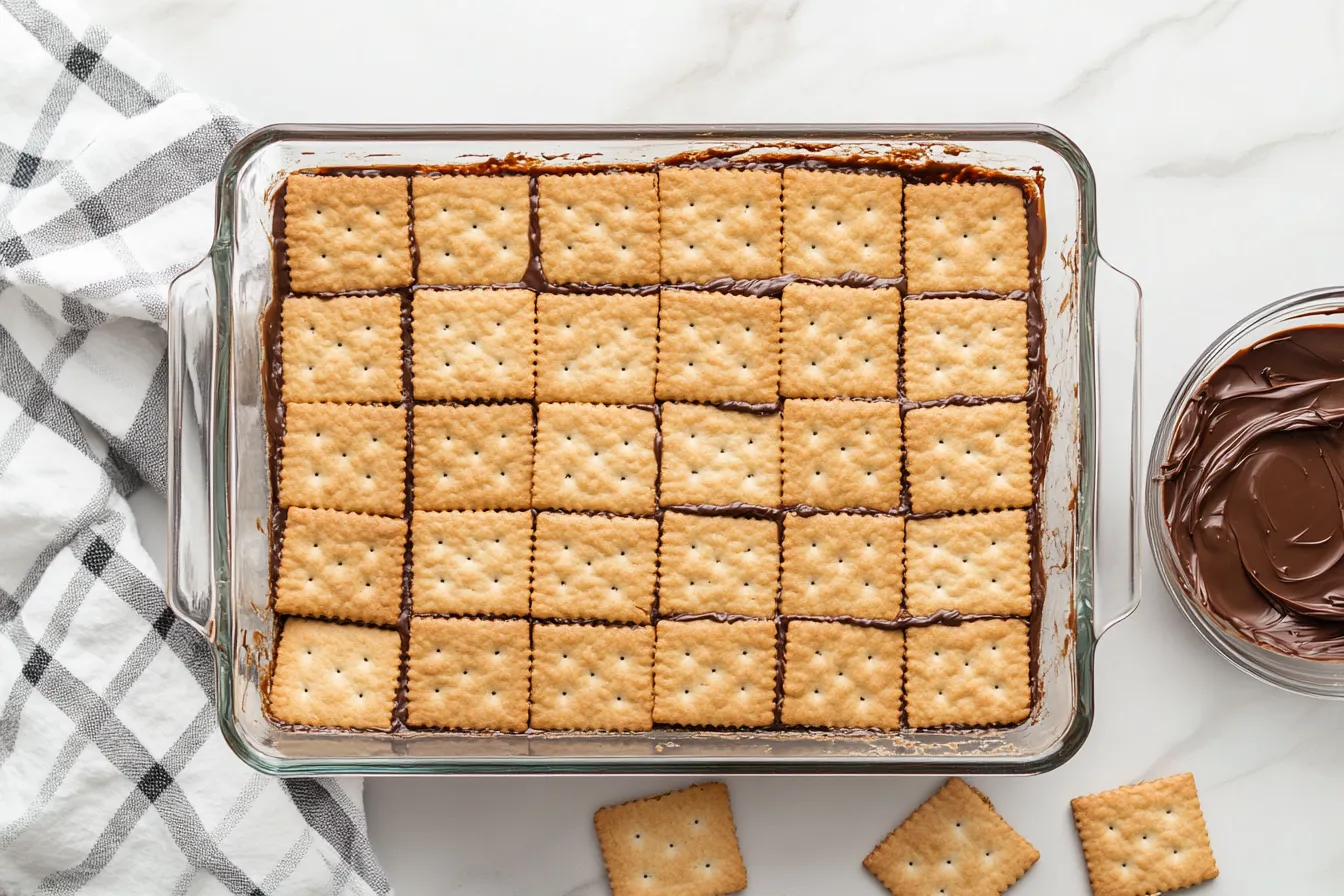
- Take a 13x9 inch dish and start with a layer of graham crackers. Don't stress if you need to snap some to fit - it's like solving a little puzzle. Pour a thick layer of pudding mix over the crackers, making sure to cover everything right to the edges. This helps you get perfect slices later. Keep adding crackers then pudding until you've used everything, with crackers on top.
- Adding The Chocolate Top:
- Now for my favorite part - the chocolate topping. Pop your frosting in the microwave for just 15-20 seconds. This little hack makes it flow smoothly across the top crackers. Start in the middle and let it spread outward naturally to the sides. Don't worry about getting it perfectly even - it'll settle nicely as it cools.
 Pin it
My youngest helped me whip this up for her school fundraiser last week. She was amazed how the crunchy crackers turned into soft, cake-like layers overnight. It's become our special treat to make together, and she always calls dibs on cleaning the pudding bowl!
Getting That Amazing Soft Texture
The big secret here is just waiting. While it chills, the crackers slowly soak up moisture from the pudding, changing from crisp to tender. It's like having a little bit of kitchen magic happening in your fridge - it gets better with each passing hour. I love checking on it and knowing that time is working wonders on those stacked layers.
Perfect For Planning Ahead
This dessert is fantastic because you can make it way before you need it. I often fix it two days ahead of parties, and the waiting actually improves it. All the flavors mix together beautifully, and the texture becomes just right. Keep it covered in your fridge, and try not to peek too much!
Ways To Serve It
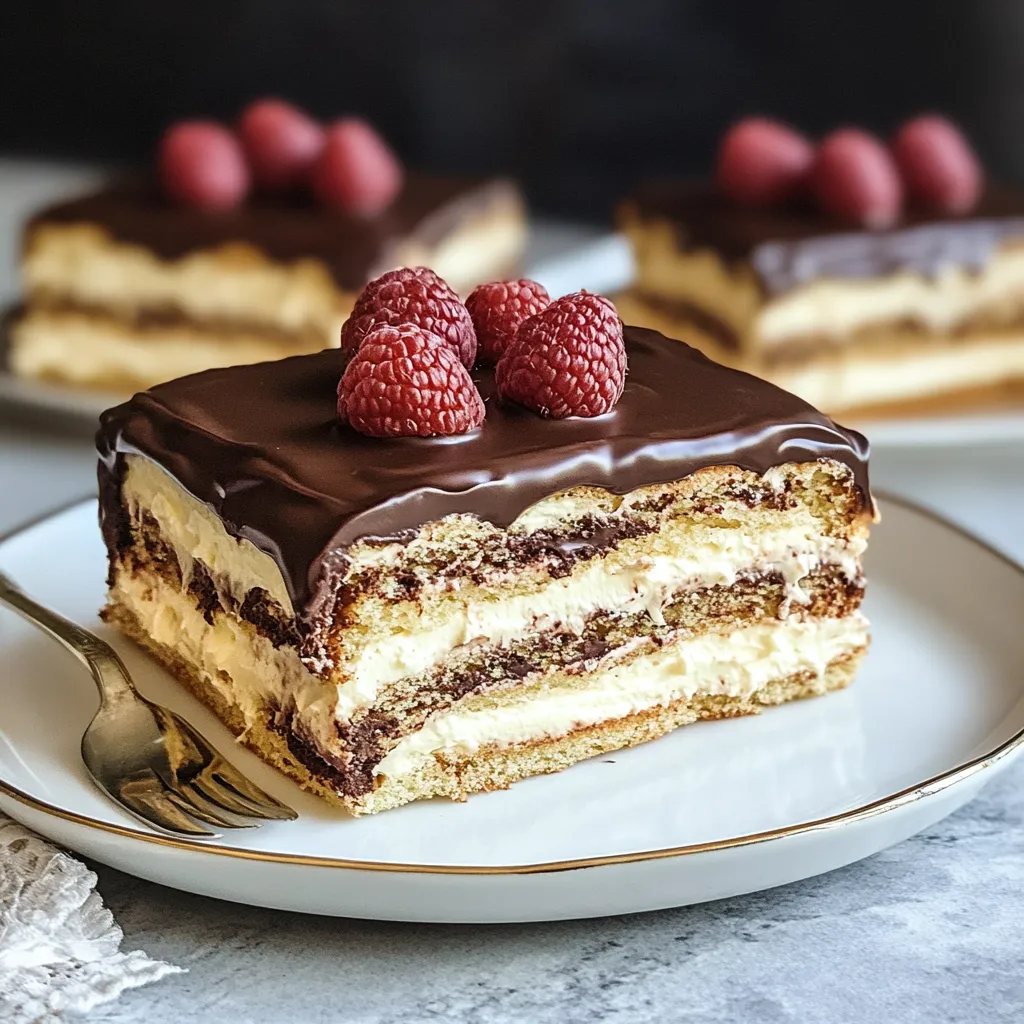
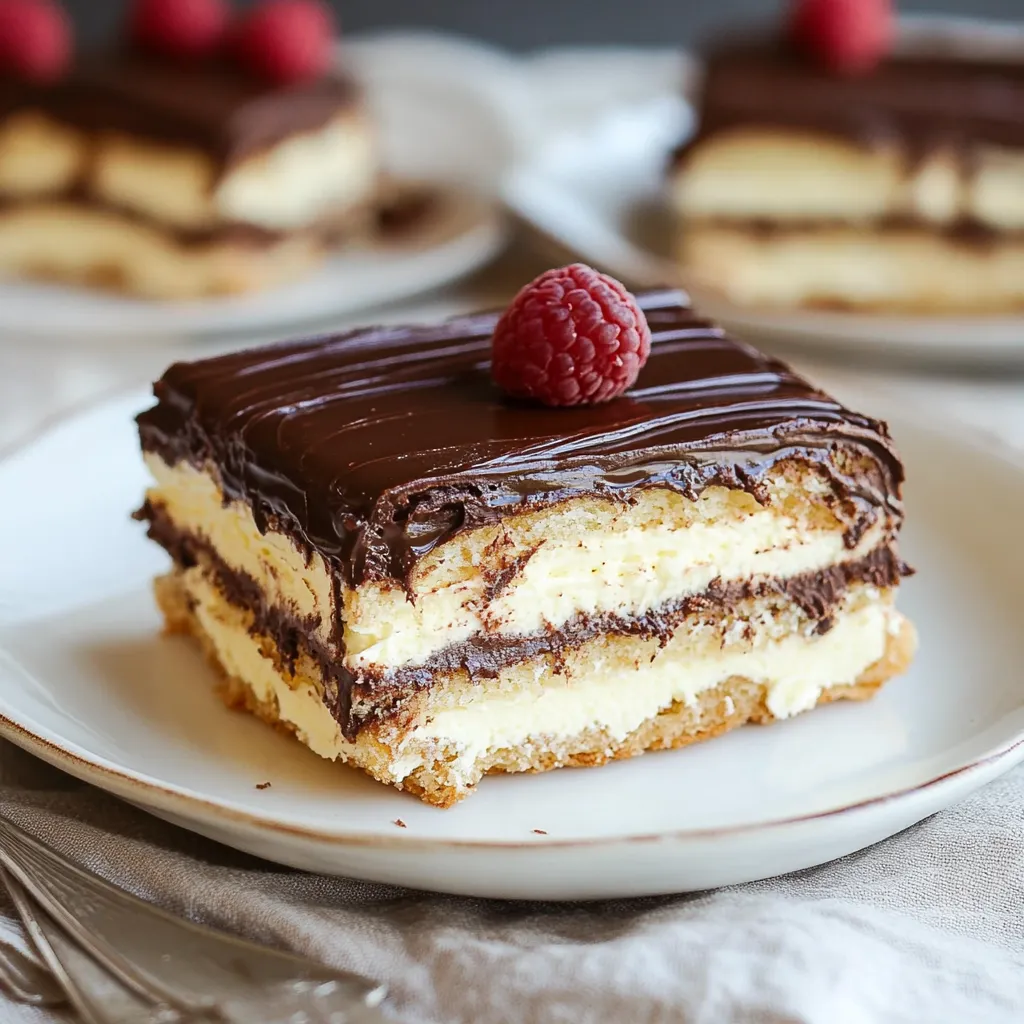
I've learned that slicing this into squares works best when it's completely cold. Use a sharp knife and wipe it off between cuts for the cleanest edges. A tiny bit of chocolate sauce or a fresh berry on top makes it look extra fancy when you have guests over.
Keeping It Fresh
This treat stays good in the fridge for up to 5 days, though at my house it never sticks around that long. Cover it well with plastic wrap so it doesn't pick up any fridge smells. The chocolate layer helps protect everything underneath, but you still want to keep it all fresh.
 Pin it
Final Thoughts: This no-bake treat brings back memories of warm afternoons in my grandma's kitchen. She always said the easiest recipes often create the most special moments. What started as a way to make something sweet without heating up the house has turned into a family tradition we all love. Each time I make it, I remember her saying that patience in cooking usually gives you the tastiest results.
Whether you're fixing this for family dinner, a community potluck, or just because you want something nice, this shows you don't need fancy methods or hard-to-find ingredients to make something wonderful. Sometimes the best treats just need a little time and care to come together perfectly.
Frequently Asked Questions
- → How long should it chill in the fridge?
Let it chill for at least 8 hours or overnight. For the best results, 24 hours works wonders as the crackers soften even more perfectly.
- → Is it ok to make this ahead?
Absolutely. You can prep it 1-2 days in advance. The more time it sits, the softer and tastier the layers get.
- → How do I spread the frosting smoothly?
Pop the frosting in the microwave for 20 seconds, give it a stir, and it'll spread easily without breaking the crackers.
- → How long can leftovers keep?
Store them covered in the fridge for up to 4 days. If you'd like, you can freeze it for 2 months if wrapped tightly.
- → Can I swap store-bought for homemade ingredients?
Sure! Use homemade whipped cream, chocolate frosting, or pastry cream if you prefer to make it from scratch.