
 Pin it
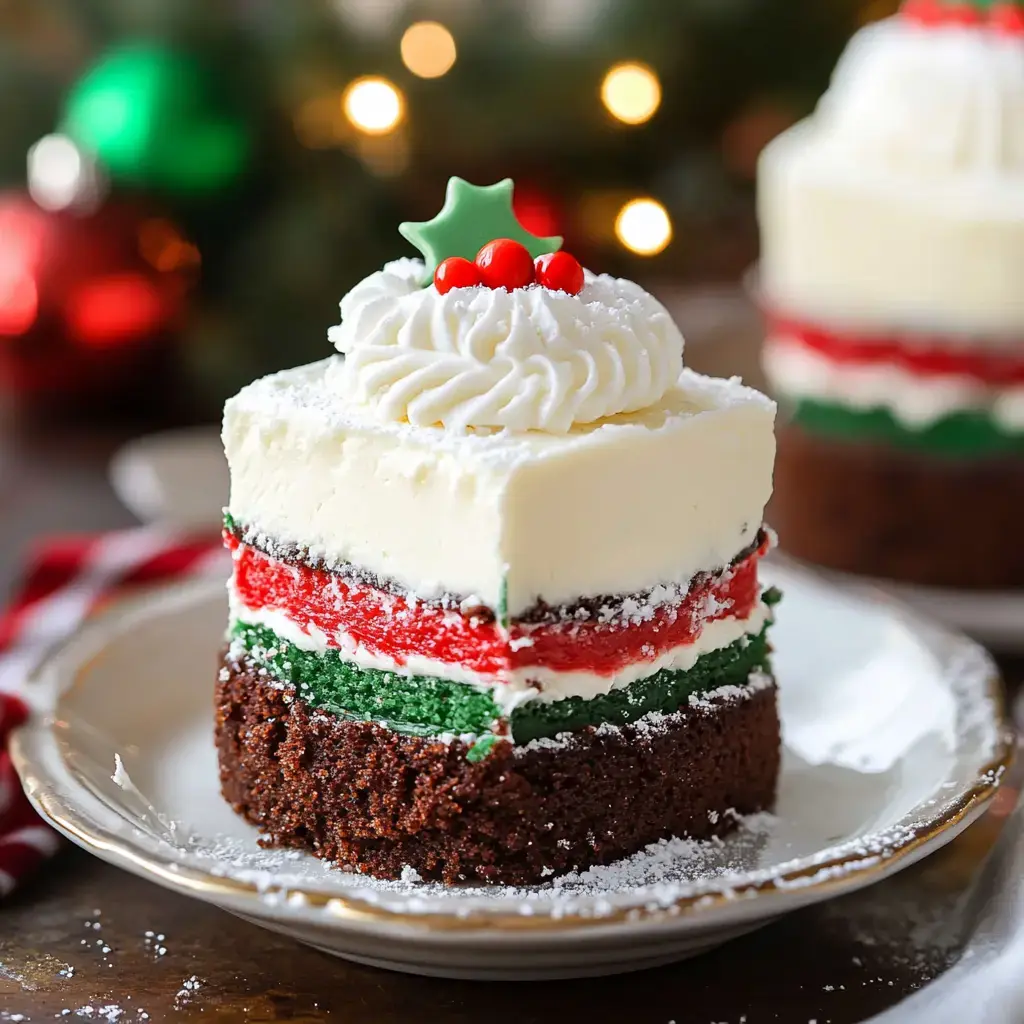
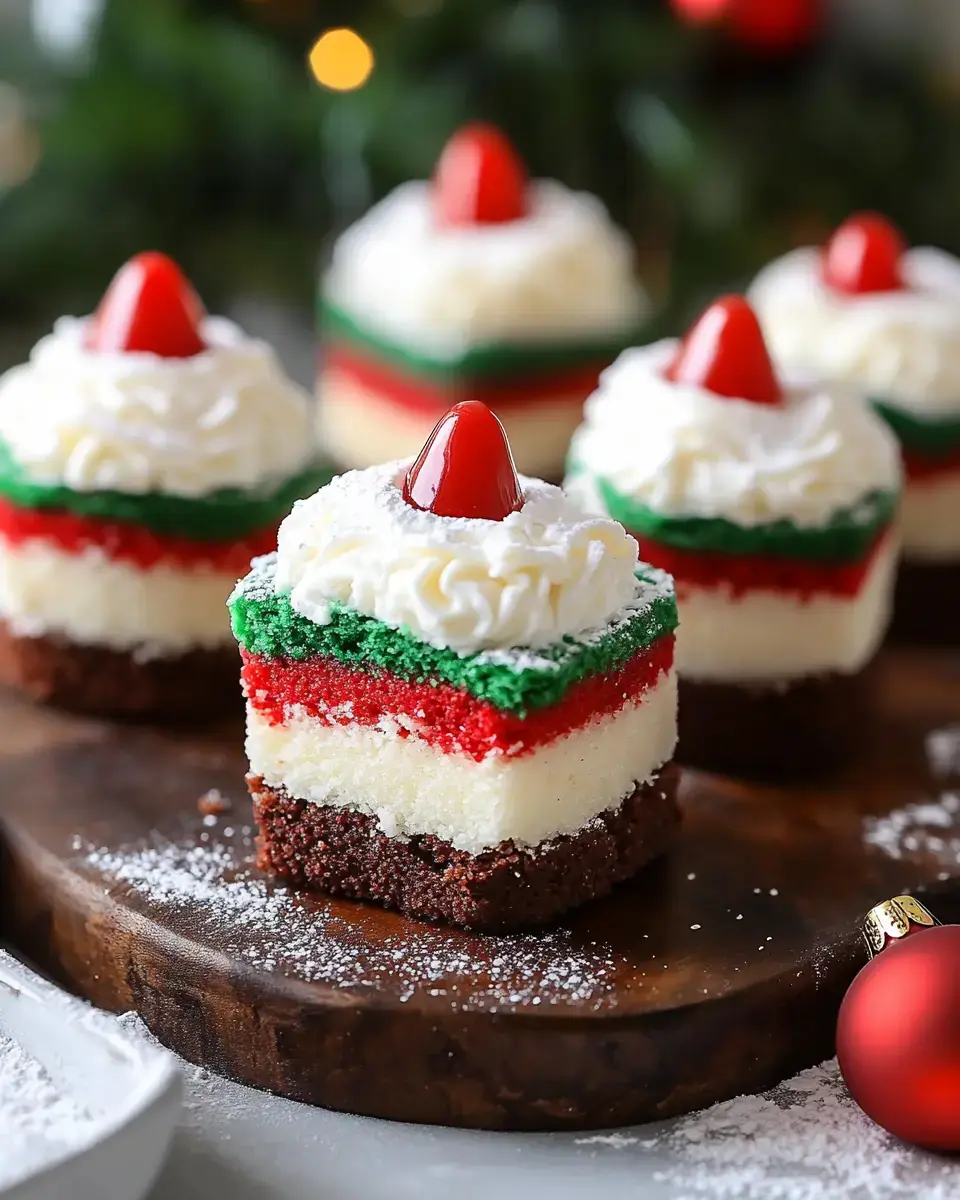
Whip up these homemade Fancy Christmas Cakes (Mini Holiday Ding Dongs) for a cheerful, no-fuss holiday treat. Each bite packs vibrant color, creamy buttercream, and a shiny chocolate shell. It’s a feel-good dessert that looks just as stunning as it tastes—guaranteed to wow your guests at any festive gathering.
Irresistible Holiday Cakes to Try
Every bite is loaded with bright color and rich, creamy flavor. Those bold green and red layers really stand out. The tender cake, lush filling, and thick chocolate shell mix together for a bite that’s all about fun texture. They’re just right for gatherings, homemade gifts, or making memories with loved ones.
Holiday Cake Must-Haves
- Needed for Cake:
- Bake mix, either white or vanilla, 1 box
- Green gel food dye, 1 ounce
- Red food dye, 1 ounce
- Vanilla extract, 1 teaspoon
- Eggs, oil, water (per cake box directions)
- Stuffing for Middle:
- Buttercream, 2 cups
- Peppermint extract, a touch (optional, around 1/4 teaspoon)
- Chocolate Wrapping:
- Chocolate Candyquick, 16 ounces
- If swapping, regular chocolate needs 2 tablespoons shortening
- What You’ll Use:
- Parchment paper
- Sheet pans, two 9x13
- Round cookie cutter, about 2 1/2 inches
- Rack for cooling
- Offset spatula for spreading
Easy-to-Follow Steps
- Time for the Chocolate
- Start by letting chocolate melt how the package says. Then pour it all over to cover every little cake. Sit back and let them set up until they’re nice and firm.
- Slice and Lay Out
- Grab your round cutter and punch out those mini cakes. Line them all up on a rack set over parchment so any chocolate mess gets caught.
- Stack the Layers
- Slather buttercream on your green cake slab, then place the red one on top. Chill in the fridge for thirty minutes or even longer—this keeps everything tight.
- Bake Away
- Pour the colored mix into your pans. Bake for about 12 to 15 minutes, giving the pans a quick tap at halfway. Cool them out on the racks till they’re not warm at all.
- Get the Cake Ready
- Fire up your oven to 350°F. Lay down parchment in both pans and hit ‘em with nonstick spray. Whip up the cake batter like the box tells you. Split it between two bowls, dye one red and the other green.
Best Tips for These Treats
Gel colors make those layers pop without messing with the batter. Only move forward once cakes are fully cool. A good chill between steps means neat, sharp shapes. Make sure your chocolate stays the right temp for that super-smooth dip. Don’t dawdle while coating so things don’t set too quickly.
 Pin it
Fun Ways to Share and Eat
Shake things up by loading them on a holiday platter with fresh mint scattered around. Stack them at different heights for a real show. Offer them with mugs of hot cocoa or steamy coffee at your gatherings. Wrap each one in a clear box to hand out as cute little gifts. Toss on some seasonal sprinkles right before the chocolate hardens if you want extra sparkle.
Save and Prep Ahead
Keep your finished treats in an airtight box—they’ll be good on the counter for up to three days. If your house is warm or you want more time, stash them in the fridge for a week. You can totally bake the cake layers and freeze them for up to a month, just thaw before you start stacking. Warm spots make the chocolate go soft, so avoid those if you can.
Frequently Asked Questions
- → How long should I whip the frosting?
- Let the mixer run at least 3 minutes on pretty high—up to 7 if you want it super airy.
- → Can I make this ahead?
- Go for it. You can keep the creamy filling chilled for two weeks. Just whip it up again before spreading.
- → What if my filling is too thick?
- If it's looking thick, just pour in a little more milk and keep mixing until it's nice and soft.
- → What kind of cake should I use?
- They suggest trying their white cake from scratch, but this creamy filling actually works on any type you want.
- → Why sift the confectioners' sugar?
- Sifting knocks out lumps so your cream comes out velvety smooth.