
 Pin it
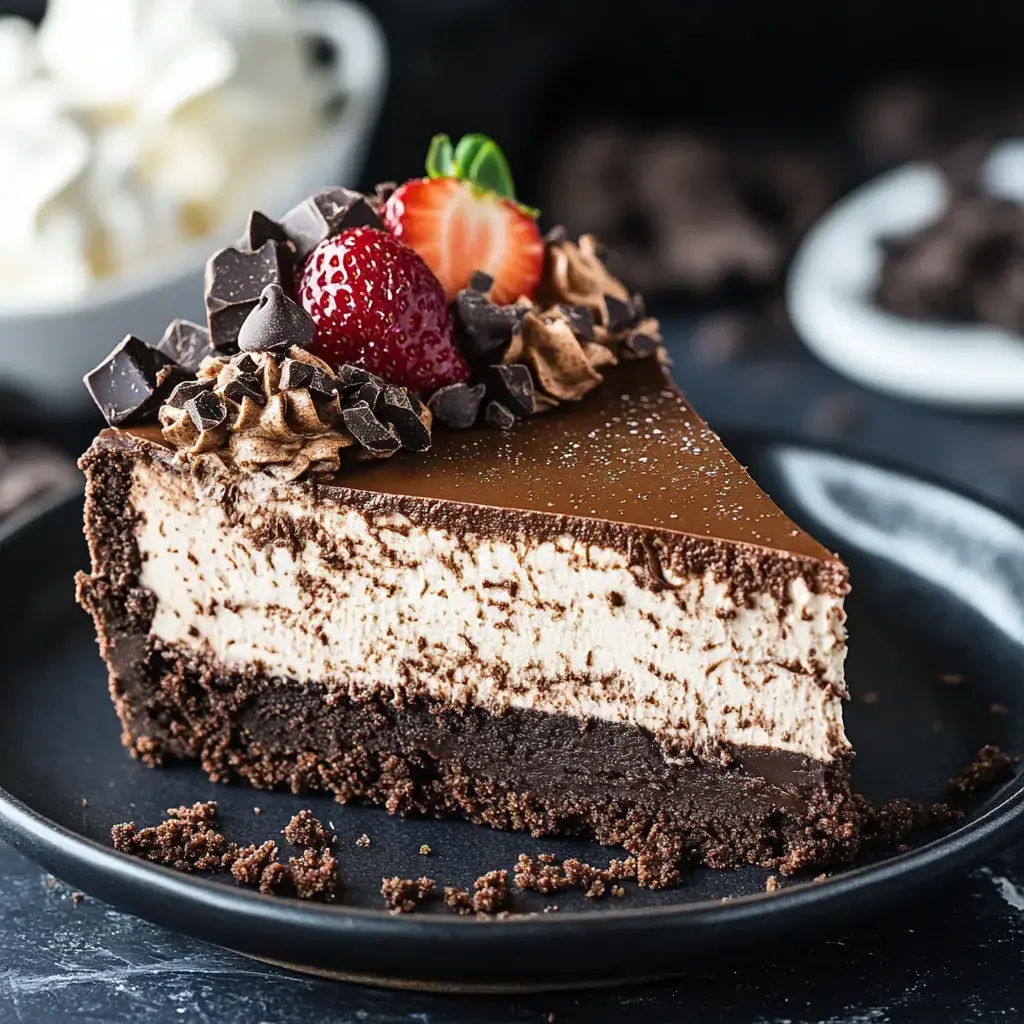
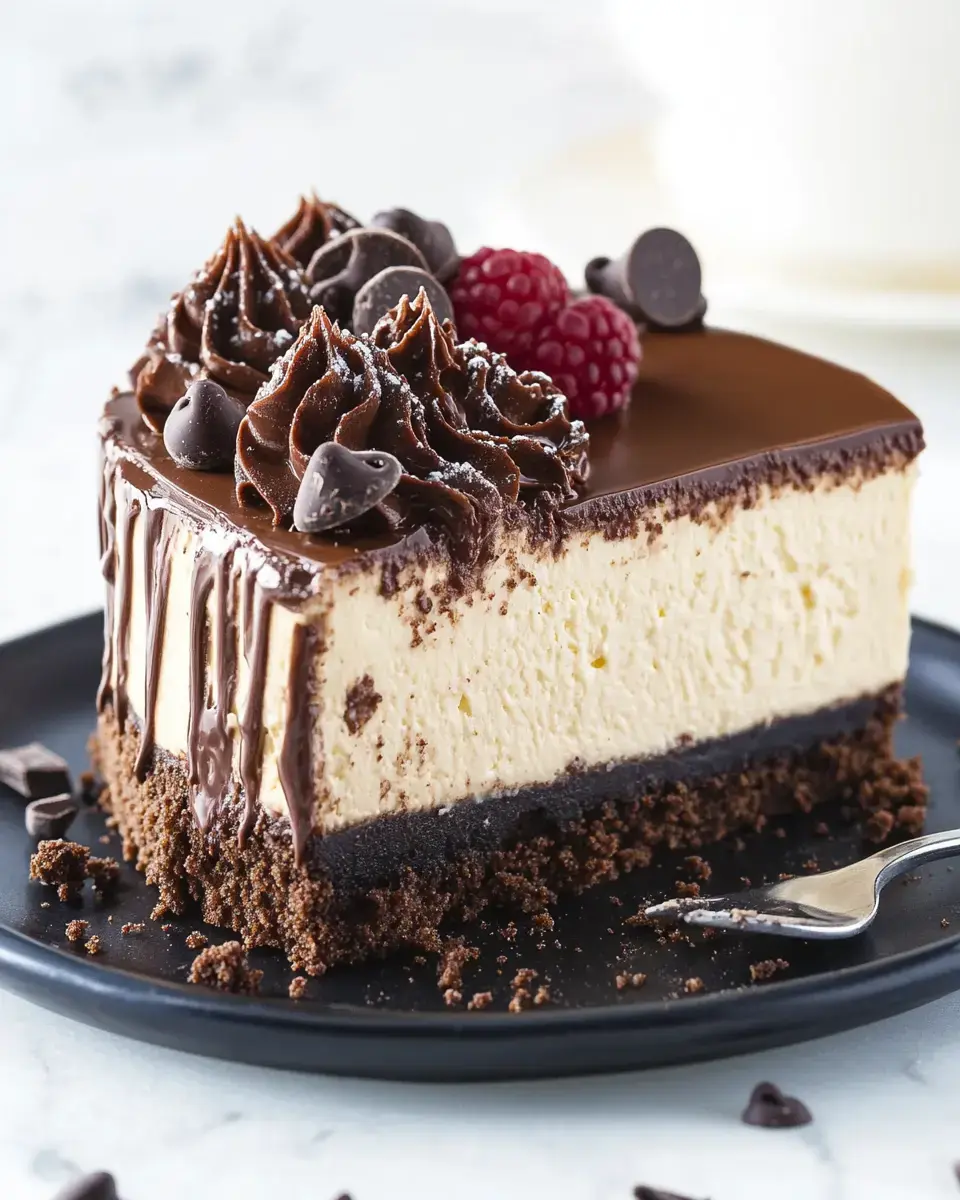
- I've gotta tell you about my go-to chocolate cheesecake! Through tons of kitchen experiments, I've nailed this indulgent treat. It combines a crunchy chocolate cookie base with the creamiest chocolate filling you'll ever try. Add some whipped cream or scatter berries on top and watch your guests fall in love at first taste!
What Makes This So Good
- This cheesecake works like a charm every time! The center turns out incredibly velvety and the chocolate taste is wonderfully intense. Even if you're new to cheesecakes, don't stress - I'll guide you from start to finish. And you can top it any way you want, making it great for any special event!
Grab These Items
- Cookie Bits: Chocolate ones create the tastiest base.
- Cream Cheese: Stick with full fat for best results!
- Sugar Magic: Plain sugar lets chocolate flavors pop.
- Two-Way Chocolate: Both powder and melted chocolate chunks.
- Hidden Boost: Coffee brings out chocolate's best side.
- Thick Cream: Gives everything that smooth feel.
- Eggs: Keep them out until they warm up.
- Real Vanilla: Brings the whole mix together nicely.
Start Cooking
- Build Your Base
- Mix those cookie bits with melted butter until everything looks damp like beach sand. Pack it down hard in your springform pan - a measuring cup bottom works great for smoothing it out. Bake at 350°F for just 7 minutes to set it up right. Let it cool all the way while you handle the filling - this step can't be rushed for the best slices later.
- Mix Your Filling
- Always start with cream cheese that's not cold - this is how you get that smooth texture. Beat it for about 3-4 minutes on medium, scraping the bowl often until you can't see any lumps. Slowly add your sugar and cocoa, mixing until it all blends together. Next, pour in your melted chocolate and coffee, beating until everything looks shiny. Last, drop in your eggs one by one on low speed, just until they disappear into the mix. Don't overdo it or your cake might crack later.
- Smart Baking Steps
- Pour your mix into the crust carefully so you don't trap air. Start by baking at 325°F for 30 minutes to firm up the edges. Then turn down to 250°F and cook another 45 minutes. The middle should still wiggle slightly. Turn off your oven but keep the cake inside with the door shut for 30 more minutes - this slow cooling stops cracks from forming.
- Cool It Down Right
- After resting in the off oven, open the door a crack and let your cake cool one more hour. Then let it sit out until it's room temperature before putting it in the fridge for at least 2 hours, though leaving it overnight works even better. This slow cooling gives you that perfect smooth bite.
- Finishing Touches
- Take a warm knife around the edge before opening the springform. For beautiful slices, dip your knife in hot water and wipe it clean between cuts. Top with some fresh whipped cream, thin chocolate curls, or fresh berries. Serve cool but not freezing cold - letting it sit out about 15 minutes brings out all the flavors.
Get It Right
- All your stuff should be room temperature or you'll end up with bumpy batter.
- Don't beat those eggs too much or you'll get cracks on top.
- That gradual cooling inside the oven? It's key for amazing texture.
- Tap your bowl against the counter before baking to knock out air pockets.
 Pin it
Try Something New
- Wanna get fancy? Drizzle warm chocolate sauce on top.
- Got berries? Swirl some raspberry into the mix.
- Try using crushed Oreos for your base instead.
- Feeling bold? Add a tiny bit of cinnamon or chili for a flavor twist!
Storage Tips
- Your cheesecake will stay good in the fridge for 5 days if nobody eats it first!
- Need to save some? Wrap it up tight and freeze for up to a month.
- My best tip? Make it the day before you need it - it tastes way better after sitting overnight.
Frequently Asked Questions
- → Why use ingredients at room temperature?
Makes everything blend easily for a silky texture.
- → What’s the purpose of cooking at two heat levels?
Stops the cake from cracking while ensuring thorough baking.
- → Why remove air bubbles by tapping?
Leaves out cracks or holes in the final dessert.
- → Why cool it so slowly?
Prevents any cracks forming and keeps the top smooth.
- → Is it okay to freeze the cake?
Yes, just wrap tightly, and it keeps well for up to three months.
- → Why is lining the pan important?
It helps when taking the cake out and avoids sticking.
- → What if espresso isn’t available?
You can use strong coffee instead or leave it out entirely.