
 Pin it
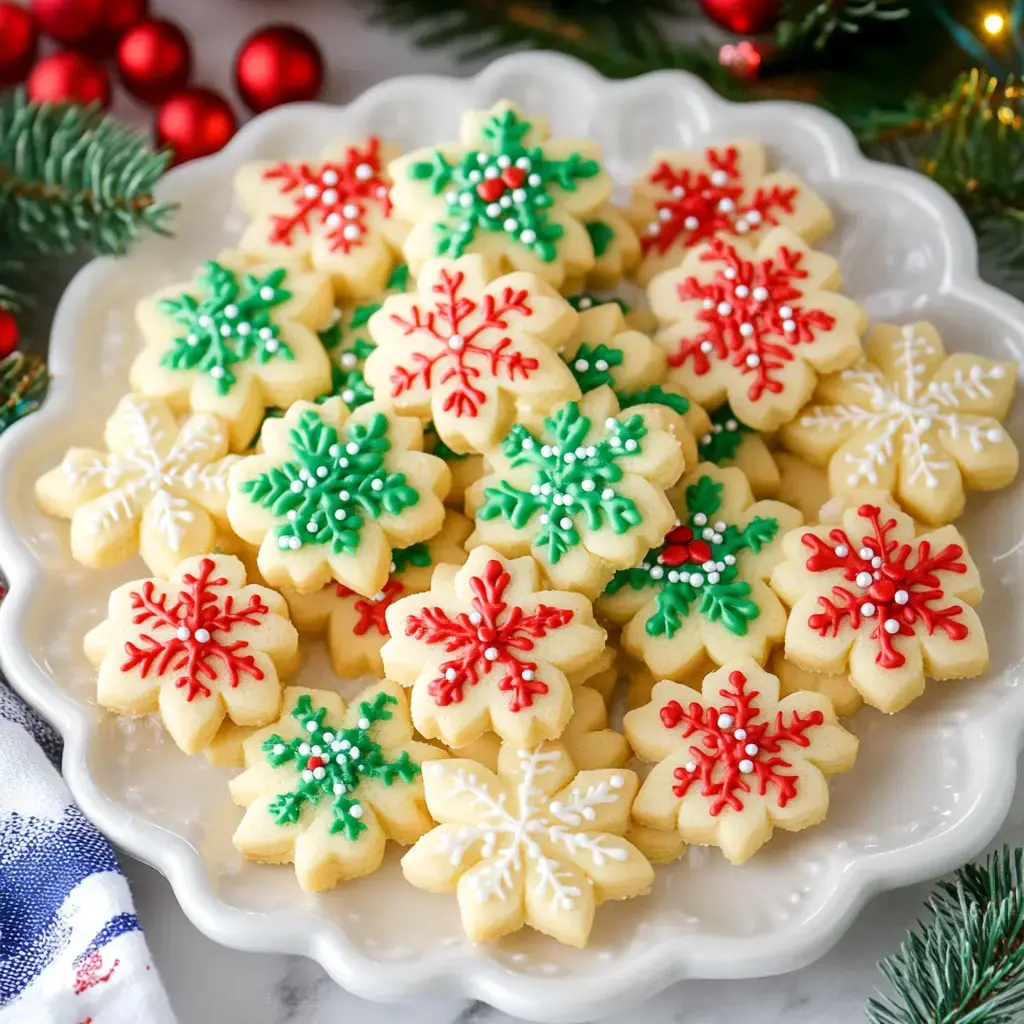
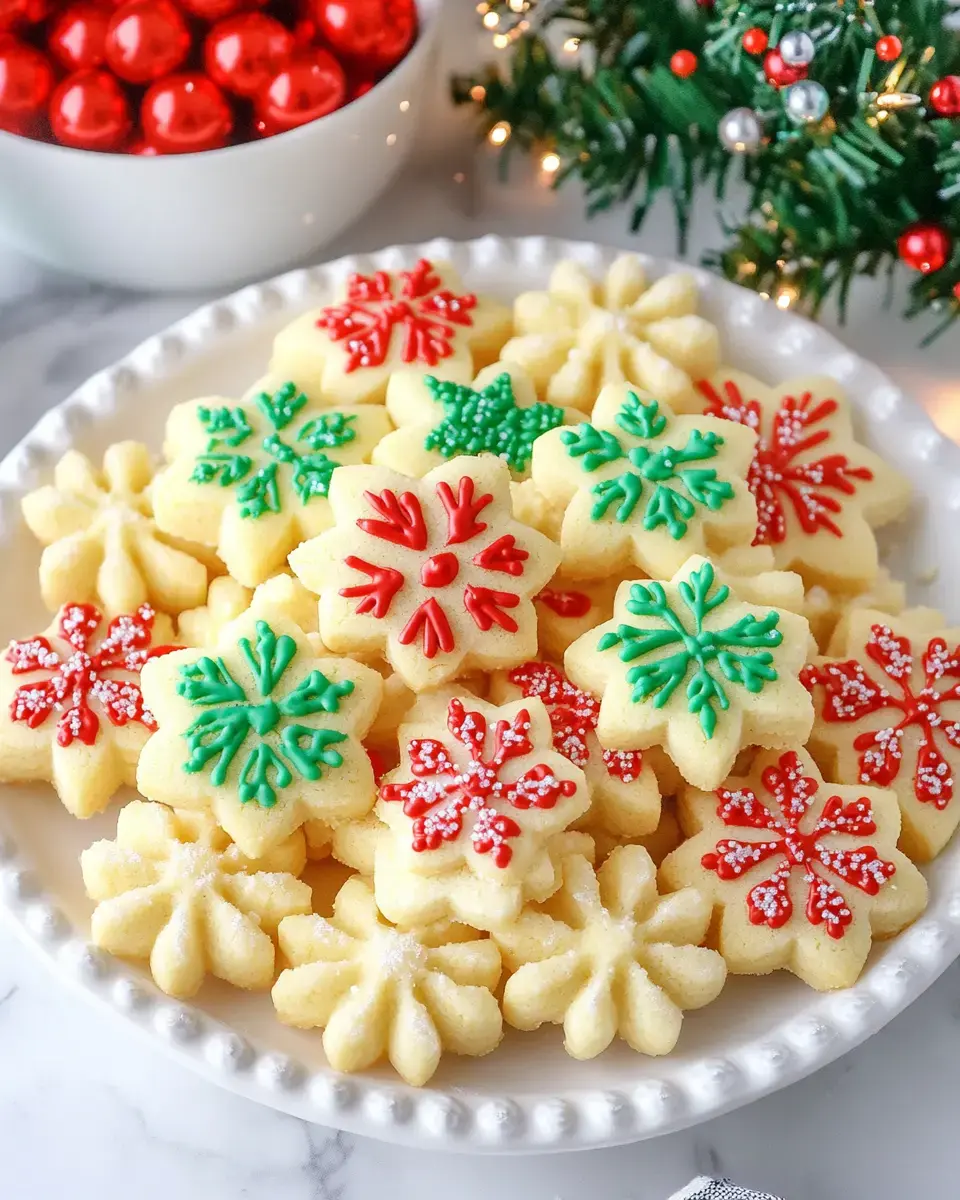
Whip up a batch of Classic Spritz Cookies at home and enjoy these fun, buttery bites. They're super simple, especially with a cookie press. Inspired by German treats, they're rich with almond and vanilla but not too sweet. Sprinkle them with sugar, dip 'em in chocolate, or toss on some colorful sprinkles for a festive touch. They always look classy on a holiday tray.
Reasons You'll Crave These Cookies
They blend that buttery bite of shortbread with a melt-away feel that’s way better than store cookies. You don’t even have to chill the dough, so they’re fast to throw together. One mix of dough makes loads of cookies. You can shape or decorate them however you’re feeling, so they work for every holiday or celebration.
Spritz Cookies Ingredients
- For Mixing the Dough:
- 1/2 teaspoon salt
- 4 1/4 cups all-purpose flour
- 2 teaspoons vanilla extract
- 2 cups unsalted butter, softened
- 2 large eggs, room temperature
- 1 cup granulated sugar
- 1/2 teaspoon almond extract
- Decoration Picks:
- Gel food coloring
- Colored sugar
- Nonpareils
- Mini chocolate chips
- What You'll Need:
- Cooling racks
- Electric mixer
- Ungreased baking sheets
- Cookie press with plates for designs
Simple Step Guide
- Bake and Cool
- Pop cookies in at 375°F for about 5-7 minutes till they're set but still pale. Let 'em sit on the sheet a couple of minutes then move to racks.
- Toss On Decorations
- Dust with colored sugar or whatever toppings you like before baking. Give a little press so stuff sticks.
- Load Cookie Press
- Spoon your dough into a cookie press fitted with your chosen plate. Pump cookies straight onto cool, ungreased cookie sheets.
- Color the Dough
- If you want some cookies in different colors, split the dough and knead in a bit of gel color. Just don’t overdo the mixing or it’ll get tough.
- Make the Dough
- Beat together the butter and sugar until it’s fluffy, about 3 minutes. Crack in the eggs one by one, then pour in vanilla and almond extracts. Add the flour and salt and mix just until it all comes together.
Top Tips for Best Cookies
Let your butter soften so the dough comes together easily. If things start feeling warm, give the dough a little chill to keep shapes clean. Wipe down press plates now and then for sharper cookies. When they won’t stick, chill your baking sheet for a few minutes. Don’t grease pans—it makes cookies slip. Bake one test cookie at first just to check the dough.
 Pin it
Creative Ways to Decorate
Switch up plate designs and play with food coloring for all sorts of looks. After baking, drizzle on melted chocolate. Sandwich two cookies together with a bit of jam or chocolate. Want soft elegance? A shake of powdered sugar is perfect. For parties, match your decorations to the theme. These also look super cute packed in clear bags or gift tins.
Keep & Plan Ahead Notes
Stash cookies in a tightly sealed container at room temp for up to a week. Toss a piece of wax paper between layers so the decorations don’t get messed up. You can freeze finished cookies in freezer-safe boxes for up to 3 months—just let them thaw first. Make your dough in advance and keep it chilled for up to 3 days, but set it out to soften before pressing it out.
Frequently Asked Questions
- → Why shouldn't I use parchment?
If you want your dough to stick for pressing shapes, parchment is just too slick. Silicone mats grab just enough for it to work.
- → How do I know I’m creaming the butter and sugar right?
Once the mix looks way paler and feels fluffy after about 3 or 4 minutes, you’re good to go.
- → Is it OK to tint the dough?
Totally! Go for gel colors and just a bit at a time. If you want several colors, split your dough first.
- → How long do these cookies last?
Pop them in a sealed container and you’ll have fresh cookies for about a week.
- → Why are my cookies spreading out?
Spritz shouldn’t really spread. Too-warm or too-loose doughs can cause that. Stick them in the fridge for a bit before shaping.
Conclusion
These spritz cookies are a holiday favorite for their light, buttery feel. Making them is easy thanks to just a few simple ingredients, the right amount of mixing, and baking for the perfect texture. Plus, they're super fun to decorate in all sorts of pressed designs for the season.