
 Pin it
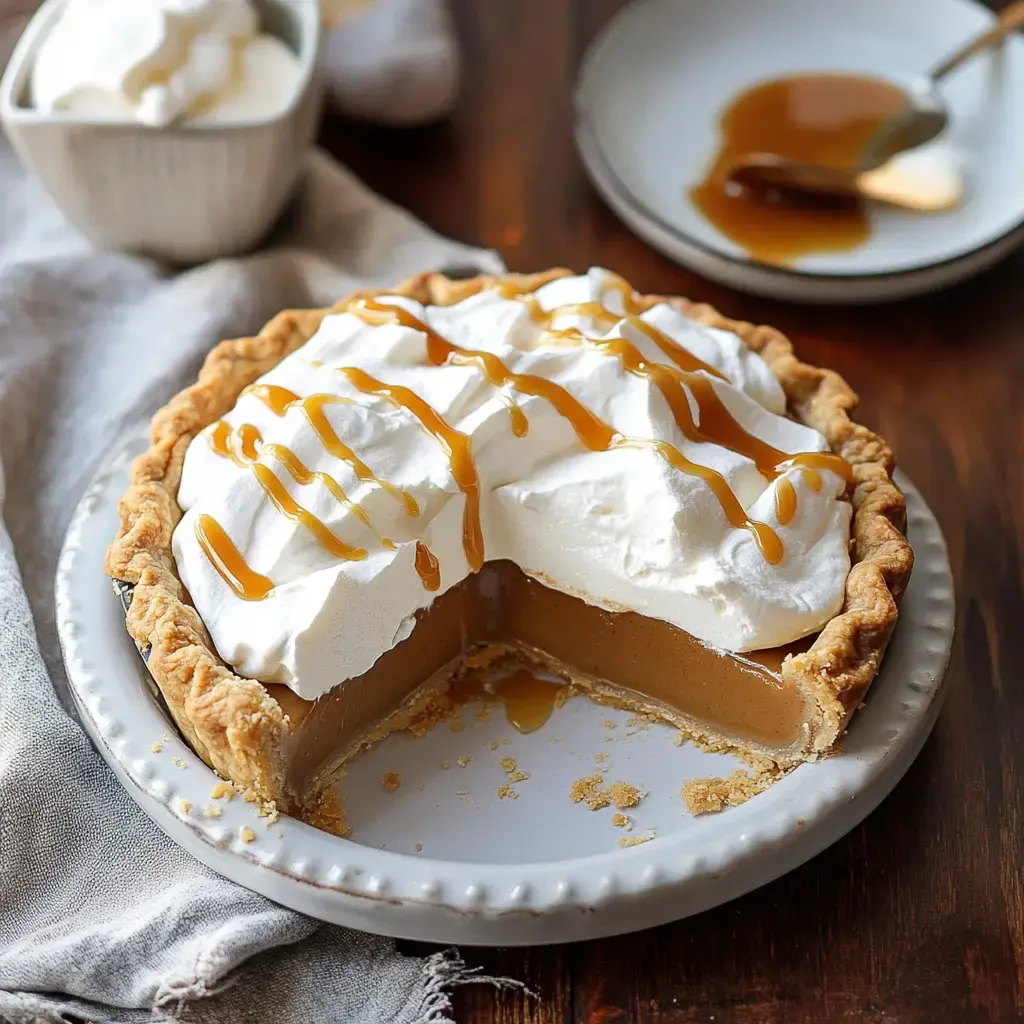
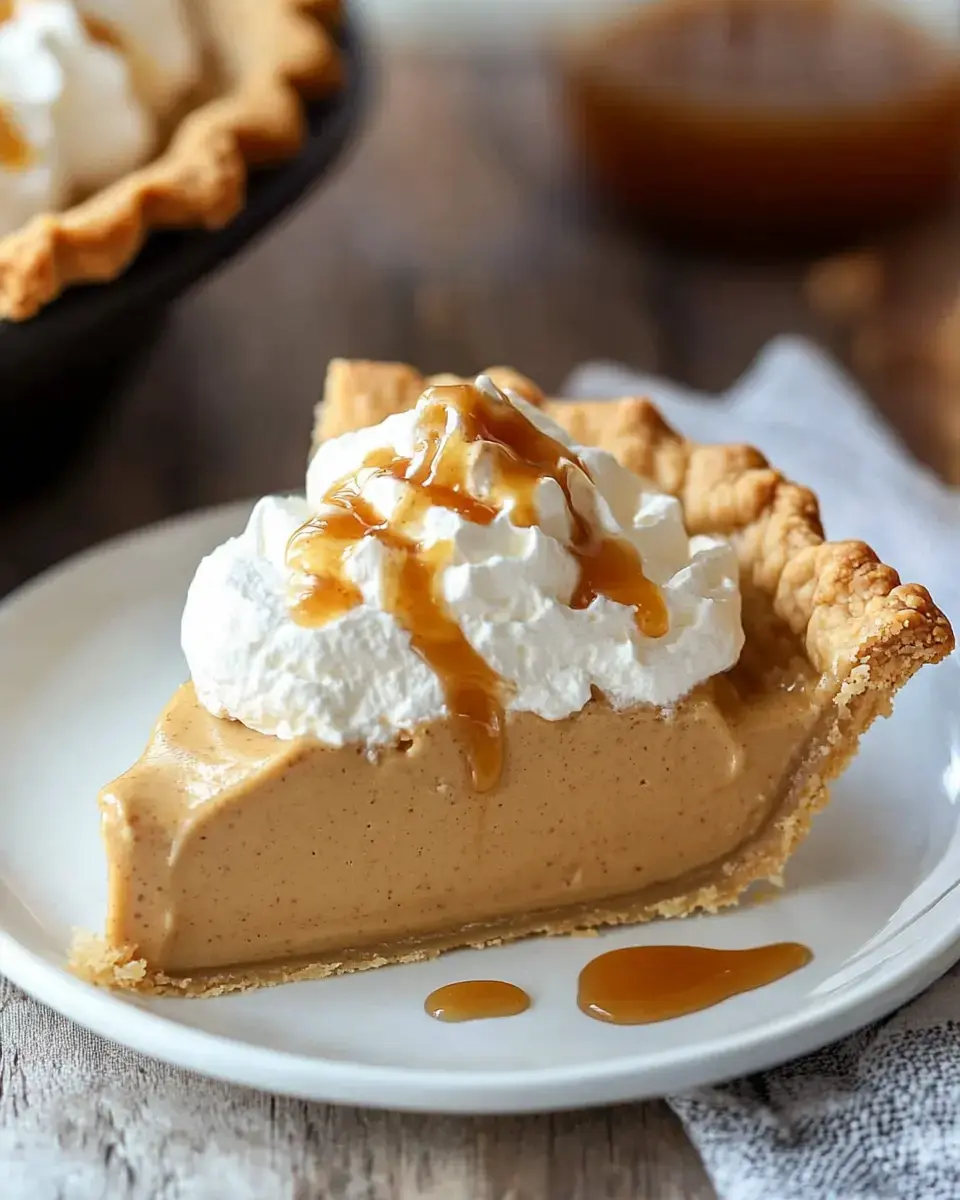
Velvety Butterscotch Pie Delight
When I whip up this Butterscotch Pie, memories of my grandma's cooking flood back. This ain't some instant pudding thrown in a shell - we're talking genuine, scratch-made butterscotch, slowly turned golden brown until it's got that intense flavor, then poured into a crispy crust and finished with billowy dollops of fresh cream. It's the sort of treat that makes folks take that first taste and just go quiet for a second.
What Makes This Pie Special
There's something wonderful about crafting butterscotch with your own hands. Looking at sugar as it changes to amber liquid, swirling into cream and setting up as that smooth, dreamy filling. What's great? You can fix it up a day early to make hosting way easier. And don't forget that priceless moment when everyone sees it coming to the table - their faces say it all!
What You'll Need
- Pie Crust: Make sure it's baked to a lovely brown shade as it holds everything together.
- Dark Brown Sugar: This creates that amazing deep butterscotch taste we want.
- Egg Yolks: These guys make our filling incredibly smooth and luxurious.
- Heavy Cream: You'll need this for the filling and that fluffy topping too.
- Whole Milk: Go for the full-fat kind to get that extra creamy texture.
- Butter: This adds richness and rounds out our filling perfectly.
- Vanilla Extract: A small amount pulls all the flavors into harmony.
- Rum, Bourbon, or Scotch: Add a tiny bit if you're feeling fancy but you can skip it.
- Cornstarch: This ingredient helps everything firm up just right.
How To Make It
- Get Your Crust Ready
- First thing, bake that crust until it's golden brown. I usually do this part a day early to save time when I'm busy.
- Create Your Butterscotch Base
- In a bowl, stir dark brown sugar, cornstarch, egg yolks and milk together. Now for the fun part, turn sugar into caramel and watch the magic happen. Then add cream slowly while stirring as it bubbles up.
- Mix Everything Together
- This part needs care. Pour the egg mix into your caramel bit by bit, stirring all the time. Keep cooking until it hits the right temp, then mix in butter, vanilla and maybe a splash of booze if you want.
- Put It All Together
- Now get that amazing filling into your crust, smooth it out, and let it sit in the fridge overnight. Waiting's the tough part!
- Finish With Cream
- Before serving, beat some cream with a bit of dark brown sugar and vanilla. Put it all over the top and watch everyone get excited.
Tricks For Perfect Results
- Go For Dark Brown Sugar: It's totally worth finding for that rich, deep taste.
- Watch Your Caramel: Stay right by it while cooking as it can turn bad in no time.
- Use A Thermometer: This tool helps you nail the perfect texture every time.
- Split The Work: Doing parts on different days makes the whole job way easier.
 Pin it
Keeping And Serving Your Pie
This treat will stay good in your fridge for about three days, but don't put the whipped cream on until you're ready to serve. Want to make it way earlier? Stick it in the freezer without the cream, then move it to the fridge the night before you need it.
Mix It Up
- Try A Salt Kick: Adding salted caramel sauce makes this even more amazing.
- Add Some Crunch: I love putting toasted pecans on the whipped cream for extra wow.
- Go For Chocolate: Sometimes I put a slim layer of chocolate between the crust and filling for a flavor boost.
Frequently Asked Questions
- → Why is room temperature important?
It helps avoid curdling and keeps the filling smooth.
- → Is store crust okay?
Sure, just be sure to pre-bake it for best texture.
- → Should I skip crumb crusts?
They’re not sturdy enough to hold the soft filling well.
- → How many days ahead can I make it?
Two days works well, or freeze it for up to three months.
- → Why dark brown sugar?
It gives a richer caramel flavor compared to the lighter kind.