
 Pin it
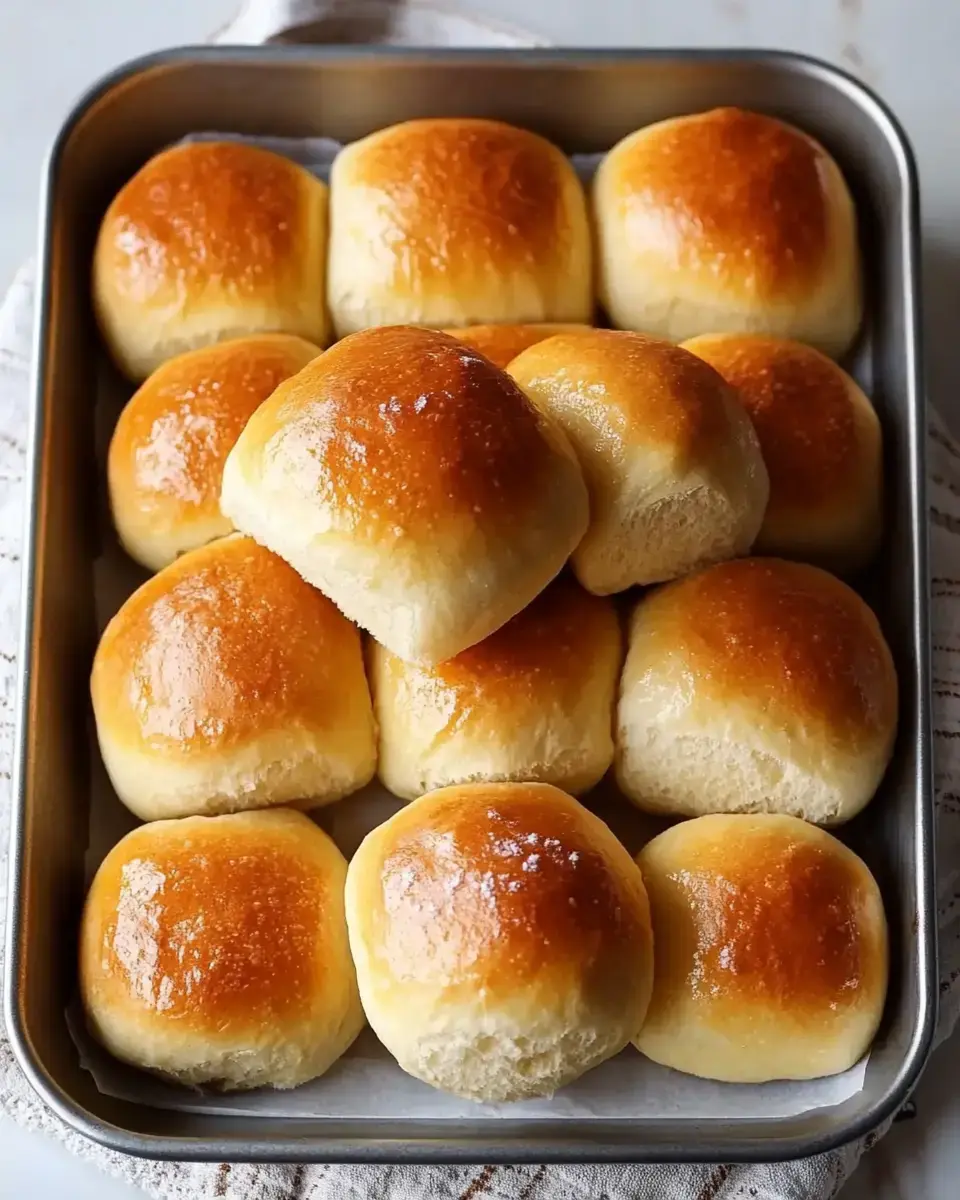
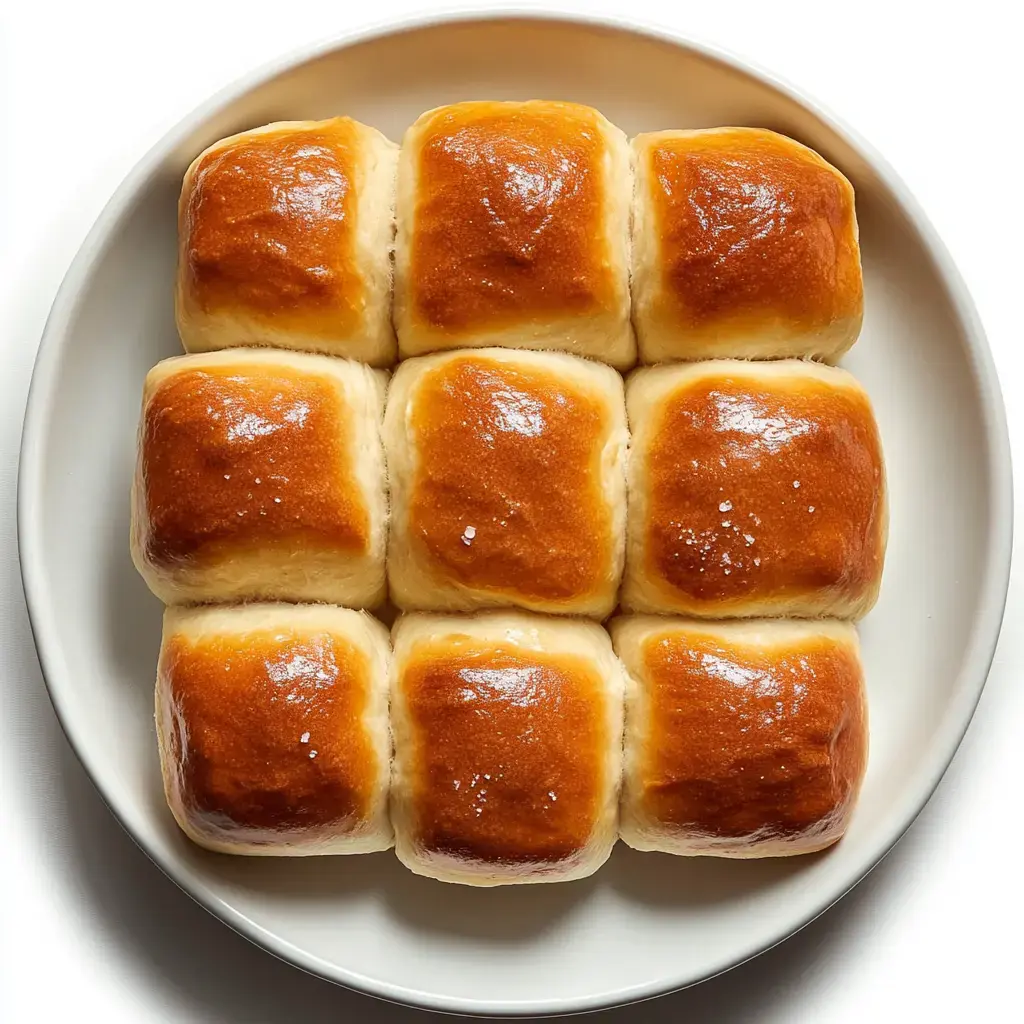
These homemade dinner rolls offer the perfect combo of soft texture and buttery flavor in every mouthful. You can make them in under 3 hours, and they go great with anything from regular weeknight meals to special holiday dinners. You'll love the golden outside and fluffy inside that's perfect for adding butter, honey, or your favorite jam.
Top Advantages of Baking Your Own Rolls
You only need 7 simple ingredients and very little hands-on work to make these rolls. They can be frozen for up to 3 months, so you can make them ahead for busy times. It's easy to adjust the recipe - make twice as many for big gatherings or cut it in half for smaller meals. Once you get the hang of this dough, you can use it for everything from sandwich buns to sweet cinnamon rolls.
Full Ingredients List
- Active Dry Yeast: 2¼ teaspoons (one regular ¼-oz packet) - needs to be fresh and lively, pre-packaged ones work best for reliable outcomes
- Whole Milk: ½ cup warmed to 110°F (43°C) - getting this temperature right matters for proper yeast growth
- Granulated Sugar: 2 tablespoons (24g), split - helps the yeast work and adds gentle sweetness
- Unsalted Butter: 5 tablespoons (71g), melted then cooled to room temperature
- Sea Salt: 1 teaspoon (6g) fine sea salt - you can use ¾ teaspoon regular table salt instead
- All-Purpose Flour: 3 cups (375g) - unbleached is better, make sure to spoon it into measuring cups and level off
- Olive Oil: 2 tablespoons for greasing the bowl and pan
- Topping Butter: 2 tablespoons (28g), melted
- Finishing Salt: ½ teaspoon flaky sea salt to sprinkle on top
Detailed Baking Method
- Wake Up The Yeast (8-10 minutes)
- Warm milk to exactly 110°F (43°C). Mix it with 1 tablespoon sugar and yeast in your mixer bowl. Wait 5-8 minutes until it gets foamy. If you don't see foam after 10 minutes, throw it out and start over.
- Mix Your Dough (5 minutes)
- Add the rest of the sugar, warm butter (105°F/40°C), and salt. Use the dough hook on low speed (Speed 2) for 30 seconds. Add flour one cup at a time, mixing for 30 seconds between cups. Your dough should come away from the sides of the bowl.
- Let It Grow (60-90 minutes)
- Move dough to an oiled bowl. Cover with plastic wrap. Put it somewhere warm (about 75°F/24°C) until it doubles in size, usually 60-90 minutes. When you poke it, your finger should leave a dent.
- Form Your Rolls (15 minutes)
- Cut dough into 15 equal pieces (75g each). Roll each into a tight ball. Put them in an oiled 9x13-inch pan, leaving 1 inch between each. Cover loosely with plastic wrap.
- Second Growth (45-60 minutes)
- Let them rise until they touch each other and have doubled again. When pressed gently, the dough should slowly bounce back.
- Cook And Finish (22-25 minutes)
- Bake at 350°F (175°C) for 22-25 minutes on the bottom rack. Turn the pan around halfway through. Brush with melted butter and add salt right after taking them out. They should reach 190°F (88°C) inside.
How To Store And Warm Up
Keep cooled rolls in a sealed container at room temperature for 3 days or in the fridge for a week. You can freeze them for up to 3 months in freezer bags. To warm up, heat room temperature rolls at 300°F (150°C) for 5 minutes, or frozen ones for 8-10 minutes until they're hot throughout.
Fixing Common Problems
If your rolls turn out heavy, you might have used too much flour or not let them rise enough. Make sure to measure flour carefully and keep the rising temperature around 75°F/24°C. Uneven browning? Your oven probably has hot spots - turn the pan halfway through baking. If the rolls spread too much during the second rise, cut the rising time by 15 minutes next time you make them.
Tools You'll Need
You'll need a stand mixer with dough hook to get the gluten just right. Use a 9x13-inch metal or glass baking dish for even heating. A digital thermometer helps you get temperatures spot on. A kitchen scale makes measurements more accurate. You'll also need clear plastic wrap for covering the dough while it rises. And don't forget a pastry brush for spreading butter.
Do-Ahead Tips
You can make the dough through the first rise, then stick it in the fridge for up to 24 hours. Let it sit at room temperature for 2 hours before shaping. Or you can freeze the shaped unbaked rolls for up to a month. Thaw them overnight in the fridge, then let rise for 2 hours before baking. Add 2-3 extra minutes to the baking time if the dough is cold.
Ways To Switch It Up
You can swap milk with a non-dairy option and use plant-based butter for a vegan version. Add some herbs or garlic powder after the first rise to make savory rolls. Try using 25% whole wheat flour for a more rustic texture. Brush with beaten egg instead of butter if you want a shinier finish. Roll with cinnamon and sugar inside to make a sweet treat instead.
Safety And Quality Checks
Always check if your yeast has expired before you start. Keep milk between 105-115°F (40-46°C). Your dough shouldn't feel sticky but should feel slightly tacky after kneading. The rolls must reach 190°F (88°C) inside. Let them cool completely before storing. Throw them away if you see mold or if they get too hard. And never eat raw dough.
 Pin it
Frequently Asked Questions
- → Can I make them ahead?
Shape them the night before, wrap, and refrigerate. Let them come to room temp before baking. Totally worth it in the morning!
- → What if the yeast isn't working?
Throw it out and make new. Use warm, not hot, water. Look for bubbles. Dead yeast can't be fixed.
- → Need a milk-free option?
You can use plant milk and vegan butter. Just check your substitutes. Dough should still rise fine but flavor might change.
- → Are these good to freeze?
Bake and cool first. Wrap tightly to store. Reheat before serving, but they taste best fresh.
- → How do I make them softer?
Don't overwork the dough. Let it rise completely. Keep it warm during proofing. Add steam and a butter coat for extra softness.
- → Why are they browning too fast?
Cover with foil, lower the oven temp, or move your tray down. Check early and keep watching them.
- → How do I transport them?
Fresh is best! Wrap them while warm in cloth. Bring along butter to serve. Totally worth it!
- → Can I speed up the process?
Patience is key. It's tough to rush good bread. Plan ahead. Fast rises don't work well.
- → What if I'm making extra?
Double the recipe, but give the dough space and time to rise. Don't overcrowd the baking tray. It's worth the effort.
- → How do I add more flavor?
Brush them with butter and sprinkle fresh herbs or garlic. A touch of cheese works too. Don't overwhelm the bread's flavor!
- → Why isn't the dough rising?
Check if the yeast is fresh. Keep the dough in a warm spot. Give it plenty of time. Don’t rush. It'll be worth the wait.
- → What if it's too sticky?
Add a bit of flour, one spoon at a time. Keep kneading and oil your hands if needed. It should still be soft, not dry.
Conclusion
Into these? Make soft pretzels next or try sweet butter buns. Both smell so fresh and yummy.