
 Pin it
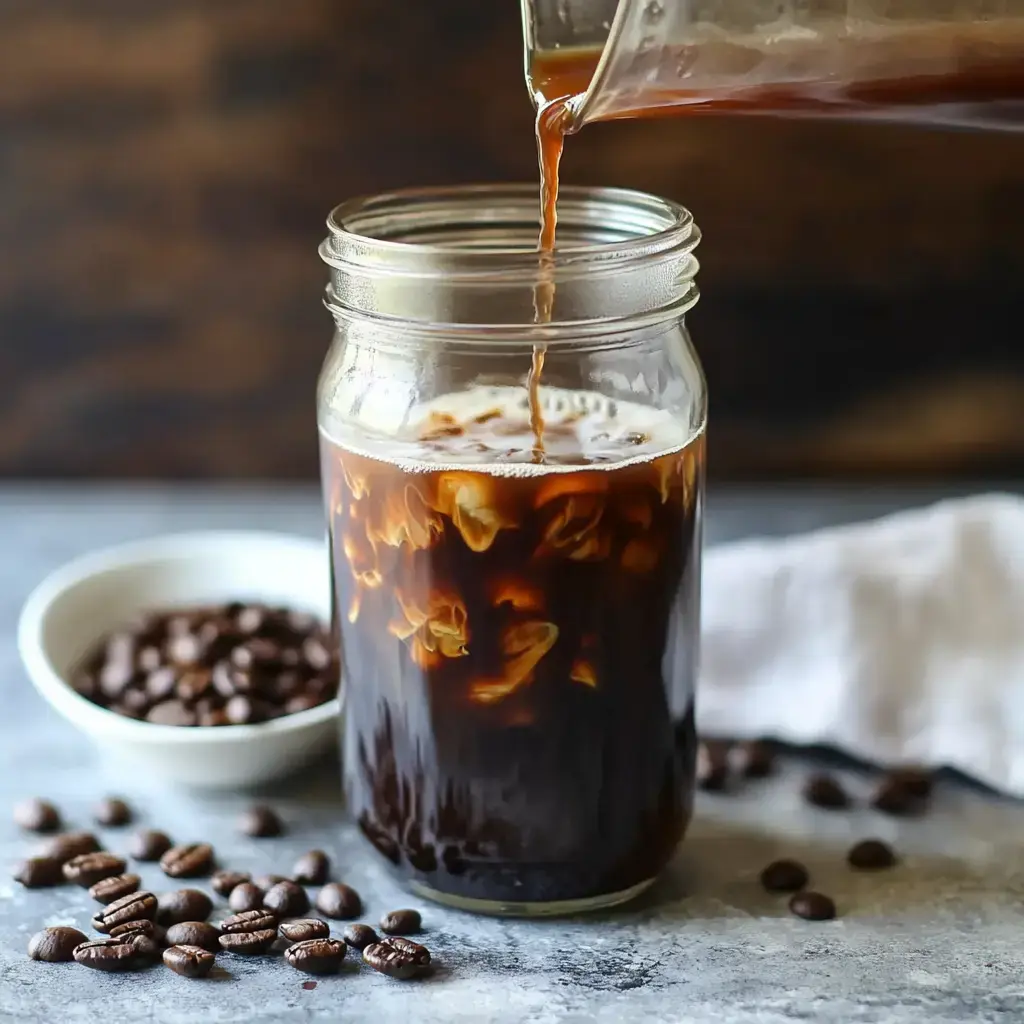
Need a super simple at-home cold brew that's way better than the stuff you pay for? Here's my go-to method for silky, zero-bitterness chilled coffee! Making it yourself costs way less than buying it out, and this simple approach gives you amazing results without fail. Seriously, after you make cold brew this way, you'll wonder why you ever bought it!
Time To Whip Up Coffee
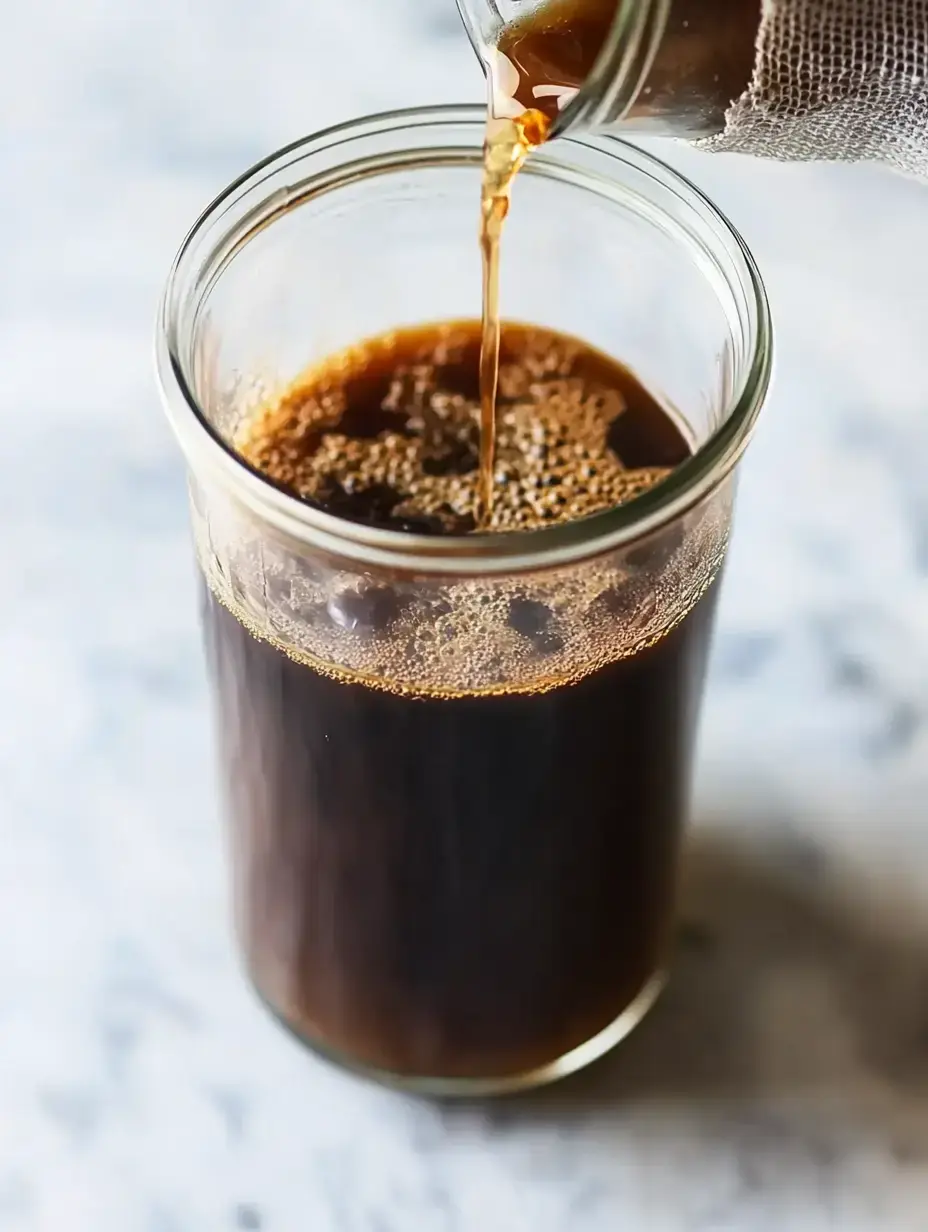
This no-fuss method needs just four basic steps. Begin with roughly ground coffee beans for your DIY batch - it totally transforms the result. Soak it overnight with cold water, filter it out when you wake up, and boom - you've got perfect cold brew concentrate ready to drink however you want!
Benefits Of DIY Brewing
Creating your own cold brew at home totally works out better! My straightforward approach gives you coffee that's naturally mellow and smooth, never harsh. You can tweak how strong your homemade batch turns out exactly to your taste, and one mix lasts the entire week. And let's face it, this simple method puts so much cash back in your pocket compared to daily coffee runs!
Different Ways To Drink It
- Standard Over Ice
- Drop your DIY concentrate on ice cubes, mix with water or milk - awesome every single time!
- Heat It Through
- This straightforward approach works surprisingly well heated up too - just warm it slowly.
- Personal Touches
- Dress up your DIY cold brew with different milks, flavored syrups, or spice blends.
Insider Tricks
For flawless DIY cold brew anytime: Always pick coarse coffee grounds for this straightforward approach - fine ones make everything taste bitter. Quality water makes tastier coffee, and never steep past 15 hours. My favorite hack for your DIY batch? Stick some in ice cube trays to chill your drinks without making them watery!
 Pin it
Creative Variations
This straightforward approach leaves tons of room for playing around! Try throwing some vanilla into your DIY cold brew, or put a cinnamon stick in while it steeps. I sometimes make my home batch with coconut water instead of tap water - it's incredible! This simple method even works perfectly as a starting point for mochas by stirring in chocolate syrup.
Smart Uses For Grounds
After straining your DIY cold brew, hang onto those grounds! They work great in my garden compost pile - plants go crazy for them. You can throw together a quick body scrub, or use dried grounds to soak up smells. Your home batch keeps on giving even after you've finished drinking all the coffee!
Frequently Asked Questions
- → Why is coarse grinding better?
It helps you avoid bitter taste and makes straining simpler.
- → Does steeping time make a difference?
About 12 hours works best. Shorter and it’s too weak, longer makes it bitter.
- → Can I use regular pre-ground coffee?
You can, but ask for a coarse grind. Standard grinds aren’t ideal.
- → How long will it last?
It stays fresh up to 7 days if kept in a sealed container in the fridge.
- → Why go for cold coffee over hot?
It gives a milder, smoother flavor with less acidity, perfect for iced drinks.