
 Pin it
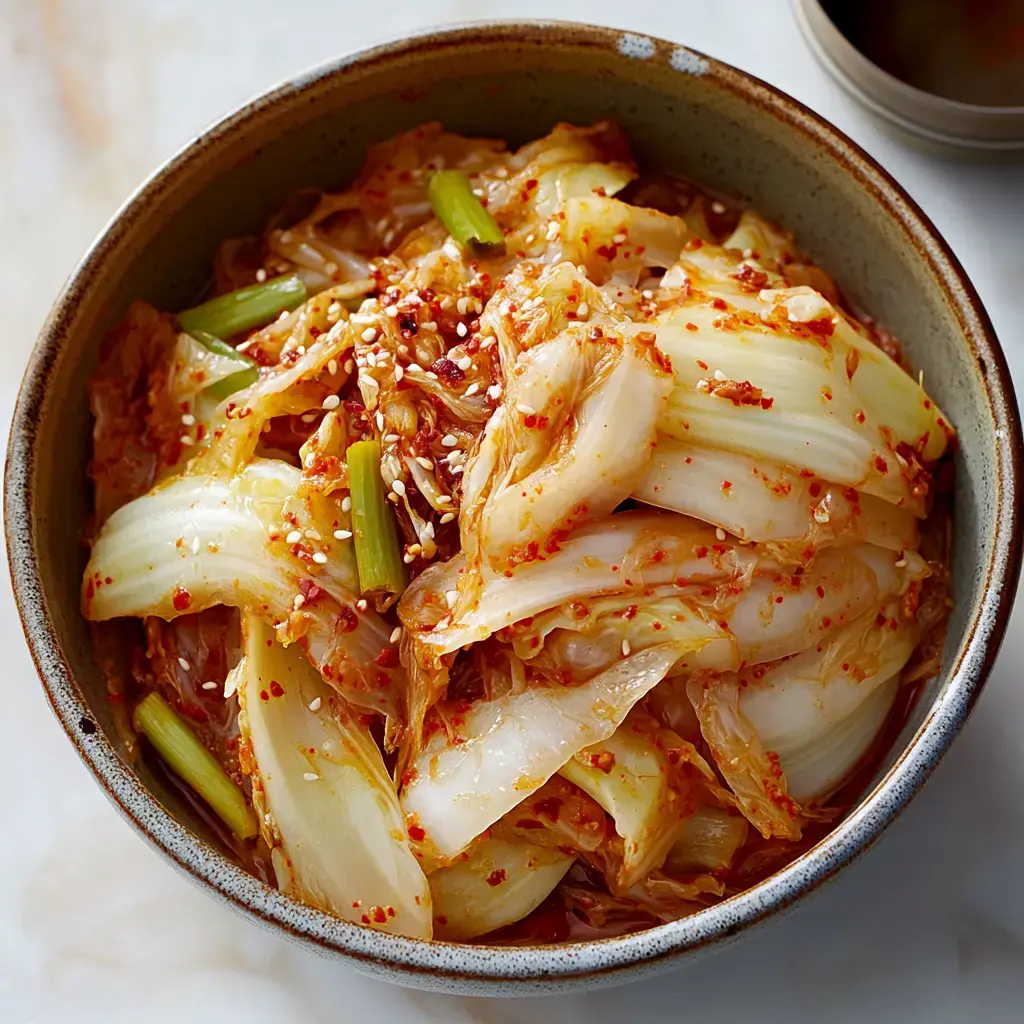
My next-door friend from Korea showed me this incredible Cabbage Kimchi method, and I'm totally addicted now! It brings tangy heat and boosts the taste of everything from simple rice to barbecued proteins. Don't worry about the fermenting part - it's much simpler than most people think.
What Makes This Approach Work
I really dig how you can adjust this kimchi to your own taste buds - dial the heat up or down however you want. It's loaded with beneficial probiotics and actually improves while sitting in your fridge. I began with this simple version (they call it mak kimchi) before trying fancier types.
What You'll Need
- Napa Cabbage: Go for bright, firm heads without any discoloration.
- Quality Salt: Forget the iodized stuff - grab sea salt or kosher instead.
- Flavor Base: Tons of ginger and garlic - be generous!
- The Key Ingredient: Gochugaru (those Korean chili flakes) - go easy at first if you're unsure.
- Umami Boost: Shrimp paste or fish sauce creates that deep background taste.
- Added Texture: Korean radish if it's available near you.
- Scallions: They bring great color and fresh taste to the mix.
The Creation Process
- Start With Greens
- Chop your cabbage into smaller chunks, then thoroughly rub salt into it. Submerge in water with something heavy on top - I usually go with a dinner plate. Let it sit about two hours until properly softened.
- Rinse Well
- Wash the cabbage three times under cold running water - we're aiming for just the right saltiness. Set it to drain while getting other stuff ready.
- Create Your Paste
- Combine your fish sauce, ginger, and garlic. Now comes the exciting bit - stirring in the gochugaru. Start with less if you're worried about too much heat!
- Combine Everything
- Press the cabbage to remove extra moisture, then thoroughly mix all ingredients. Really work it with your hands (grab gloves though - that pepper will stain your fingers!).
- Patience Period
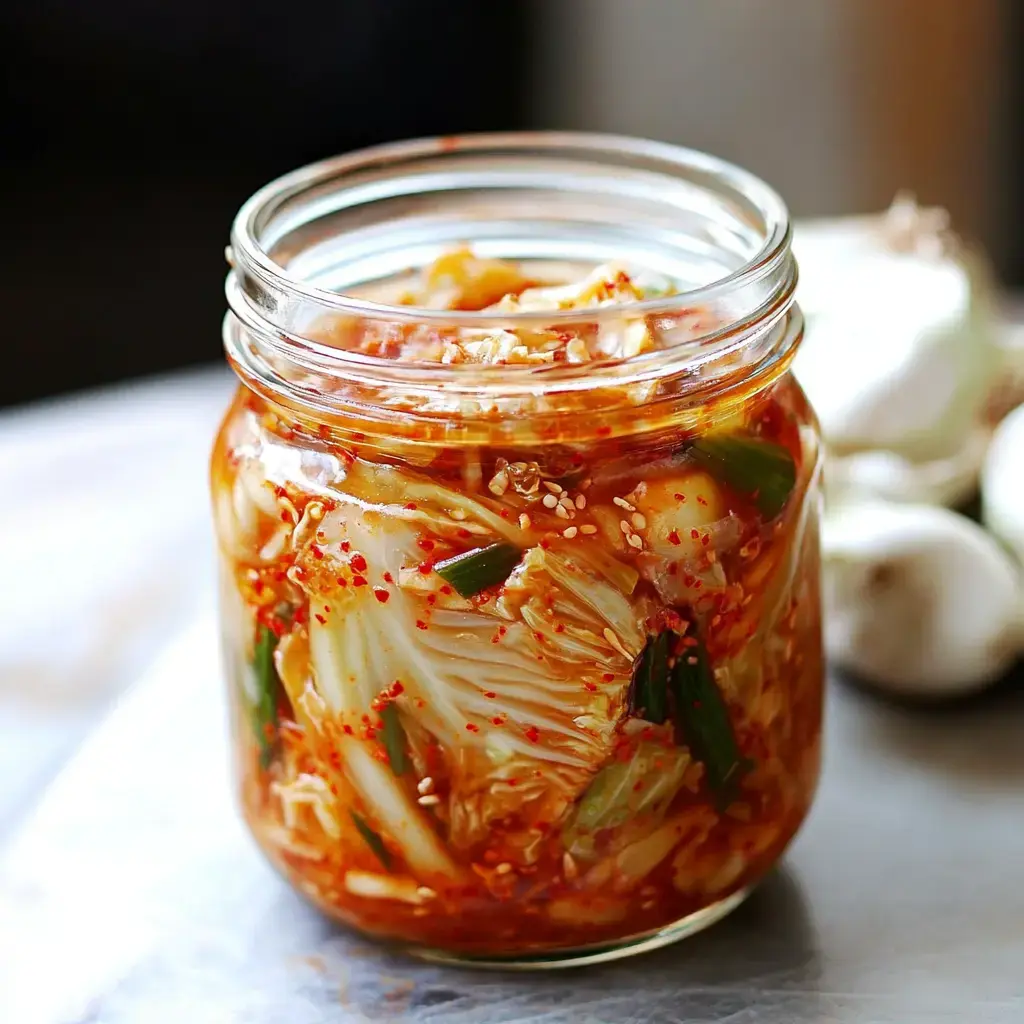
- Transfer everything into containers - press down firmly to remove air pockets. Leave room at the top for the fermentation process. Then let it hang out on your counter for several days.
Smart Suggestions
After trying so many batches, here's what works best: Always stick with non-iodized salt since iodine can mess up the fermenting. Sample your chili flakes before adding the full amount - spice levels vary wildly. And check your jars each day - push down the veggies to keep them submerged in their liquid.
 Pin it
Storage Smarts
When your kimchi hits that perfect flavor, stick it in the refrigerator. It'll actually improve for several months! I enjoy it straight from the container, tossed in stir-fried rice, or stuffed in homemade dumplings. My children even go crazy for kimchi grilled cheese sandwiches - seriously worth trying!
Personal Touches
Can't find fish sauce? No worries! Swap in some kelp powder for a plant-based alternative. I sometimes add shredded carrots or thinly cut onions. The method stays pretty much the same but feel free to play around. Every Korean household puts their unique spin on it, and now you can develop your signature version!
Frequently Asked Questions
- → What’s the deal with non-iodized salt?
Iodine can mess with the fermenting process and might change the color. Kosher or sea salt works best.
- → When will the kimchi be done?
Try it daily during the fermenting time. It should taste tangy and sour to your liking, usually within 1-5 days.
- → Why keep the cabbage weighted down?
Make sure the cabbage stays under the brine so it salts evenly and ferments properly.
- → Can I make it less spicy?
Absolutely. Switch up the red pepper flakes (gochugaru) from 1-5 spoons to adjust the heat level.
- → How long’s the kimchi good for?
Stored in the fridge, it keeps fermenting slowly and can last for months. The flavor gets stronger over time.