
 Pin it
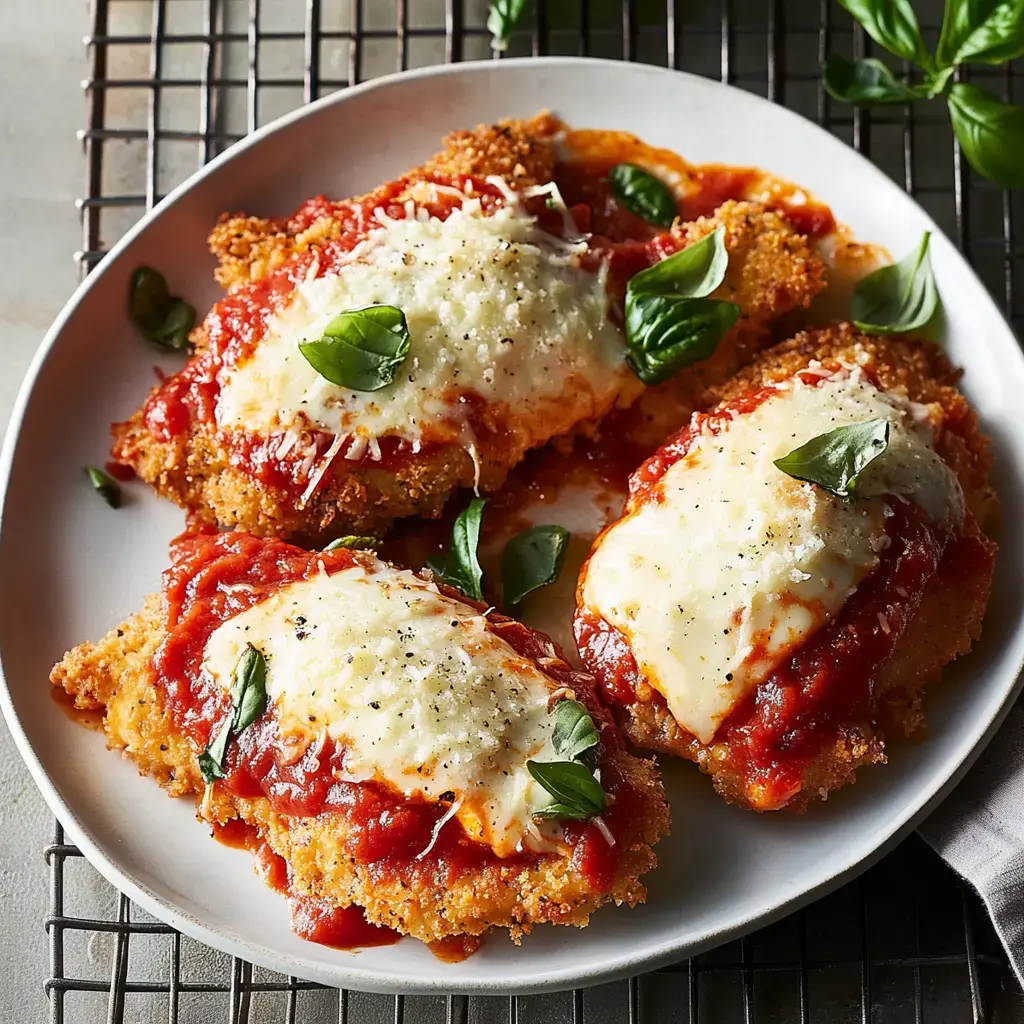
I've got this chicken parm trick that's a total crowd-pleaser! The crunch from the coating, the gooey cheese, and that rich sauce keeps folks coming back for more. My old Italian neighbor showed me the basics, and I've spent years getting it just right - those golden cutlets topped with bubbling cheese and homemade sauce really create something special on your dinner plate.
The Secret Behind This Dish
What's so amazing about this version? It starts with that sauce - loaded with fresh garlic, sweet onions and tons of basil. Then there's the super crunchy exterior from mixing panko with fresh Parmesan that stays crispy even with sauce on top. When you get that butter-soft chicken underneath, combined with the sauce and both cheeses, you've got the ultimate comfort meal!
Stuff You'll Need
- Chicken Cutlets: Thin ones work best, or flatten them yourself.
- Panko Crumbs: They're the key to that amazing crunch, you'll see.
- Two Cheeses: Real Parmesan and quality mozzarella.
- For The Sauce: Crushed tomatoes, garlic, fresh onions.
- Fresh Basil: You can use dried in a pinch, but fresh makes all the difference.
- Good Oils: Olive for cooking sauce, vegetable for the frying part.
- Breading Basics: Flour, eggs, and your favorite seasonings.
Step-By-Step Guide
- Begin With Your Sauce
- Cook those onions and garlic in olive oil until your home smells incredible. Throw in tomatoes and basil, then let everything bubble away while you handle the chicken. Give it an occasional stir - the flavor just gets better with time.
- Get Your Chicken Ready
- Make sure those cutlets are nice and thin, using plastic wrap and a mallet if needed. Create your breading station with flour in one dish, beaten eggs in another, and your panko-Parmesan mix in the third. This is your production line.
- Coating Process
- Take each piece through your station - first flour, then egg, finally that crunchy panko mixture. Push it on firmly so it sticks well! Let them sit on a rack while your oil heats up.
- Time To Fry
- Heat your oil properly, then cook those cutlets until they turn a beautiful golden color. Don't put too many in at once - they need room to get crispy. Put them on a rack afterward, not paper towels, to keep the crunch.
- Finishing Touch
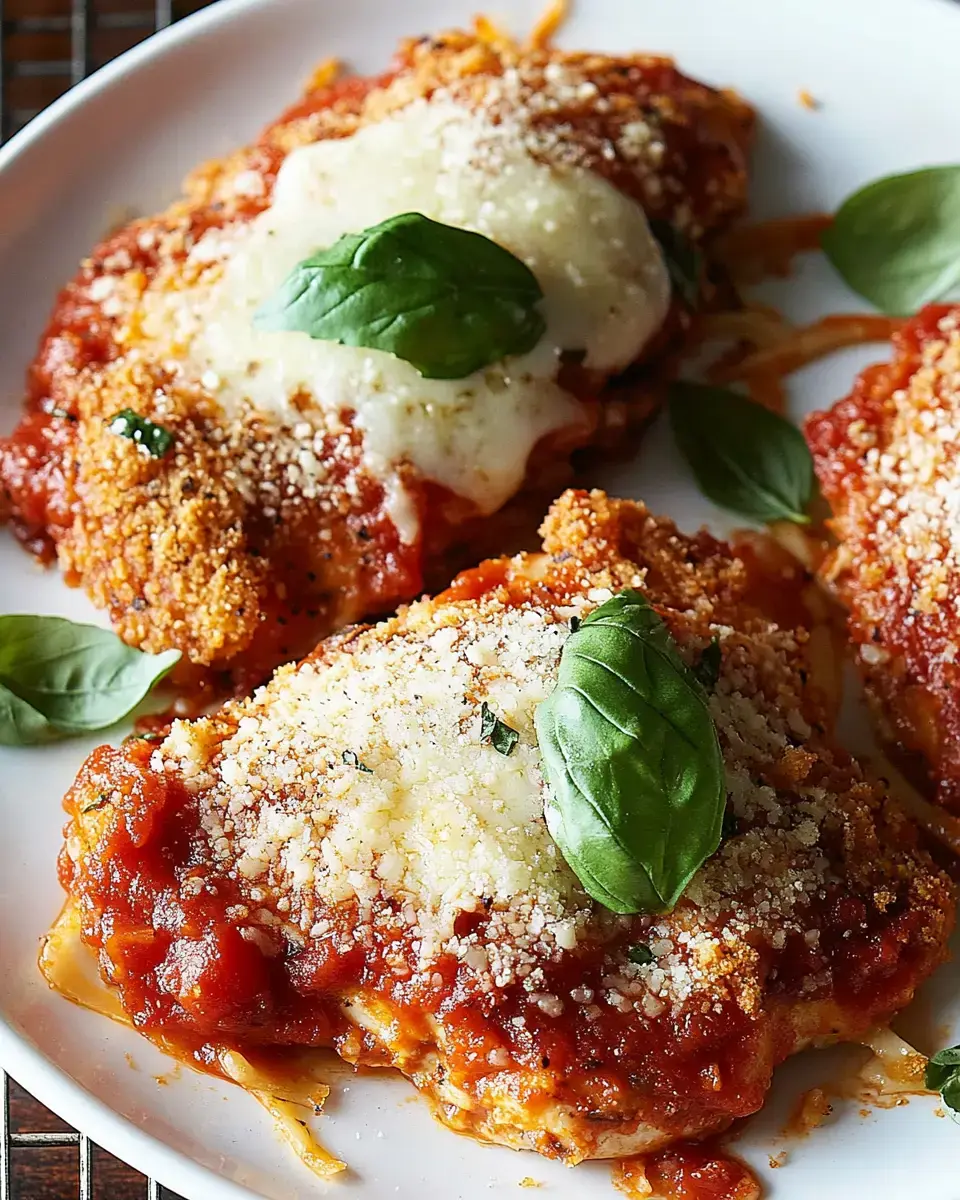
- Top each piece with a nice spoonful of sauce, plenty of mozzarella, and extra Parmesan. Stick them under the broiler and watch closely - you want that cheese bubbly with little brown spots.
Pro Tips From My Kitchen
Always shred your cheese yourself, those packaged kinds just don't melt properly. Turn on your broiler early so it's super hot when needed. Watch your oil temp carefully - too high burns the coating, too low makes soggy chicken. And don't forget to pound those cutlets evenly so everything cooks at the same rate.
 Pin it
Great Side Dish Ideas
Wondering what goes well with this? I love serving it over some spaghetti with marinara or alongside warm garlic knots. If you want something lighter, try it with roasted asparagus or fresh green beans. Sometimes I even place it on top of creamy mashed potatoes for a fancy but comforting meal.
Ways To Switch It Up
This dish is all about creating good times! Try tucking some prosciutto under the cheese or adding different herbs to your breadcrumb mix. My children go crazy for the mini versions I pack in their school lunches. Just remember to keep that coating crunchy and that cheese melty - that's what makes chicken parm so wonderful.
Frequently Asked Questions
- → Is jarred marinara okay?
Absolutely! Homemade tastes best, but high-quality jarred marinara is a good time-saver.
- → Why pick panko breadcrumbs?
They add more crunch and stay crisp way better than regular breadcrumbs.
- → How can I tell if oil’s hot enough?
A thermometer should show 350°F. Light smoking is normal.
- → Can I bake chicken instead?
Baking works! It won't be as crispy, but at 400°F for 15-20 minutes it’ll do the job.
- → Why dry the chicken beforehand?
When the chicken’s dry, the breading sticks better and you’ll get a crispier texture.