
 Pin it
-
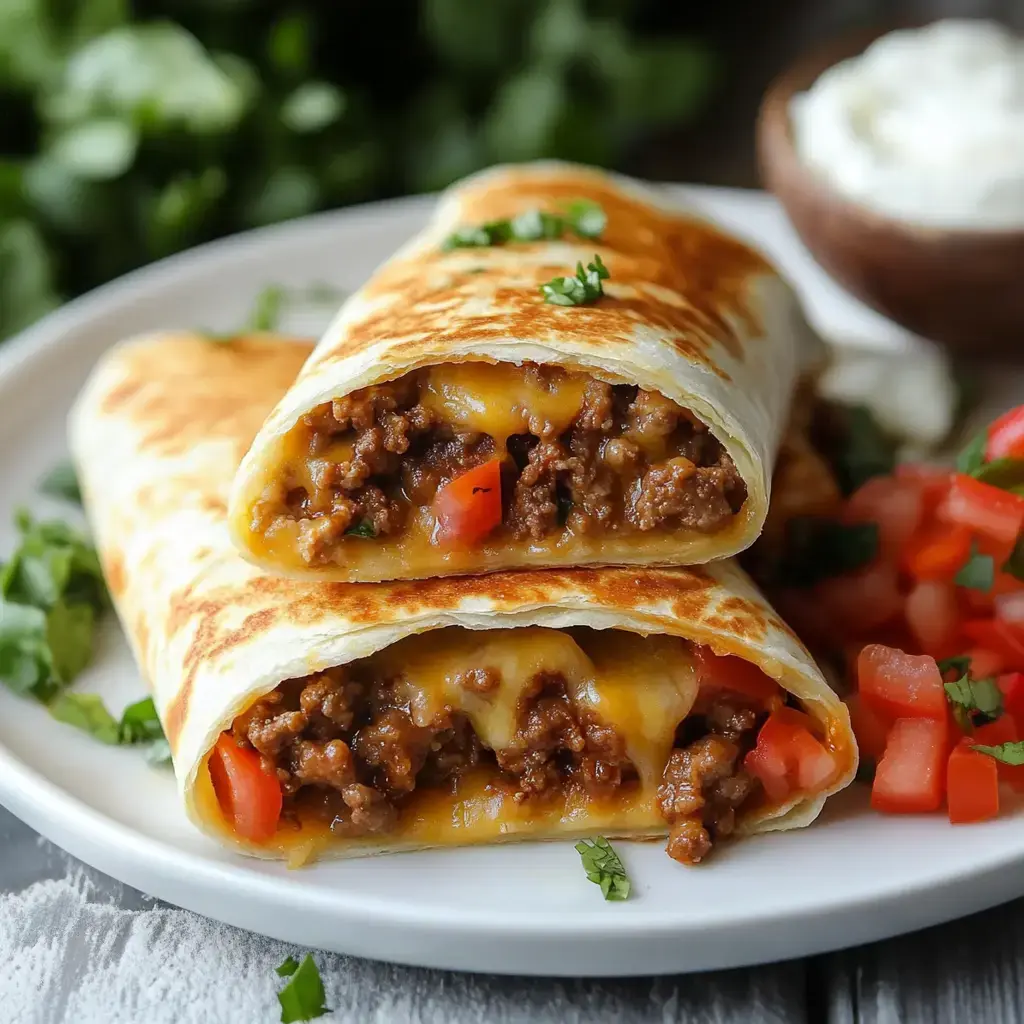
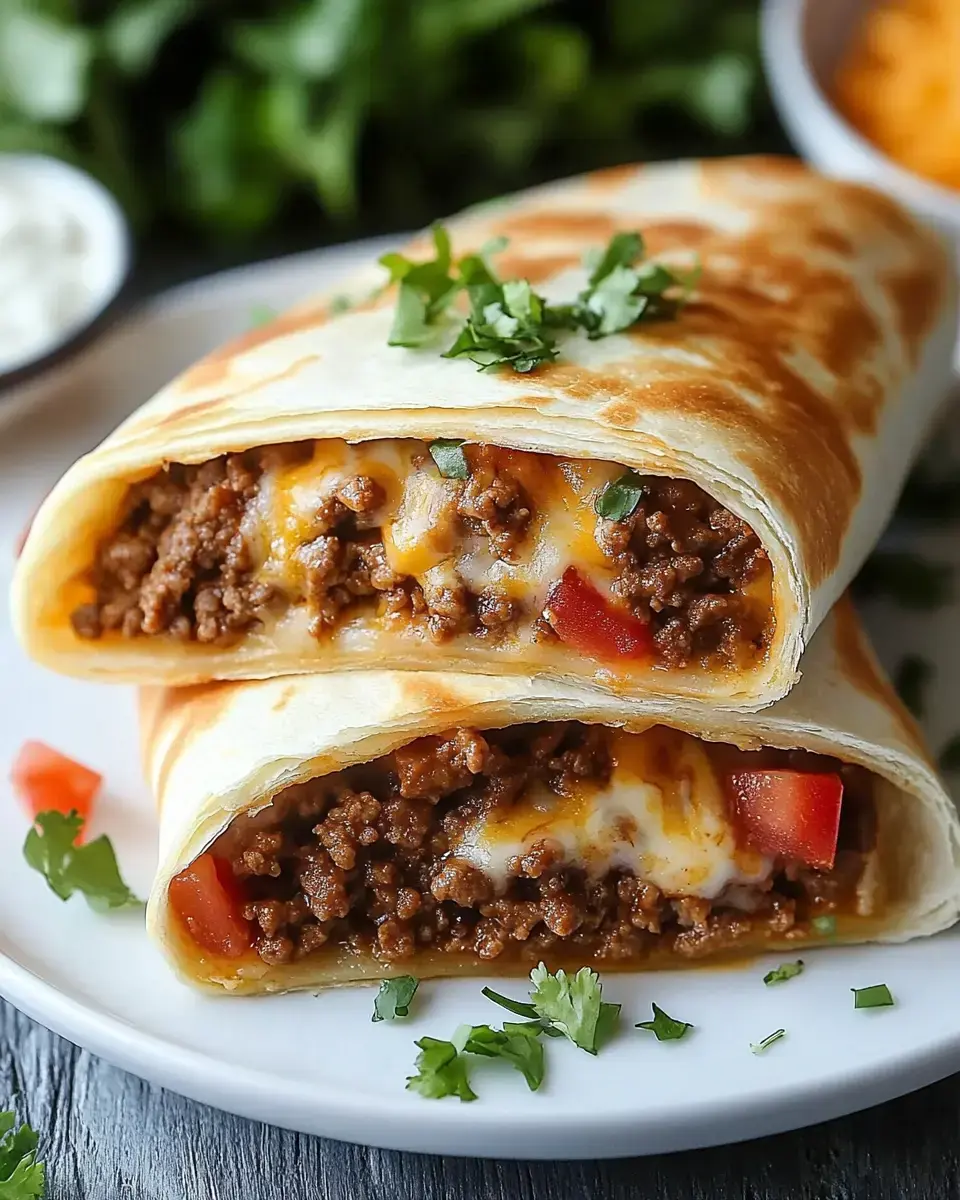
Craving those restaurant-style chimichangas without leaving home? My family goes crazy for these cheesy beef delights! I've cracked the code for getting a super crunchy exterior while keeping all that tasty seasoned beef, gooey cheese and flavorful beans inside. They're actually super simple to make—grab my handy tips and you'll soon be whipping up versions that beat your neighborhood Mexican joint.
The Background of These
-
A chimichanga is basically what happens when a burrito takes a dip in the fryer! Born in Southwest kitchens, they're the ultimate feel-good food—there's nothing like that satisfying crunch followed by warm, savory fillings. Once you make them yourself, takeout versions won't even compare.
Gather These Items
- Ground Beef: Go for 85/15 blend for the right mix of meat and fat.
- Raw Veggies: Chopped onions and garlic boost everything.
- Seasonings: Your flavor foundation comes from chili powder, cumin and oregano.
- The Binder: Refried beans pull all ingredients together.
- Spicy Touch: A tin of Rotel adds just enough spice.
- Large Tortillas: You'll need 10-inch flour ones to wrap up all that stuffing.
- Real Cheese: Shred it yourself for much better melting.
- Cooking Fat: Vegetable oil for deep-frying or brushing if you're baking.
- Garnishes: Load up with sour cream, guacamole and salsa!
Let's Create Wonders
- Cook Your Base
- Sauté beef with onions till tender, then toss in garlic and all those tasty spices.
- Build Flavor
- Stir in your tomatoes and beans, letting everything thicken up to create a rich mixture.
- Wrap Them Up
- Spread tortillas flat, add your filling and cheese, then fold like you're wrapping a gift! Secure with toothpicks to keep everything in place.
- Make Them Crunchy
- For frying, warm oil to 350°F and cook a few minutes per side until golden brown. If baking, coat with oil and pop in at 400°F for 15-20 minutes.
- Ready To Serve
- Remove those toothpicks, add your favorite toppings and enjoy while everything's still hot!
My Top Tricks
-
Don't ever use pre-shredded cheese, the fresh stuff melts way better! Watch your oil temp when frying. Never skip those toothpicks unless you want a messy disaster. After cooking, let them sit on a wire rack so they stay crisp. Looking for a lighter option? They turn out great in the oven too!
 Pin it
Switch Things Around
-
Beef isn't your thing? Sub in shredded chicken, pulled pork or go meatless! Need more heat? Throw some chopped jalapeños into your mixture. You can prep these ahead and stick them in the freezer before cooking—perfect for busy evenings. Just don't forget those toothpicks before cooking or you'll have stuffing everywhere.
Perfect Pairings
-
Turn it into a complete feast! Pair with some fluffy Mexican rice, chips and queso, and freshly mashed guacamole. Got some left? They'll stay good in your fridge for three days, but always warm them in the oven (not microwave) to bring back that crunch. Want to save some for later? Freeze them uncooked and tightly wrapped—they'll keep for up to three months.
Frequently Asked Questions
- → Why freshly grate cheese?
It melts way better than the bagged stuff.
- → What oil temperature is best?
Keep it at 350°F for that perfect crunch.
- → Can I bake instead of fry?
You can but they won't get as crunchy.
- → How do I prevent filling leaks?
Wrap them tight and stick toothpicks in to hold.
- → Can I make ahead?
You can prep them early but fry right before eating.