
 Pin it
Looking to give your dishes that wow factor? Check out my no-fuss brown butter trick! This quick method turns ordinary butter into something extraordinary - with a toasty, fragrant flavor that's downright amazing. My approach makes everything from veggies to sweet treats taste way better!
Why You'll Love It
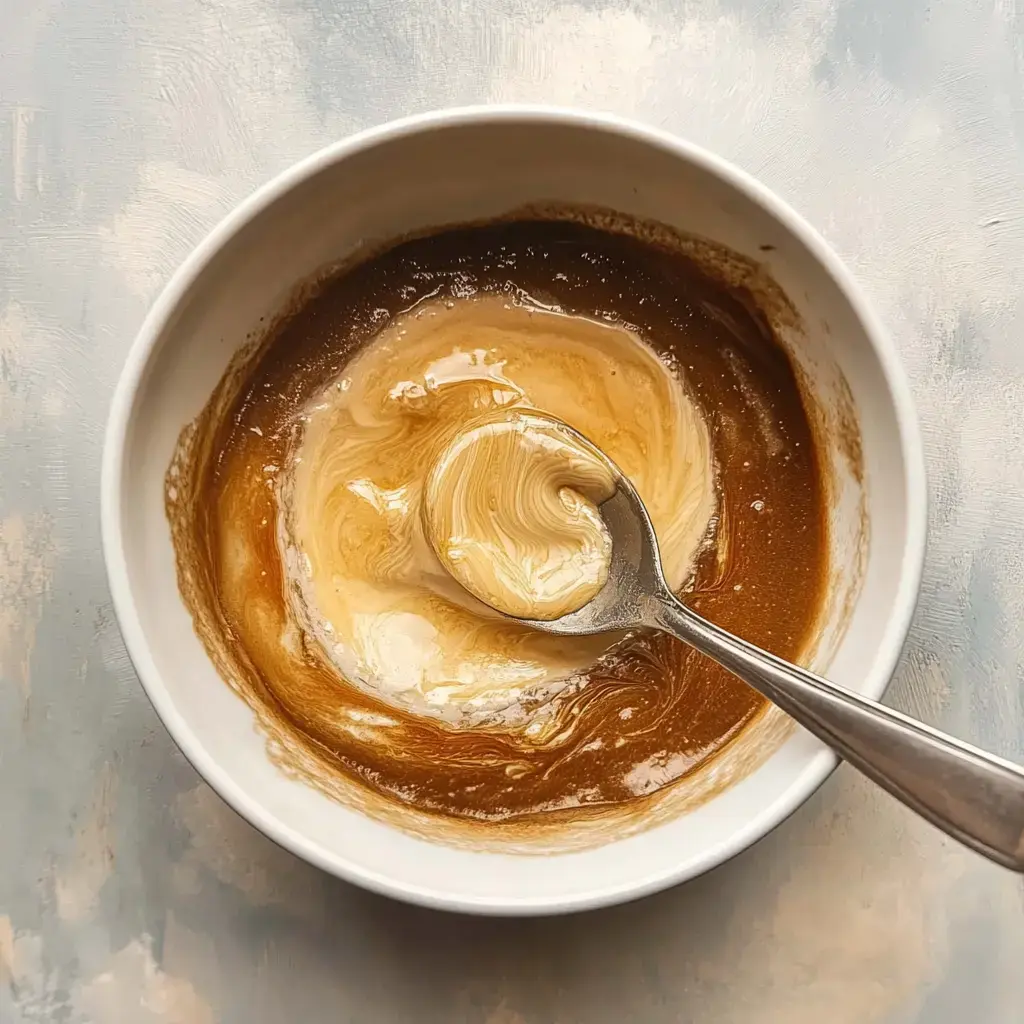
French chefs call this golden goodness "beurre noisette," but my straightforward approach only needs regular butter and a bit of patience. As the milk solids brown up, this transformed butter develops an incredible nutty taste that'll make any dish seem fancy!
Creating Kitchen Gold
- Grab Your Butter
- For this simple technique, chop your butter into chunks and toss it in a sturdy saucepan over medium flame.
- Stir Constantly
- This method needs ongoing attention - I grab my trusty silicone whisk for the job.
- Notice The Shifts
- Your butter will bubble up, then turn amber - that's when the transformation happens!
- Give It Rest
- Let your browned butter cool completely before adding it to your cooking.
Kitchen Inspiration
This upgraded butter enhances absolutely everything! Work it into banana bread, crispy treats, or morning pancakes. My approach works wonderfully in savory meals too. The deep flavor of this simple technique adds something extraordinary to whatever you're making.
Pick Quality Ingredients
For top-notch browned butter, begin with premium butter brands. This method works finest with unsalted varieties, particularly for sweet treats. If you're preparing a savory version, butter with salt does the trick too!
 Pin it
Smart Shortcuts
Always keep that spoon moving when making this butter transformation - you don't want it blackened! Maintain your mixture at medium heat, no shortcuts. This process needs fast thinking at the finish line - remove it from heat right when it turns golden and smells nutty.
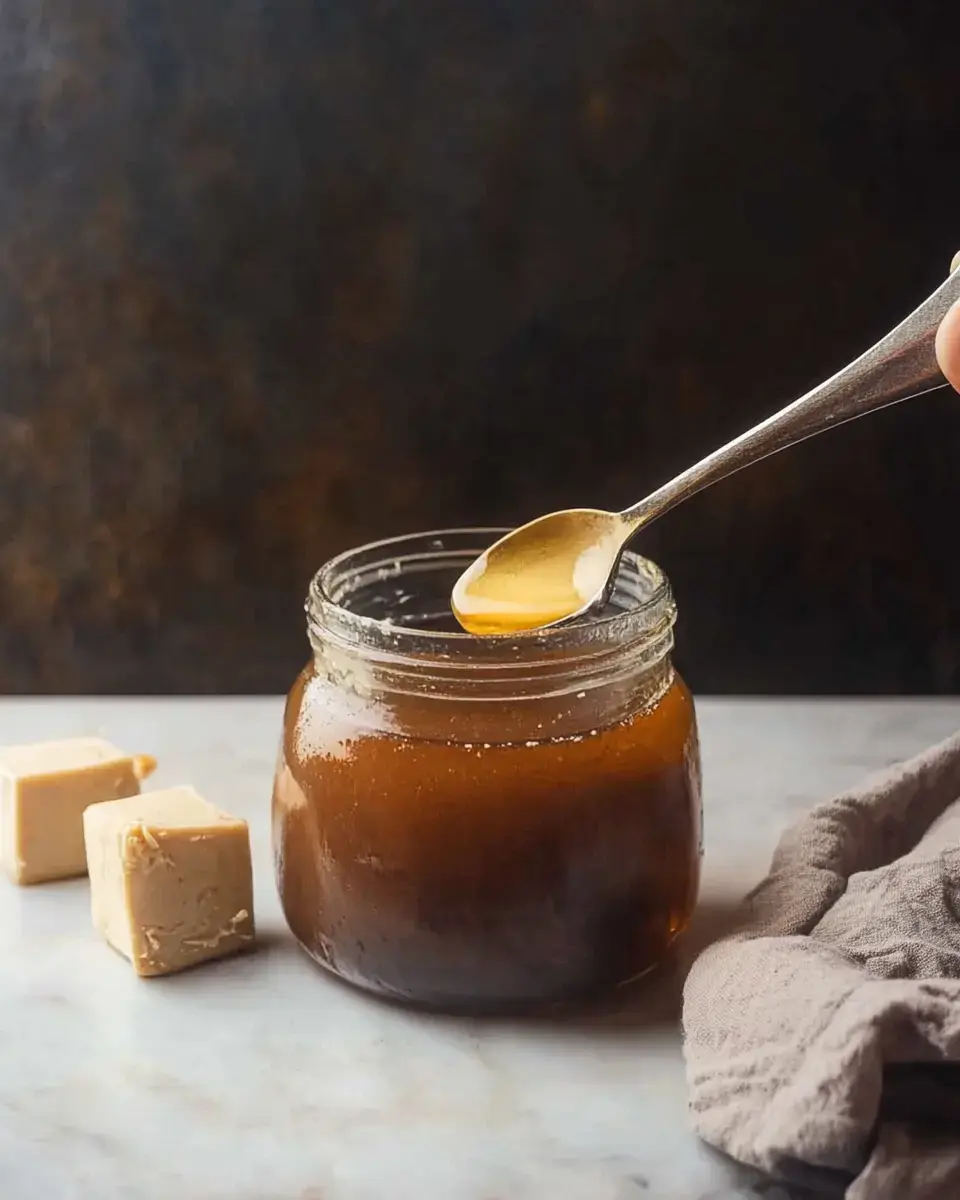
Storage Solutions
Your transformed butter will last in the fridge for roughly 5 days. You can even pop it in the freezer - wrap it securely and it'll stay good for 3 months. My approach thaws perfectly when you leave it in the fridge overnight!
Frequently Asked Questions
- → Why use unsalted butter?
It lets you add the exact amount of salt you want and the milk solids won't burn as easily.
- → Why slice butter first?
Cutting it up means it'll melt at the same speed throughout the pan.
- → How do I know it's done?
You'll see tiny golden bits and smell a nutty scent. Stop cooking before any black spots show up.
- → Can I save it?
Sure thing, just pop it in the fridge and use within a week.
- → What if it burns?
Toss it and start over if you see black bits, because they'll make everything taste awful.