
 Pin it
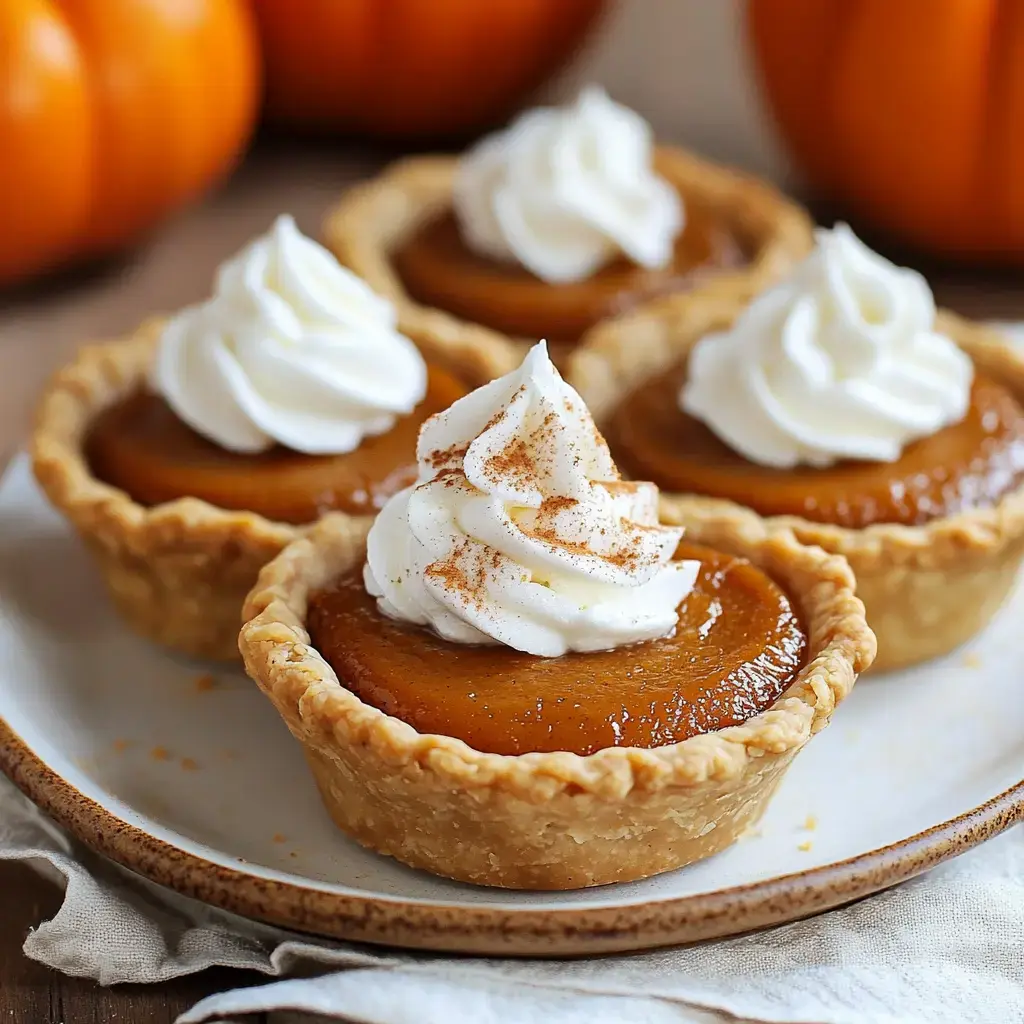
Want a simple sweet treat that'll impress everyone at your holiday table? These tiny pumpkin pies have become my go-to fall dessert! You'll get all those warm, familiar pumpkin pie flavors in adorable individual portions. I first whipped these up when my children wanted to join the kitchen fun - they're just right for small hands to work with and decorating them brings so much joy!
What Makes These Tiny Pies Stand Out
This made-from-scratch treat works wonders at parties since everyone gets their own little pie! They're super convenient to hand out - no knives or shared slices required. My pals really dig them because they can sample other goodies too without any guilt trips. These little delights use stuff you've probably got sitting in your kitchen already. Would you believe my husband's mom begged for my instructions last November?
Your Shopping List
- The Shell: Grab pre-made from the store for a quick fix, or whip up your own if you're feeling fancy.
- Pure Pumpkin: Look for the plain puree for these little treats, skip anything with spices mixed in.
- Milk Magic: The evaporated kind makes everything super smooth.
- Sweeteners: White and brown sugars team up for just the right taste.
- Farm Eggs: They'll make your filling extra luscious.
- Cozy Seasonings: Pumpkin pie spice brings that autumn feeling.
- Top It Off: Don't forget some whipped cream for serving.
Time To Create Some Magic
- Shell Preparation
- Flatten your dough really thin - about nickel thickness. Cut out rounds that'll snugly fit your muffin tray. When my cutter goes missing, a wide drinking glass works in a pinch! Handle these shells gently but don't stress if they aren't flawless.
- Blend Your Filling
- The inside couldn't be easier! Stir your pumpkin with milk (the evaporated kind), both sugars, egg, and all those warm fall spices until everything looks uniform. I swear my grandma's old wooden spoon makes this mixture taste better.
- Pour With Care
- Add filling to each crust - but leave some space at the top! These small treats need room to expand. My ice cream scoop gets the portions just right every single time.
- Watch Them Transform
- Slide them into a hot oven set to 400°F. They'll need roughly 18 minutes to get just right. You can tell they're done when they only wobble slightly in the center.
- Patience Pays Off
- Let them cool all the way down - tough, I know! Then they need fridge time. At least 3 hours of chilling makes everything set up properly.
- Final Flourish
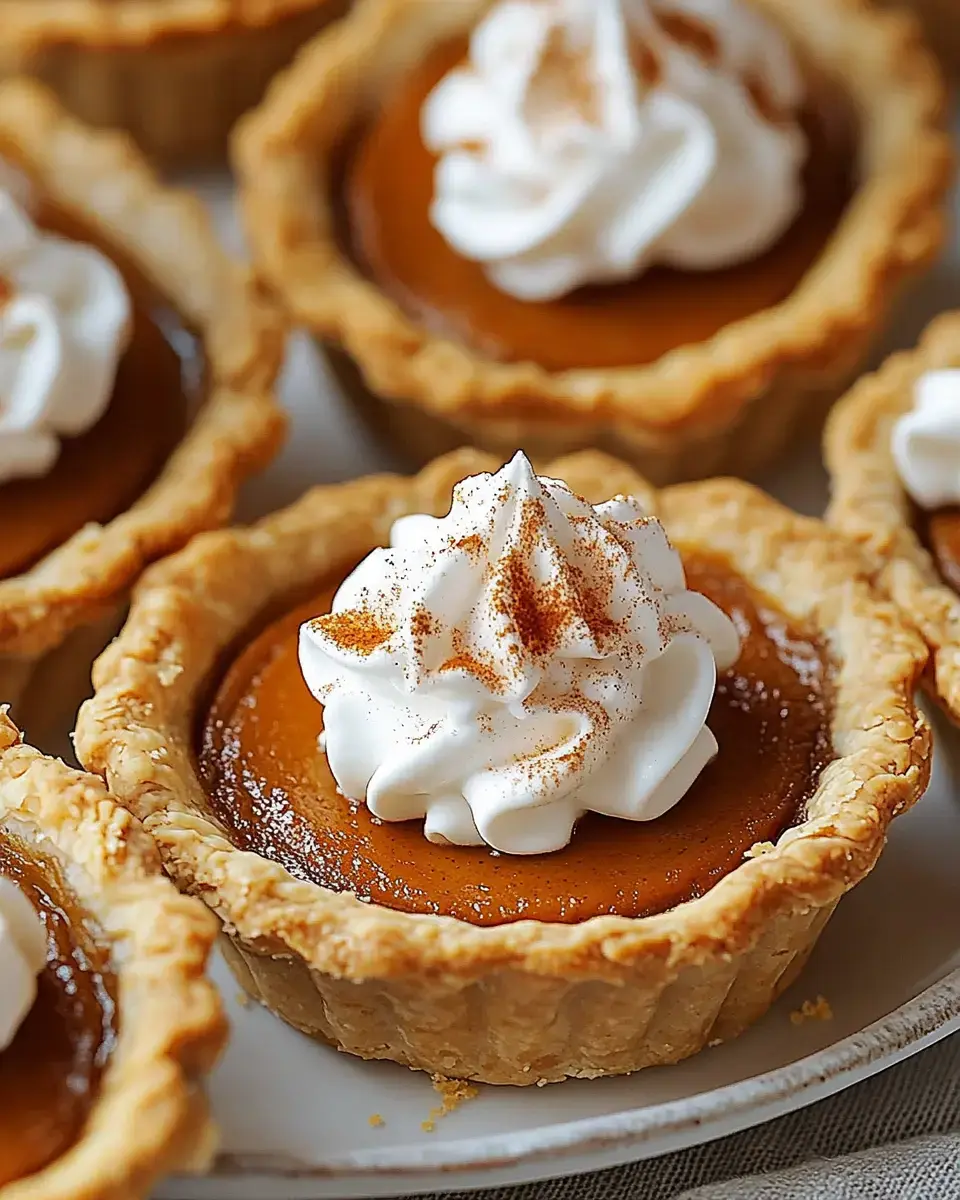
- Add a swirl of freshly whipped cream and maybe a tiny dash of cinnamon. So adorable!
Insider Secrets
After cranking out countless batches of these tiny treats, here's what I've figured out: Nail the shell size - 3.5 inches works perfectly with standard muffin pans. Keep an eye out for holes in your dough - fix them with scraps before adding filling. Don't put too much mixture in each cup - they'll bubble over while baking. And stick with regular-sized muffin tins - the teeny ones just don't give you enough of that yummy filling!
 Pin it
Storage Smarts
These tasty little delights stay good in your fridge for around three days - assuming they don't vanish before then! Put them in something airtight, and save the whipped cream topping for when you're ready to eat. They freeze amazingly well too - wrap each one by itself and they'll keep for up to a month in the freezer. When guests pop by unexpectedly, just move them to the fridge overnight. I always try to keep some stashed away for surprise visitors!
Showing Off Your Tiny Treats
Nothing beats offering these cuties with a big cloud of fresh whipped cream and a light sprinkle of cinnamon. For autumn get-togethers, I sometimes create a toppings station next to them - whipped cream, crushed nuts, drizzly caramel - so everyone can jazz up their own! They taste amazing alongside coffee or warm apple cider. At our family gathering last fall, I stacked them on my three-tier stand with other small desserts, and guess which ones disappeared first?
Frequently Asked Questions
- → Why chill the dough before baking?
Keeping it cold keeps the shape intact and makes it crispier when baked.
- → Can I prepare these in advance?
Absolutely, refrigerate for up to 3 days and add whipped cream fresh before serving.
- → What’s the difference with pumpkin pie filling?
Pure pumpkin lets you adjust sugar and spices. Canned filling is pre-seasoned.
- → Is freezing an option?
Totally! Just freeze them (minus toppings) for up to 2 months. Thaw overnight in the fridge when ready.
- → How do I get these out of the tin?
Let them cool for half an hour, then gently wiggle them out using a knife or spatula.