
 Pin it
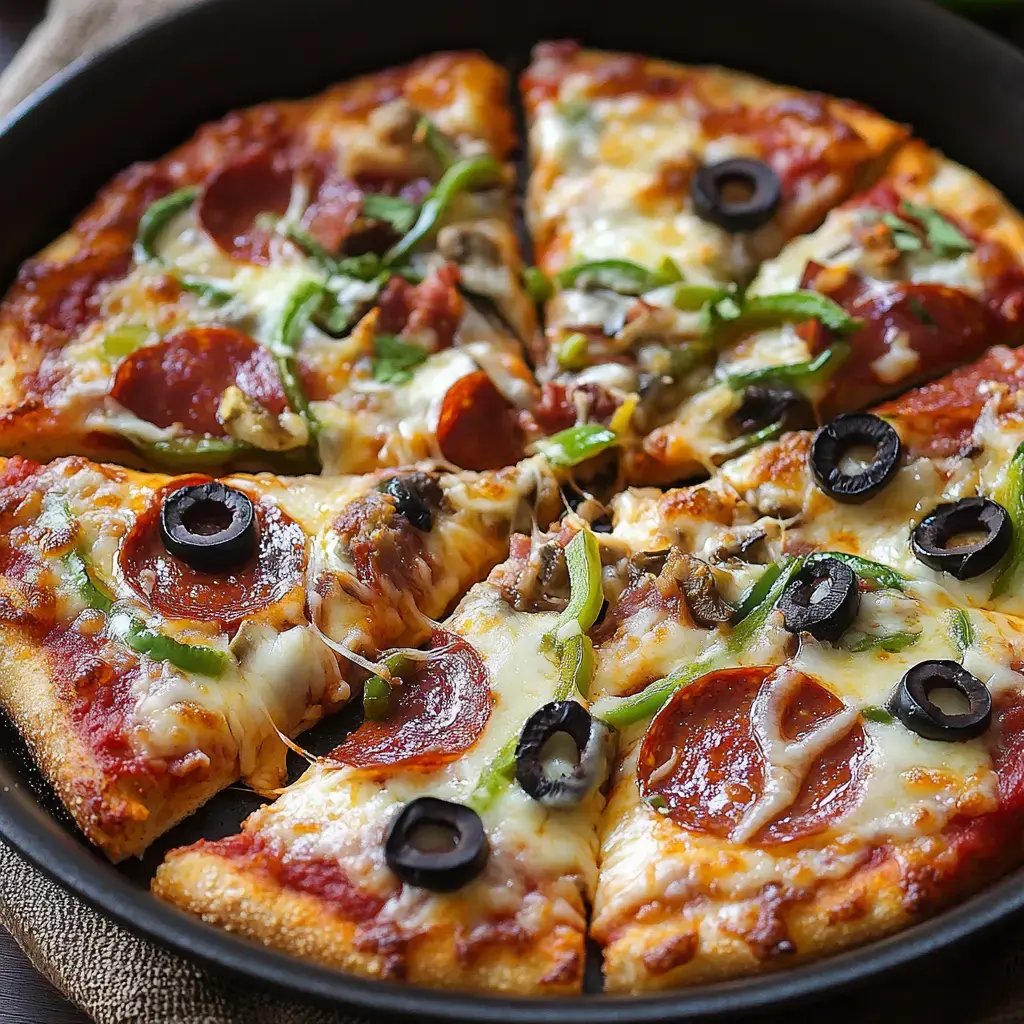
Quick Homemade Cheese Base Pizza
I wanna tell you about my favorite low-carb pizza hack that keeps me going when pizza hunger strikes. This speedy version uses cheese as the base instead of traditional dough, making it awesome for folks counting carbs. I really dig how fast it comes together in a pan and you can pile it with whatever toppings make you happy. After your first bite of this tasty alternative, you'll forget all about regular pizza crust.
What Makes This Simple Method So Good
- Works great for quick dinners or easy leftovers
- You can make it your own with your favorite toppings
- Takes just minutes to make no complicated dough needed
- It's perfect for low-carb and keto diets but tastes like a treat
Basic Items For Cheese Base Pizza
- Good Skillet: Any non-stick pan works fine but cast iron gives best results.
- Simple Seasonings: Garlic powder and Italian herbs really boost the flavor.
- Your Favorite Toppings: Add whatever you enjoy, just keep them low-carb if needed.
- Finely Shredded Cheddar: This creates that wonderful crispy foundation we're after.
Simple Method From Start To Finish
- Rest and Serve
- After everything looks bubbly and melted perfectly, take your pan out and let it sit for around 5 minutes. This waiting time matters a lot - it helps the cheese firm up so you can cut nice clean slices. Grab a sharp knife or pizza cutter, slice it up, and enjoy while it's still warm and crispy.
- Broil to Perfection
- Put your oven rack about 6 inches from the broiler and turn it on high. Slip your pan under the broiler and don't walk away - this happens fast! You want the toppings to heat up and any extra cheese to get all melty and bubbly, usually in about 2-3 minutes. Keep the oven door cracked a bit and turn the pan if needed for even heating.
- Add Your Favorite Toppings
- Here comes the fun part - while your cheese is still warm but starting to set, add your toppings. I really like fresh basil, tomato slices, and a dash of Italian seasoning. Spread them out evenly across the surface. If you want more cheese on top, now's the time. Don't go overboard though - we need to keep that crispy bottom intact.
- Perfect That Crispy Texture
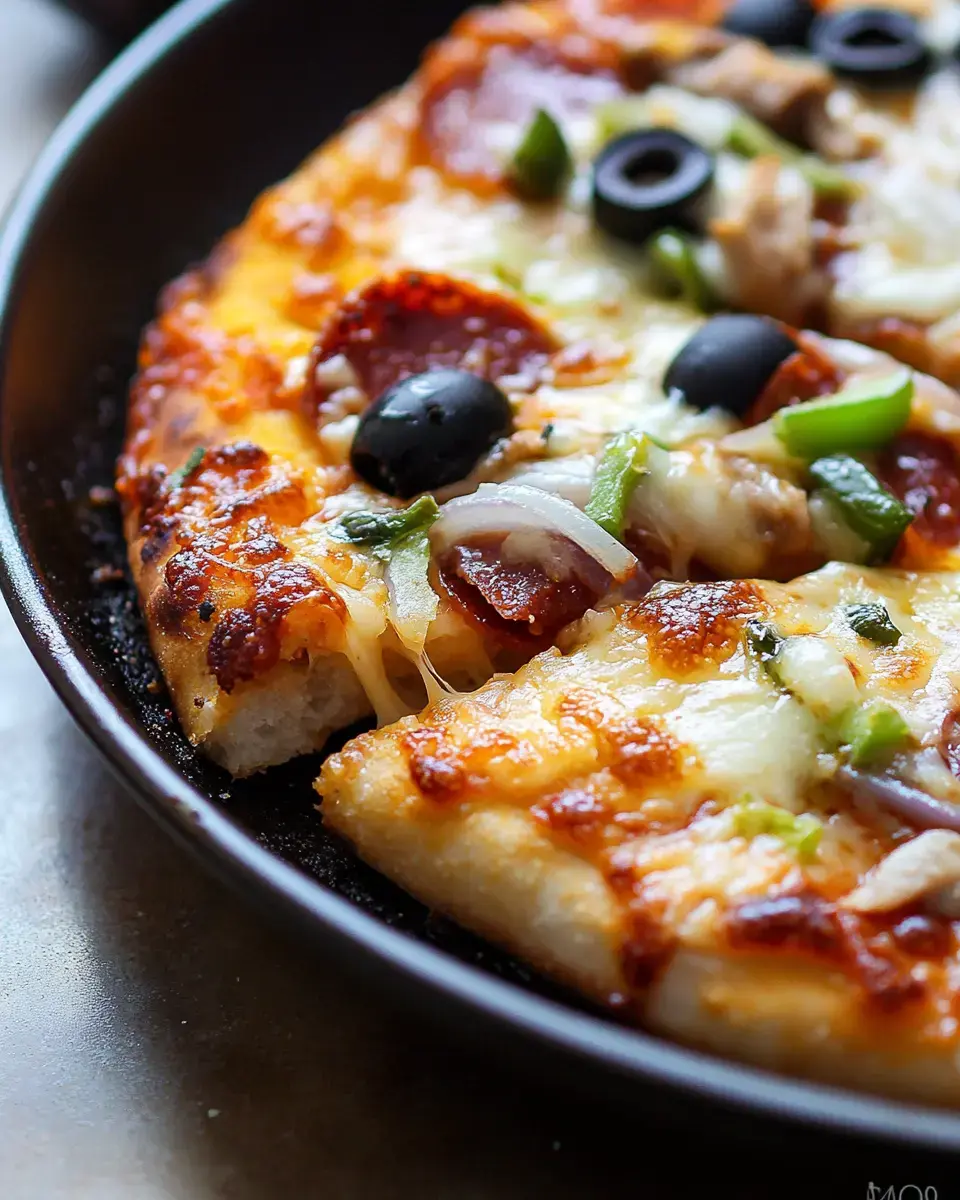
- Watch your cheese closely as it melts. You'll see it start to bubble and turn golden brown underneath - this usually takes around 3-4 minutes. Don't try to rush this part, it's super important for getting that perfect crispy base. Once you see that nice golden color on the bottom, carefully take the pan off the heat and let it cool for a minute or two.
- Prepare Your Cheese Base
- Start by picking your favorite shredded cheese - I usually mix mozzarella and cheddar for the best combo of taste and meltiness. Spread it evenly in your heated pan, making sure it forms a nice thin layer. Watch as it begins to melt and bubble around the edges - that's when the magic starts happening.
Tricks For Getting It Right
- Get Creative: Switch up your toppings each time you make it.
- Pan Choice: A heavy skillet really makes this simple dish turn out better.
- Keep Watch: Don't leave your pan unattended as cheese can burn in seconds.
 Pin it
Easy Changes and Keeping Leftovers
- Load it up with veggies for a healthy twist
- Store leftovers between parchment paper in the fridge
- Try BBQ chicken or taco toppings for something different
A Clever Carb-Free Pizza Option
This quick cheese base pizza gives you all the pizza flavors you crave without loading up on carbs. The crunchy cheese foundation topped with your personal favorites creates an ideal fast meal. Whether you eat it hot from the pan or save some for later, it's a clever, yummy way to enjoy pizza exactly how you want it.
Frequently Asked Questions
- → Why let the cheese cool first?
Stops the toppings from sinking into the melted cheese layer.
- → What’s the ideal cheese combo?
A blend of mozzarella and cheddar gives you the best texture and taste.
- → Can I pick different toppings?
Absolutely, switch it up with anything you like on pizza.
- → How should I store any extras?
Place layers between parchment sheets in a zip-top bag, then refrigerate.
- → Why use the broiler for this?
It helps finish off the toppings quickly without overcooking the cheese base.